8 Step Guide to Better Beginner Fly Casting
The rhythmic dance of the fly rod, the line soaring gracefully through the air, and the delicate placement of the fly upon the water’s surface – these are the hallmarks of skilled fly casting. However, like Hallmark, the types of presentations are full of different types, along with an infinite number of twists, turns, and variations. As a beginner, the art of fly casting can seem daunting, but with the right guidance, it transforms into a simple symphony of movements. This essential skill is your ticket to not just participating in fly fishing but becoming an active player in the sport. Let's unravel the mystery of fly casting with a step-by-step guide designed to set your foundations right and get you casting with confidence.
Step 1: The Difference Between Fly Rod Casting and Conventional Casting
Conventional casting relies on the weight of the bait/lure to propel thin and low-density monofilament line through the air. The weight is like a pendulum that you fling with the rod and therefore drags the line off the reel through the eyelets and out to its destination.
Fly casting, on the other hand, uses the weight of the higher-density fly line, as the weight, to flex the rod and therefore fling it through the air. This is by transferring the energy from the rod through the line. The wave of energy transfer to the line is akin to unrolling the wave from the rod tip through to the end of the line. Often referred to as the loop.
Step 2: Understanding Fly Casting Mechanics
The heart of fly casting lies in the rod loading and unloading, propelling the line forward. Your fly rod is a spring; the goal is to bend (load) it with energy and then allow it to straighten (unload), sending the line to your target. Begin with a medium-action rod, which is more forgiving and easier to feel the load, like the Orvis Clearwater outfit. Practicing on grass or open water without hooks can help you get a sense of the rod’s loading point. The timing of loading and therefore unloading is a critical aspect of a fly cast. When timing is off your line isn’t receiving the load and power of the rod bending and relying on other energy supplied by your arm. Think about it, if you tried casting with a stiff stick vs. a rod. At the end of your cast when you stop, the stiff rod would already be straight and just transfer the energy of your arm. On the other hand, if you had a flexible rod, and the timing was correct, the hand would stop but the rod would have a backward flex in it and therefore continue to flex and shoot line. It’s like trying to shoot a spitball off of a non-flexible metal spoon vs a flexible plastic spoon while having your hand in the same position and space. Which example would go further?

Learn how to pick a great beginner rod that will last a lifetime.
Step 3: Perfecting the Basic Fly Cast: The Overhead Cast
The overhead cast is the cornerstone of all fly casting techniques. It involves casting the line straight back into the air (back cast), then straight forward (forward cast) above the water. As a beginner, focus on timing: allow the line to fully extend behind you before making the forward cast. Use a combination of wrist and forearm movement with a firm stopping point for both the back and forward casts. A bright, highly visible line like the Scientific Anglers Mastery Expert Distance WF Fly Line can enhance your ability to track the line and improve your timing.
Step 4: Rod Position for Casting Mechanics
Understanding rod positioning can go a long way in teaching you the basics of a common overhead cast. First, you have to remind yourself that there is a path that the line will follow and the path is dictated by you and the rod. It’s more than just the rod, though. The position of the tip of the rod is like a gunsight and dictates direction. Just like a gunsight a slight alteration here can be compounded over distance. Proper direction, angle, movement, whatever you want to call it is a simple concept you can remember. When casting, your rod tip has to remain in a flat, movement that is parallel to the ground. Imagine standing against a wall with your rod in hand. For example, you are right-handed with your right hand against the wall with the rod in hand. You start casting and the rod tip starts moving. If you were to have a pen on the end of the rod would the line being drawn be straight or an upside down curve? You see, to get a straight line your wrist needs to stay relatively straight and your rod hand has to move forward and back. Otherwise, if your hand remains in position and the wrist breaks or bends, the rod then acts as an upside-down pendulum and creates that upside-down curve.
Now that we understand that we want to discuss how far forward and backward we want the tip to go. Sadly, we always use a clock to define this and many say, “Keep it between 10 and 2. However, it is typically less than that and more like 11 and 1. The problem is a clock is round and we think of that movement as a round movement and that causes us to start creating the pendulum cast that we don’t want. Instead, I want you to think of the part of the rod you can see when casting. That’s the section above the lowest eyelet and up maybe 4 feet for another 4 eyelets. You want that part of the rod to always stop at about 8 inches from your face and come back and stop again just before your face and still in your vision.
Now practice with your hand, eight inches in front and STOP, bring it back eight inches just before going out of your line of vision and STOP. Do that several times for practice.
Now we know how far so let’s work on the STOP. When I say STOP I mean an abrupt stop. Now with the rod in your hand and only going forward to the stop, we need to practice. F you did this correctly, when you stopped the tip of the rod would want to keep going and fling forward and back a few times rapidly. If you did it incorrectly, the rod would not STOP very fast and therefore the energy wouldn’t transfer and the rod would bend but not nearly as much. Here is a test. Get an old paintbrush to practice with. Go to a drywall with the paintbrush and a bowl of water you can dip it in. I want you to dip the brush in the water and hold it upside down in your hand like the handle is the rod handle and the brushes point up like a rod tip. Now cast. If the water comes off the end of the paintbrush in an upside-down frown shape then you are not moving your hand enough and stopping and starting abruptly enough. If the brush comes off shooting in a straight line you have a more proper motion and start-stop cadence.

Step 5: Practice Drills: Building Muscle Memory
Casting is a skill built on muscle memory. Go to the park or out in the yard, set up targets at varying distances, and practice hitting them with the overhead cast. Use hula hoops, hats, or similar markers as targets. Incorporating drills, like the "Pick Up and Lay Down" cast, where you lift the line off the water and then recast it, helps build precision and control.
Step 6: Seeking Feedback and Instruction
While self-teaching is a significant first step, professional feedback can drastically improve your technique. Look for local fly fishing clubs and shops that offer casting clinics, or hire a certified casting instructor for a few sessions. Their expert eyes can offer invaluable adjustments and corrections that will save you hours of trial and error. Most Trout Unlimited clubs have various courses throughout the year and or friends from the club will gladly go watch you cast for 15 minutes and provide you with tons of information.
Step 7: What to Look and Listen For
While casting you want to look for a faster, tighter loop. That is the shape of the line when it comes off the end of the rod. It looks like a floating elongated bubble. If the bubble is big and slow that means you are opening up your cast too much. Therefore the tip of your rod is going a bit too much into that upside-down frown motion so concentrate on moving your hand forward and aft without going up and down and breaking the wrist as much. Next, listen for a whip. The whip at the end of the cast means you are not waiting long enough for the line to extend all the way behind you so when you are accelerating the casting motion too early and causing the end of the line to double loop accelerate and crack like a whip. Slow down before you forward cast and that should help. Last is to look for your fly at the end of the line to go right or left. It can be several items but in most of these cases, it is understanding what is happening. Usually, this can be fixed by doing a little research and understanding why then correcting the casting motion. Most of all do this early and often to correct problems before they become habits.
Step 8: Continuous Learning
Learning to fly cast will take a significant amount of time but can be accelerated by learning as much as you can and trying different casting techniques. I highly recommend this Bumcast series of videos to expose you to excellent technique and a multitude of casts that all have similar but different motions. Learning a handful of these will drastically improve your form, understanding, and overall success. Like anything, we preach the concept of adding moves to your repertoire so you can be more successful here at the Fly Fishing Insider Podcast.
Fly casting is both a science and an art, with each cast reflecting the angler's understanding of the mechanics and the conditions on the water. By breaking down the casting process into these fundamental steps, beginners can build a solid casting foundation. Remember, every master caster was once a beginner; with patience, practice, and persistence, the fly fishing world is yours to explore. So, arm yourself with the right gear, embrace the learning curve, and step into the rhythm of the cast.
Fly Fishing Gear for Beginners and Experts
Starting Fly Fishing? Then here is a list of gear that comes with my high recommendation. This will save you a lot of time searching around for things you will need but have multiple variations. Best of luck.
Sun Shirt - I prefer a nice medium to light shirt with a hood.
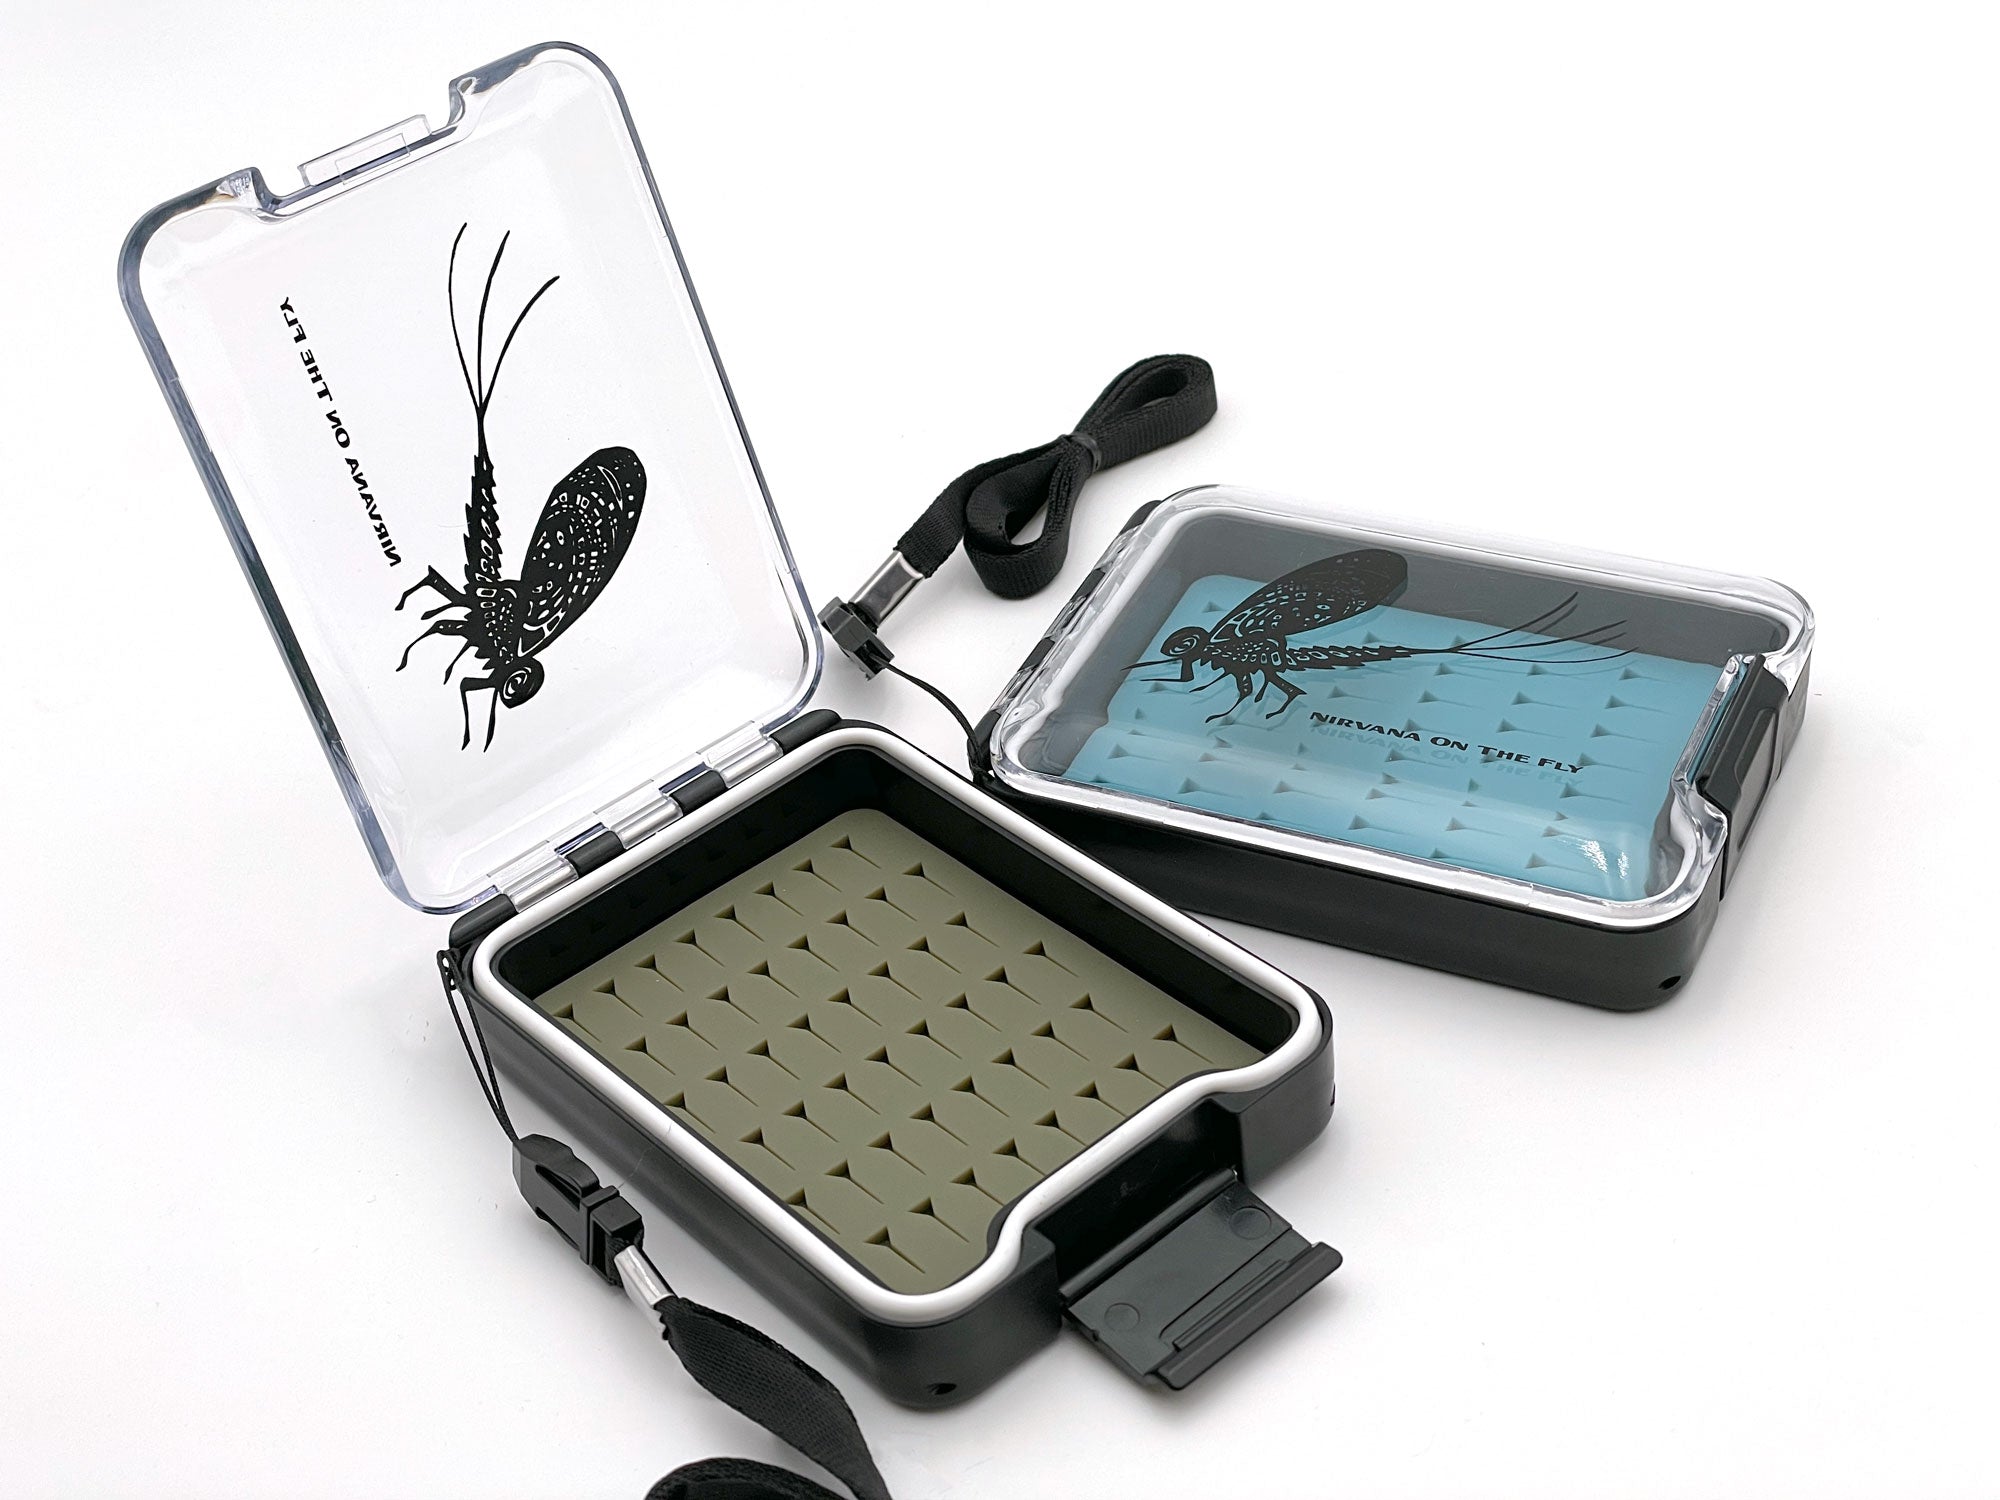
Fly Boxes - I prefer smaller boxes with selected patterns by hatch that are waterproof. I use them to separate out my dry fly patterns for the day and my nymph patterns for the day. I prefer silicone, it is heavier but it lasts longer and tends to hold my flies better. Get multiple colors so you can quickly decipher which box is which.

By Christian Bacasa
Host of the Fly Fishing Insider Podcast
www.ffipodcast.com
@flyfishinginsiderpodcast
@dupeafish