5 Best Fly Tying Kits for Beginners: Learn to Tie Your Own Flies
Learning to tie your own flies transforms your fly fishing in ways that surprise most anglers. Beyond the obvious benefit of saving money on flies, tying connects you to the sport's heritage and gives you deep insight into what trout actually eat. When you've tied the fly that fooled a selective brown, the satisfaction is incomparable. After guiding hundreds of anglers and teaching fly tying for years, I've seen beginners waste money on inadequate kits with poor-quality tools or overwhelming kits with too many materials they'll never use. The right beginner kit provides everything you need to tie productive flies without breaking the bank or creating confusion.
The fly tying kit market is cluttered with options ranging from $30 "complete" kits with unusable tools to $500+ professional setups that intimidate beginners. What you need is something in between—quality tools that will last, enough materials to tie proven patterns, and clear instructions that build skills progressively. This guide breaks down five excellent beginner kits at different price points, each representing proven value for anglers taking their first steps into fly tying. Whether you're budget-conscious or ready to invest in quality from the start, one of these kits will set you up for success. Explore our fly tying kit collection to start your tying journey.
Table of Contents
- Why Learn to Tie Your Own Flies
- What Every Beginner Kit Should Include
- Kit 1: Orvis Fly-Tying Kit (Budget Choice)
- Kit 2: River Road Creations Fly Tying Kit
- Kit 3: Colorado Anglers Z690 Deluxe Kit
- Kit 4: Loon Outdoors Beginner Kit (Premium Tools)
- Kit 5: Build Your Own Custom Kit
- Your First Five Flies to Tie
- Learning Resources Beyond the Kit
- Frequently Asked Questions
- Final Thoughts
Why Learn to Tie Your Own Flies
Before investing in a kit, understand what fly tying actually offers beyond the romantic notion of crafting your own patterns.
The Real Benefits
Understanding Insect Behavior: When you tie flies, you study what trout eat. You examine mayfly bodies, caddis wing shapes, and stonefly proportions. This knowledge directly improves your fishing—you recognize hatches faster and understand why certain patterns work.
Customization and Experimentation: Need a size 18 Pheasant Tail in olive? Tie it. Want to try a PMD pattern with a slightly different wing? Make it. Fly tying lets you customize patterns to match local conditions and experiment with variations that might outfish commercial flies.
Cost Savings (Eventually): The break-even point comes after you've tied about 100-150 flies. Initial investment is $75-$200 for a kit, then materials cost $0.30-$0.75 per fly versus $2-$4 for commercial flies. If you fish 20+ days per year and lose/use 50+ flies annually, you'll save money within 2-3 seasons.
Winter Fishing Fix: Fly tying keeps you connected to fishing during winter when you can't be on the water. Many anglers discover they enjoy tying as much as fishing.
Confidence: There's something powerful about catching fish on flies you tied yourself. The confidence boost improves your fishing—you fish your patterns more carefully and persistently.
The Reality Check
Fly tying requires patience, space for a tying desk, and initial financial investment. Your first flies will be ugly and might not catch fish. You'll need to practice 50-100 flies before you're competent, 200-300 before you're good. Some anglers discover they don't enjoy tying and prefer buying flies—that's okay. But if you're curious about the craft and willing to invest time learning, fly tying becomes a rewarding parallel hobby to fishing.
What Every Beginner Kit Should Include
Quality beginner kits provide these essential components. Evaluate any kit against this checklist:
Essential Tools (Non-Negotiable)
Vise: Holds the hook while you tie. The most critical tool—cheap vises wobble, don't hold hooks securely, and frustrate beginners. Look for vises with smooth jaw adjustment and solid construction.
Bobbin: Holds thread spool and controls thread tension. Ceramic or hardened metal tip prevents thread fraying. You need at least one quality bobbin.
Scissors: Sharp, fine-pointed scissors for precise cuts. Dull scissors ruin materials and slow progress.
Hackle Pliers: Grip and wrap feathers. Spring-loaded types work better than rubber-tip versions.
Whip Finish Tool: Creates the knot that secures thread at fly completion. Can be done by hand, but tool makes learning easier.
Bodkin: Needle tool for applying head cement, picking out dubbing, cleaning hook eyes.
Basic Materials
Thread: 6/0 or 8/0 in black and olive minimum. These sizes and colors handle 80% of beginner patterns.
Hooks: Assortment of sizes 12-18 in dry fly, nymph, and streamer styles.
Feathers: Hackle, marabou, CDC, and other feathers for wings and tails.
Dubbing: Natural and synthetic dubbing in common colors—olive, tan, brown, gray.
Tinsel/Wire: Copper wire, tinsel for ribbing and weight.
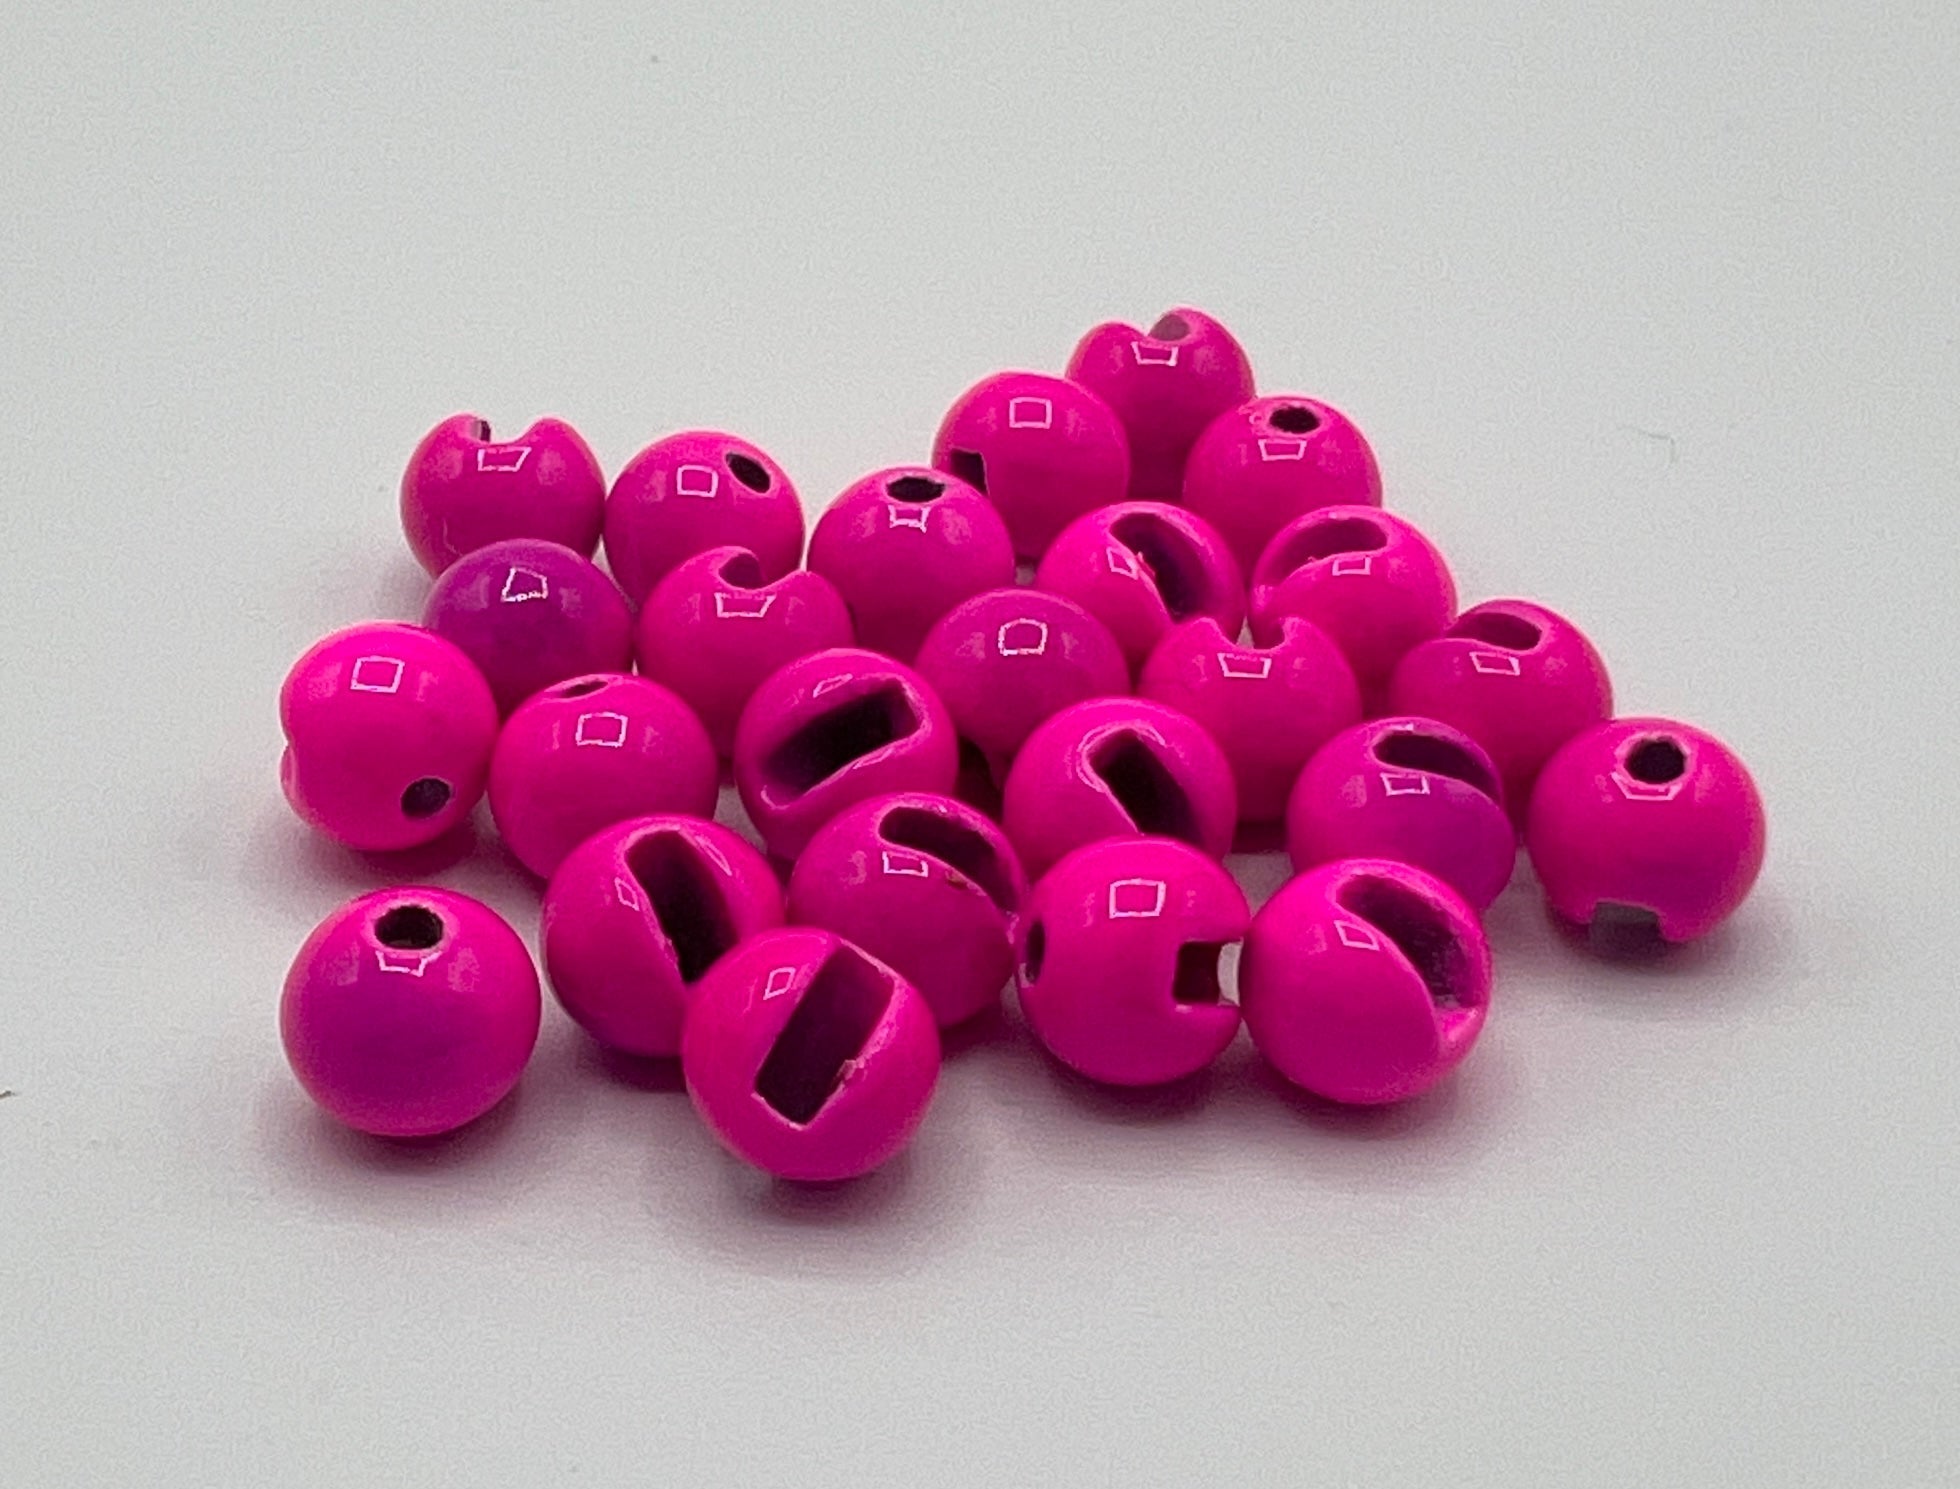
Beads: Tungsten or brass beads in various sizes for nymph heads.
Instructions and Pattern Reference
Quality kits include either a DVD, book, or online video access teaching basic techniques and 5-10 beginner patterns. Pattern cards showing tying steps are valuable references.
What You Don't Need Initially
Avoid kits with exotic materials, 47 dubbing colors, or advanced tools you won't use for years. Beginners need simple, proven materials for learning fundamental techniques. Complexity comes later.
Kit 1: Orvis Fly-Tying Kit (Budget Choice - $79)
Orvis's beginner kit offers the most accessible entry point from a reputable brand. While not professional-grade, the tools are adequate for learning and the materials selection focuses on proven patterns. This kit gets beginners tying quickly without significant investment.
What's Included
- Orvis vise with C-clamp mount
- Bobbin
- Hackle pliers
- Scissors
- Whip finish tool
- Bodkin
- Hair stacker
- Materials for 12 fly patterns
- 50+ hooks in various sizes
- Thread in multiple colors
- Instructional DVD with 12 patterns
Tool Quality
Vise: Adequate for hooks size 10-18, which covers most beginner patterns. Won't handle tiny midges (size 20+) or large streamers (size 4+) perfectly, but works for learning.
Other Tools: Basic but functional. The scissors are the weak point—they'll dull relatively quickly. Other tools perform adequately for the price.
Materials Selection
Focuses on essential trout patterns: Woolly Buggers, Hare's Ear Nymphs, Elk Hair Caddis, and similar proven flies. Materials are sufficient to tie 2-3 dozen flies total—enough to learn basics and determine if you enjoy tying.
Instructional Content
The DVD provides clear, step-by-step instructions for each pattern. Orvis's teaching approach is beginner-friendly, though the DVD format feels dated compared to online videos.
Best For: Budget-conscious beginners, those uncertain about long-term tying commitment
Limitations: Tools will need upgrading eventually, limited material quantity
Upgrade Path: Replace scissors first, then vise if you continue tying seriously
Kit 2: River Road Creations Fly Tying Kit ($129)
This kit strikes an excellent balance between price and quality. The tools are noticeably better than budget kits, and the material selection is more comprehensive. River Road focuses on providing everything you need to tie 50+ flies of proven patterns—enough to really learn the craft.
What's Included
- Quality rotary vise with pedestal base
- Ceramic-tipped bobbin
- Professional scissors (two pairs—one for fine work, one for general use)
- Hackle pliers
- Whip finish tool
- Bodkin
- Hair stacker
- Materials for 15+ patterns
- 100+ hooks in multiple styles and sizes
- Thread in 6 colors
- Access to online video library
Tool Quality
Vise: Significant upgrade from budget vises. The rotary function (vise rotates while holding hook) isn't essential but is convenient. Holds hooks size 20-6 securely—covers everything beginners will tie.
Other Tools: Professional-quality tools that will last for years. The ceramic-tipped bobbin prevents thread fraying, and the scissors stay sharp through hundreds of flies.
Materials Selection
Comprehensive selection focusing on essential trout patterns plus some streamer materials. Enough materials to tie 50-75 flies, giving you substantial practice before needing to buy more supplies.
Instructional Content
Online video access is a major advantage—videos are higher quality than DVDs, regularly updated, and accessible anywhere. Pattern selection covers fundamentals thoroughly.
Best For: Committed beginners ready to invest in learning, anglers who fish 20+ days per year
Limitations: Higher upfront cost, still need to buy additional materials eventually
Long-term Value: Tools good enough to use for years, even as you advance
Browse our fly tying kit collection to compare these beginner options and find the perfect starting point.
Kit 3: Colorado Anglers Z690 Deluxe Kit ($179)
The Z690 represents a step up in both tool quality and material variety. This kit is designed to take you from absolute beginner through intermediate skill level without needing significant upgrades. The investment is higher, but you're buying tools and materials you'll use for years.
What's Included
- Premium rotary vise with true rotary function
- Two ceramic-tipped bobbins
- Professional scissors (fine and medium)
- Hackle pliers (two types)
- Whip finish tool
- Bodkin
- Hair stacker
- Dubbing twister
- Half-hitch tool
- Materials for 20+ patterns
- 200+ hooks in multiple styles
- Thread in 10 colors
- Comprehensive instructional book
- Online video access
Tool Quality
Vise: True rotary vise that holds hooks size 28-2/0. This covers everything from tiny midges to large streamers and even some saltwater patterns. The rotary function makes certain techniques (palmering hackle, ribbing) significantly easier.
Other Tools: All professional-quality tools. The two bobbins mean you can have two thread colors ready simultaneously. Scissors are sharp enough for delicate work like cutting CDC or splitting hackle stems.
Materials Selection
Extensive materials covering dry flies, nymphs, emergers, and streamers. Enough materials to tie 75-100+ flies. Includes some specialty materials (CDC, quality hackle) that budget kits omit.
Instructional Content
Both book and video instruction provide comprehensive learning. The book serves as a permanent reference, while videos demonstrate techniques that are hard to learn from text alone.
Best For: Serious beginners who plan to tie extensively, anglers wanting professional tools from the start
Limitations: Significant upfront investment, may be overwhelming for casual interest
Long-term Value: Excellent—these tools last a decade or more with proper care
Kit 4: Loon Outdoors Beginner Kit (Premium Tools - $149)
Loon Outdoors brings their tool expertise to this beginner kit. Rather than providing everything, Loon focuses on delivering premium tools that will never need replacing, plus carefully curated materials for essential patterns. This kit assumes you'll buy additional materials as you progress but ensures you're using excellent tools from day one.
What's Included
- Loon Ergo rotary vise
- Loon Ergo bobbin with Zippy hair stacker integrated
- Loon Ergo scissors (all-purpose)
- Loon Ergo hackle pliers
- Ergo whip finish tool
- Ergo bodkin
- Select materials for 10 core patterns
- 75 hooks in essential sizes
- Thread in 4 colors
- Access to Loon's online learning platform
Tool Quality
Vise: Loon's Ergo vise is outstanding—smooth rotary action, holds hooks size 26-2 perfectly, and the ergonomic design reduces hand fatigue during long tying sessions.
Other Tools: Each tool features Loon's signature ergonomic handles and premium construction. These are tools professional tiers use daily. The integrated hair stacker/bobbin is innovative and saves space.
Materials Selection
Deliberately limited—materials for 10 essential patterns only. Loon's philosophy is that beginners should master core patterns with quality materials before expanding. You'll need to buy additional materials sooner than with other kits, but what's included is top-quality.
Instructional Content
Loon's online platform provides excellent video instruction focusing on techniques rather than just patterns. This approach builds fundamental skills that transfer to any pattern.
Best For: Tool enthusiasts, anglers who want the best tools immediately, those willing to buy materials separately
Limitations: Fewer materials than other kits, need to buy more supplies quickly
Philosophy: Invest heavily in tools (which last forever), buy materials as needed
Stock Your Fly Boxes
While you're learning to tie, keep your fly boxes stocked with proven patterns from our fly collection. Compare your tied flies to professionally-tied versions to improve your techniques.
Kit 5: Build Your Own Custom Kit ($125-$200)
Building your own kit lets you choose exactly what you need while controlling costs. This approach works best if you have a tying friend who can guide you or if you've researched thoroughly. Here's a recommended component list:
Essential Tools ($75-$100)
Vise ($40-$60): Griffin Montana Mongoose or similar mid-range rotary vise. Avoid the cheapest vises—the $20 models frustrate beginners.
Bobbin ($8-$15): Dr. Slick or similar with ceramic tip. Buy one quality bobbin rather than multiple cheap ones.
Scissors ($12-$20): Dr. Slick All-Purpose or similar professional scissors. Sharp scissors are essential.
Hackle Pliers ($6-$10): English-style spring-loaded pliers work best.
Whip Finish Tool ($8-$12): Matarelli style is easiest for beginners.
Bodkin ($5-$8): Any metal bodkin works—avoid cheap plastic versions.
Starter Materials ($50-$100)
Thread ($15):
- 6/0 black, olive, brown
- 8/0 for smaller flies
Hooks ($20):
- Dry fly hooks size 12-18
- Nymph/wet fly hooks size 10-16
- Streamer hooks size 4-10
Core Materials ($15-$65 depending on scope):
- Pheasant tail fibers
- Peacock herl
- Hare's ear dubbing (natural)
- Elk hair
- Marabou (black, olive, white)
- Copper wire (small and medium)
- Tungsten beads (assorted sizes)
- Hackle feathers (grizzly and brown neck or saddle)
- CDC feathers
Learning Resources (Free-$30)
YouTube provides thousands of free tying tutorials. Subscribe to channels like Tightline Productions, Kelly Galloup, or Fly Fish Food. Alternatively, buy "The Fly Tyer's Benchside Reference" book ($25) as a permanent reference.
Total Investment
Building your own kit costs $125-$200 depending on tool and material choices. This approach gives you maximum flexibility and often better tools than pre-packaged kits at similar prices.
Best For: DIY enthusiasts, anglers who've researched thoroughly, those with tying mentors
Limitations: Requires more research, easy to forget essential items, no unified instruction
Advantages: Choose exactly what you want, often higher quality components for the money
Your First Five Flies to Tie
Regardless of which kit you choose, start with these five patterns. They teach fundamental techniques while producing flies that actually catch fish:
1. Woolly Bugger (Streamer)
Why Start Here: Simple construction teaches thread control, material wrapping, and whip finish. Catches everything from trout to bass.
Techniques Learned: Thread wrapping, tail attachment, chenille wrapping, hackle palmering, whip finish
Components: Hook, thread, marabou tail, chenille body, hackle feather
Practice Goal: Tie 6-10 until proportions look right
2. Pheasant Tail Nymph
Why This Pattern: Teaches segmentation, proportion, and nymph form. One of the most effective nymphs in fly fishing.
Techniques Learned: Tail proportion, body segmentation with wire ribbing, thorax construction, wing case
Components: Hook, thread, pheasant tail fibers, copper wire, tungsten bead
Practice Goal: Tie 8-12 in various sizes (12-18)
3. Hare's Ear Nymph
Why This Pattern: Introduces dubbing technique—forming dubbing onto thread and wrapping to create body. Essential skill for dozens of patterns.
Techniques Learned: Dubbing application, thorax building, leg picking
Components: Hook, thread, hare's ear dubbing, copper wire, guard hairs for tail, tungsten bead
Practice Goal: Tie 6-10 until dubbing application is smooth
4. Elk Hair Caddis
Why This Pattern: Teaches hair stacking, hair wing attachment, and hackle palmering. Foundation for many dry fly techniques.
Techniques Learned: Hair stacking, wing attachment, palmered hackle, dubbing body
Components: Hook, thread, dubbing body, palmered hackle, elk hair wing
Practice Goal: Tie 10-15 until wing attachment is clean and proportional
5. Parachute Adams
Why This Pattern: More advanced dry fly teaching parachute hackle wrapping and wing post construction. Killer pattern once you master it.
Techniques Learned: Wing post construction, parachute hackle wrapping, dry fly proportions
Components: Hook, thread, tail fibers, dubbing body, post material, hackle
Practice Goal: Tie 10-15 until hackle wraps are even and proportions correct
The 50-Fly Milestone
Your goal is to tie 50 total flies across these five patterns. By fly #50, your techniques will be dramatically improved over fly #1. Don't expect perfection—expect progress.
Learning Resources Beyond the Kit
Kit instructions get you started, but expanding your skills requires additional resources:
Online Video Resources (Free)
YouTube Channels:
- Tightline Productions: Tim Flagler's videos are the gold standard—clear, well-filmed, comprehensive
- Fly Fish Food: Curtis Fry teaches with excellent close-ups and clear explanations
- Kelly Galloup: Streamer tying and advanced techniques
- Orvis How-To: Beginner-friendly instruction covering basics
Pro Tip: Watch each video twice—once for overview, once while tying along
Books
"The Fly Tyer's Benchside Reference" by Ted Leeson and Jim Schollmeyer ($30): Comprehensive reference covering techniques, materials, and patterns. Worth owning.
"Basic Fly Tying" by Paul Rossman ($15): Step-by-step photo instruction perfect for beginners.
In-Person Instruction
Local fly shops often offer tying classes ($30-$75 for multi-session courses). In-person instruction accelerates learning because instructors correct mistakes immediately. Consider taking a class after practicing 20-30 flies on your own—you'll have specific questions and learn more effectively.
Online Communities
Join fly tying forums or Facebook groups. Posting photos of your flies and asking for feedback provides valuable learning. Experienced tiers offer technique tips and troubleshooting.
Keep building your fly fishing skills with our blog, featuring technique guides, gear reviews, and tips from experienced anglers.
Frequently Asked Questions
How long does it take to learn fly tying?
You'll tie your first complete (if ugly) fly in your first session—maybe 30-60 minutes. Your first 10-20 flies will be rough but functional. By flies 50-75, you'll be tying decent flies that catch fish. Competency develops around 100-150 flies (2-3 months of regular practice). Mastery takes years and thousands of flies. Most beginners see meaningful improvement after tying 2-3 times per week for two months. Don't expect perfection immediately—every professional tier started with ugly flies. Focus on progress, not perfection.
Is it really cheaper to tie your own flies?
Eventually, yes, but not immediately. Initial kit investment is $75-$200. After that, materials cost $0.30-$0.75 per fly versus $2-$4 for commercial flies. Break-even happens around 100-150 flies. If you lose/use 50 flies per season, you'll break even in 2-3 seasons. However, many tiers buy materials they rarely use, offsetting savings. The real value isn't purely financial—it's the satisfaction, customization options, and deeper connection to the sport. If cost savings is your only motivation, stick to buying flies. If you enjoy the craft and fishing 20+ days per year, the financial case strengthens.
Can I learn fly tying without an instructor?
Absolutely. Millions of tiers are self-taught using online videos and books. YouTube provides hundreds of hours of free, high-quality instruction covering every technique and pattern imaginable. The challenge is self-diagnosing problems—without an instructor, you might repeat mistakes. To compensate, post photos in online communities for feedback, watch multiple videos on the same pattern (different instructors emphasize different aspects), and be patient with yourself. Local fly shop classes accelerate learning but aren't essential. Start self-taught, take a class later if you want personalized feedback.
What should I buy after exhausting my starter kit materials?
Buy materials as you need them for specific patterns rather than bulk-buying everything. When you run out of pheasant tail fibers, buy more pheasant tail. When you want to tie a new pattern requiring materials you lack, buy only what that pattern needs. This targeted approach prevents accumulating unused materials. After 100+ flies, you'll know which patterns you tie most and can buy those materials in bulk for savings. Common replenishment items: thread (wears out first), beads (you'll use hundreds), dubbing in your most-used colors, and hackle feathers (if you tie lots of dry flies).
Should I buy a cheap kit to see if I like tying before investing in quality?
No—cheap tools make tying frustratingly difficult, leading beginners to quit when the problem is equipment, not skill. A vise that won't hold hooks, scissors that won't cut cleanly, or a bobbin that frays thread sabotages learning. Instead, buy a mid-range kit ($120-$150) with decent tools. If you decide tying isn't for you, quality tools retain resale value. If you continue, you won't need immediate upgrades. The Orvis kit ($79) is the minimum acceptable entry point—anything cheaper has unusable tools that guarantee frustration. Quality tools make learning easier and more enjoyable.
Final Thoughts: Start Simple, Build Skills, Enjoy the Process
Fly tying is a craft that rewards patience and practice. Your first flies will be imperfect—embrace this. Every tier started with ugly flies that somehow still caught fish. Here's how to set yourself up for success:
Choose the right kit for your commitment level:
- Curious beginners: Orvis Kit ($79)
- Committed learners: River Road Creations ($129) or Colorado Anglers Z690 ($179)
- Tool enthusiasts: Loon Outdoors Kit ($149)
- DIY builders: Custom kit ($125-$200)
Start with the five foundation patterns. Master these before attempting complex patterns. The techniques you learn tying Woolly Buggers, Pheasant Tails, Hare's Ears, Elk Hair Caddis, and Parachute Adams transfer to 90% of other patterns.
Practice regularly. Tying 2-3 times per week for an hour each session produces faster improvement than marathon monthly sessions. Muscle memory develops through repetition.
Accept imperfection. Even ugly flies catch fish. Trout aren't judging your thread wraps or perfectly proportioned bodies. They're evaluating whether your fly looks like food. Surprisingly ugly flies sometimes outfish beautiful ones.
Use online resources liberally. YouTube provides unlimited free instruction. Watch, rewatch, and tie along. Post photos in forums for feedback. The fly tying community is welcoming and helpful.
Fish your own flies. Nothing improves tying like seeing which flies work and which don't. The feedback loop between tying and fishing accelerates learning in both areas.
Fly tying deepens your connection to fly fishing in unexpected ways. You'll notice insects more carefully, understand fly design decisions, and feel profound satisfaction hooking fish on your own creations. The craft has sustained anglers for centuries because it combines creativity, skill development, and practical utility. Whether you tie hundreds of flies per year or just a dozen favorites, the time invested enriches your fishing immeasurably.
Browse our fly tying kit collection to start your journey. Stock your boxes with proven patterns from our fly collection while you're learning. And visit our blog for more guides on improving every aspect of your fly fishing.
Pick up your vise, thread your bobbin, and tie your first fly. It won't be perfect, but it will be yours. That's where the magic starts.