
The first hour on the middle Provo River last October went the way these things usually go. My buddy Jay stood in the tailout of a good run, indicator set, flies deep, and every drift he made started perfectly and died about six feet in. The orange ball would land, sit, hesitate — then skate downstream like it had somewhere better to be. He'd throw a big upstream mend to fix it, and the mend would rip the indicator two feet sideways and drag both nymphs off the bottom. Reset. Cast. Repeat. He wasn't doing anything I haven't done a thousand times myself, and he wasn't catching anything either.
Mending a strike indicator is the skill that separates anglers who nymph from anglers who catch on nymphs. Not fly selection. Not a fancier rod. The ability to move your fly line without moving your indicator, so those two little bugs keep tumbling at the speed of the riverbed instead of the speed of the surface.
The short answer: what mending a strike indicator really means
Mending a strike indicator means repositioning the fly line on the water — usually upstream — without pulling the indicator off its drift lane. You do it with a high rod tip, a light lift of only the line between rod and indicator, and slack fed at the right moment. If the indicator jumps when you mend, the mend failed and your nymphs just lifted off the bottom.
Key takeaways
- A good mend moves line, not the indicator. If the indicator hops, twitches, or slides sideways, your nymphs came up off the strike zone.
- The best mend is the one you make in the air — a reach cast or an aerial mend puts the line upstream before it ever touches the water.
- Mend early. The first two seconds after the cast lands is when a mend is nearly free; after that, surface tension makes it expensive.
- Stack mending — feeding two or three small mends in sequence — extends a 15-foot drift into a 30-foot drift without ever disturbing the rig.
- Sometimes the right move is no mend at all. In even, single-speed current, a mend usually costs you more than it buys you.
The morning Jay fixed his drift without changing a single fly
After forty minutes of watching Jay wrestle that run, I waded over and asked him to do one thing: leave the indicator alone. Same rig, same flies, same water. Instead of a big sweeping mend from the shoulder, he lifted the rod tip to eye level, picked up just the belly of line between rod and indicator, and floated it upstream while feeding six inches of slack on the way down.
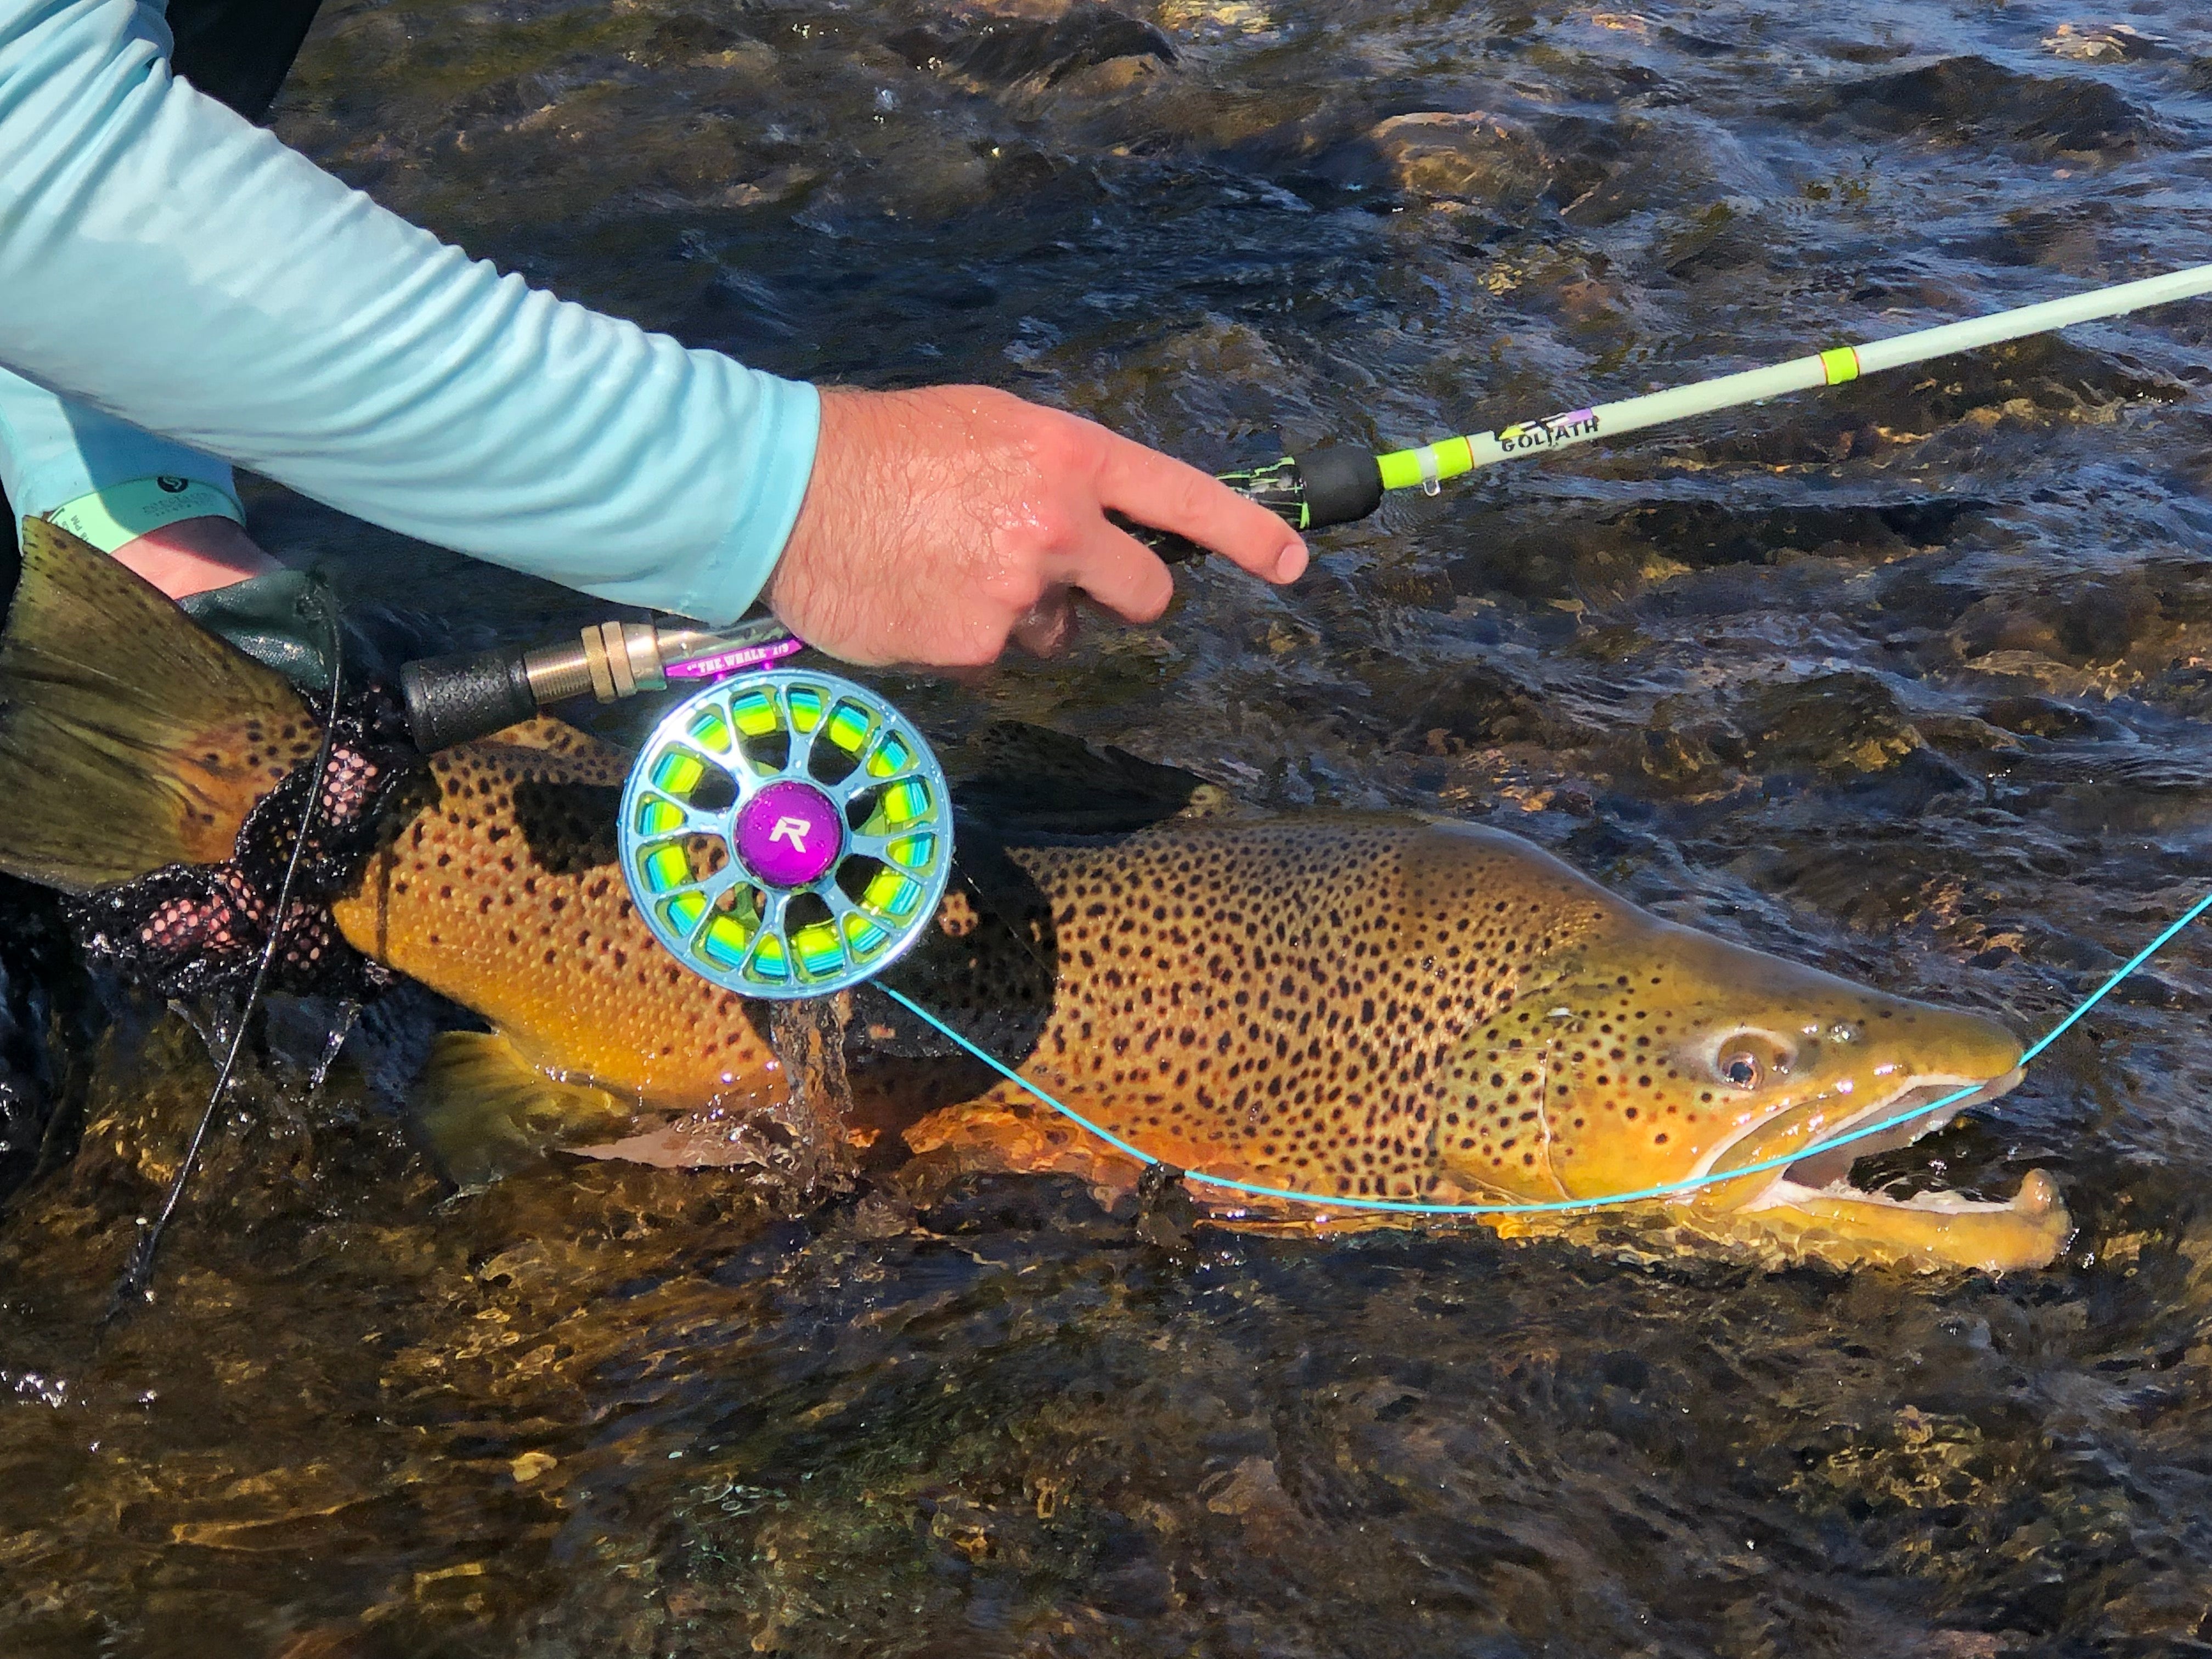
Third drift, the indicator stopped like it had bumped a curb, and he came tight to a 17-inch brown trout (Salmo trutta) that had been sitting in that seam the whole time. He caught four more before we moved, and not one fly changed. What changed is that the nymphs finally fished at the trout's speed instead of the river's surface speed.
That's why I keep hammering on mending in nearly every nymphing conversation on the Fly Fishing Insider Podcast. Most anglers who struggle with indicator nymphing don't have a fly problem. They have a line-control problem wearing a fly-problem costume.
Why mending a strike indicator is different from mending a dry fly
Here's the part that trips people up, and it took me way too long to figure out. When you mend for a dry fly, the fly is on the surface, the leader is on the surface, and everything is in the same current. Move the line, and the fly mostly stays put. It's a two-dimensional problem.
An indicator rig is three-dimensional. You've got a fly line lying across the fastest water (the surface), a leader hanging down through a middle layer, and two nymphs riding along in the slowest water in the river — the boundary layer within a few inches of the streambed, where friction against rock and gravel drags the current down to roughly half the surface speed. Those three layers all move at different rates, and your indicator is the hinge that connects them.
So when you make a big, aggressive mend, you're not just moving line. You're yanking on the top of a pendulum. The indicator slides, the leader straightens, and the nymphs swing like a wrecking ball on a short chain. It's like repositioning a stepladder while somebody is standing on the top rung — you can do it, but gently and in small increments.
That velocity gradient isn't a teaching analogy, either. Stream hydrologists have measured it for a century: current in a natural channel is slowest right at the bed and fastest near the surface. That's exactly why trout can hold in a run that looks like it's ripping — they've found the cheap seats. Your job with an indicator rig is to get your bugs down into those cheap seats and then leave them there.
What does mending a strike indicator actually accomplish?
Mending a strike indicator buys you three things: drift time, depth, and strike detection. Drift time, because a line that isn't bellied downstream isn't dragging the indicator. Depth, because nymphs only sink while the rig is drifting freely — every ounce of drag pulls them shallower. And strike detection, because a tight, controlled line between rod tip and indicator telegraphs a take instantly instead of two beats late.
Let me put numbers on that. On a typical Western freestone run — three to four feet deep, walking-pace current — my nymphs need roughly the first ten to twenty percent of the drift to reach fishing depth. If the whole drift is 25 feet, I'm spending the first three to five feet just sinking. If drag sets in at foot number eight, I've fished about three feet of water and then dragged two bugs sideways through the run at an unnatural angle, which educates trout beautifully and catches them poorly.
Mend correctly and that same drift fishes for 20 feet. That's the math that turns a slow morning into a good one, and it's why I'd rather a beginner spend a season mastering mending than a season buying flies. For the depth side of the same equation, I wrote a whole piece on nymph depth and presentation that pairs with this one.
How do you mend without dragging the strike indicator?
You mend without dragging the strike indicator by lifting only the line between your rod tip and the indicator, moving it with the rod tip high, and feeding slack as the line lands upstream. Four habits make that repeatable: mend in the air first, keep the rod tip high, lift rather than sweep, and mend small and often instead of big and late.
1. Make the mend before the line lands
The cheapest mend in fly fishing is the one you make while the line is still in the air, because water isn't holding onto anything yet. Two versions of this matter for indicator nymphing.
The reach cast is the workhorse. Make a normal overhead cast, and as the loop unrolls over the target, tip the rod upstream and reach your arm that direction before the line settles. The line lands in a curve already upstream of the indicator, which buys several free feet of drift before you ever touch it again. On the Green River below Flaming Gorge, fishing a bank seam from a boat, the reach cast does most of my mending for me.
The aerial mend is the same idea with a wiggle: as the loop straightens, flip a lateral wave into the line with the rod tip so it lands with a built-in upstream curve. It's less precise than a reach cast, but on a windy day — when any on-water mend is going to get shoved around anyway — it's the better tool.
2. Rod tip high, line light
Once the line is on the water, everything depends on how much of it you have to move. A rod tip held at belt level leaves 25 feet of fly line glued to the surface by tension. Raise that tip to eye level and you've peeled maybe 10 feet of it free — the only part you actually need to reposition. Now the mend costs almost nothing.
The analogy I use with people in my boat: it's the difference between dragging a rug across the floor and picking up one corner of it. Same rug, wildly different effort — and wildly different odds of knocking over the lamp sitting in the middle. Your indicator is the lamp.
3. Lift and place, don't sweep
Watch a struggling angler mend and you'll almost always see a big side-arm sweep, elbow leading, rod traveling from 2 o'clock to 10 o'clock in a flat arc. That sweep is horizontal, and horizontal force is exactly what drags an indicator sideways.
The move you want is vertical, then lateral: lift the line off the water, roll your wrist to carry it upstream, set it down. Think of flicking a bedsheet — the wave travels down the sheet and dies before it reaches the far corner. Done right, the energy dissipates in the fly line and never reaches the indicator at all.
4. Small and often beats big and late
One monster mend at second five is worse than three little mends at seconds one, three and five. Every second the line sits on moving water, the river builds more grip on it, and the mend needed to fix that grip grows until it's big enough to wreck the drift. Mend early, mend small, mend again.
That video from Red's Fly Shop shows the drop mend — lifting and dropping line straight upstream rather than rolling it — and it's a good visual for how little a strike indicator should move when the mend is done correctly. Watch the indicator, not the angler's arm. That's the test.
Stack mending: how to double the length of a drift
Stack mending is the one technique that changed indicator nymphing for me, and most anglers have never deliberately practiced it. A stack mend adds line to the drift instead of just repositioning what's already out there: you lift the rod, roll a loop of line upstream, and as it lands you feed 12 to 18 inches of slack from your line hand so the new line piles above the indicator rather than pulling on it.
Do that two or three times in a row and you've stacked six or eight feet of slack upstream of the indicator. The river has to consume all of it before it can start pulling on your rig, which is why a stack-mended drift can run 30 or 40 feet where an unmended one dies at eight.
Where it shines: long, even tailwater runs like the lower Provo River or the San Juan, where trout are spread out and the take can come anywhere. Where it doesn't: pocket water, where drifts are three feet long and the game is a high rod tip and a tight line. Our write-up on traditional indicator nymphing and depth control covers where an indicator earns its keep versus where it just gets in the way.
One warning: slack is a loan, and the interest is strike detection. Every foot you feed is a foot the hookset has to travel before it reaches the fish. I stack aggressively on slow, deep runs where takes are subtle, and much less in fast water where I need to be tight.
Dry Fly Tactics for Selective Trout (free eBook)
Drag-free drift is the same problem on top as it is underneath — this free eBook walks through the presentation side of it, from leader design to the timing of the mend.
Get the free eBook →When should you not mend a strike indicator?
You should not mend a strike indicator when the current between you and the indicator is a single, even speed, when the indicator is already drifting slower than the surface, or when the mend would be big enough to move the rig. In those cases a mend removes more drift than it adds, and doing nothing genuinely outfishes doing something.
Three specific situations where I keep my hands still:
Straight-line downstream drifts. If I'm standing directly upstream of my indicator and the line is running straight down the same seam, there's no belly forming. Mending here just adds a disturbance. I'd rather feed line and let the rig go.
Short-range, high-stick water. Inside about 20 feet, I'm usually holding most of the line off the water with the rod tip and following the indicator downstream with the rod. There's no meaningful belly to mend, and a mend would only break the connection I'm trying to maintain.
The last third of a long drift. Once the indicator is well downstream and the line has swung below me, any mend pulls directly against the flies. At that point I feed slack, step downstream, or accept the drift is over. Plenty of anglers keep flogging a dead drift out of stubbornness, and all they're doing is teaching trout what tippet feels like.
For the broader philosophy of when a line needs help and when it doesn't, our earlier piece on how to think about mending while fly fishing is worth ten minutes.
Some lies are too tight to mend into at all. Lance Egan, the competitive fly angler and Euro nymphing guide at Fly Fish Food, made the point on his episode of the podcast that an indicator rig carries too much hardware to ever land cleanly in a ten-inch seam under overhanging brush, so most anglers either fish those slots badly or walk right past them. A stripped-down tight-line rig with no indicator and no shot puts the flies two inches off the bank instead of six or eight, and two inches is usually where the trout is sitting. That is the honest edge of everything in this post: when the best water is a pocket you could never mend into, the answer is to change rigs, not to keep changing your mend.
Reading the water so you know which mend to make
Every mend answers a specific current problem, and once you name the problem the mend picks itself. Here's the cheat sheet I give clients on Utah water before we start.
| What the water is doing | What that does to your rig | The mend that fixes it |
|---|---|---|
| Fast current between you and a slower target seam | Line races ahead, drags the indicator downstream fast | Reach cast upstream, then small upstream mends every two to three seconds |
| Slow water between you and a faster target seam | Line lags behind, indicator outruns the line and stalls the flies | A downstream mend — yes, downstream — to let the line keep up |
| Even current, single speed across the whole drift | Very little drag at all | No mend. Feed line and follow with the rod tip |
| Multiple seams stacked between you and the fish | The line gets grabbed in two directions at once | Stack mends, or wade to change the angle so you cross fewer seams |
| Wind pushing the belly sideways | Random drag that mending can't outrun | Shorten the cast, keep more line off the water, use an aerial mend |
Notice that "wade to a better angle" made the list. That's not a cop-out — the cleanest mend in the world can't beat standing where you don't need one. If moving 15 feet upstream turns a cross-seam cast into a straight downstream feed, I take it every time.
Advanced indicator mending: boats, buckets and the tension mend
Once the basics are solid, a few refinements are worth adding to the toolbox.
Mending from a drift boat
From a moving boat, the river isn't pulling your line downstream — the boat is. You're floating at roughly current speed, so a classic upstream mend often does nothing useful. What matters is keeping the line from bellying toward the boat as you swing past a bank seam. On the Green River or the lower Provo I make short corrections to hold the rig in the seam, and I recast far more often than I would wading. A 25-foot cast that gets six good feet of drift, repeated forty times an hour, out-produces one heroic 50-foot cast.
The bucket mend for deep, slow pools
In deep, slow pools I'll deliberately throw a pile of slack line upstream — a "bucket" — right after the cast lands, so the nymphs sink almost vertically while nothing pulls on them. In four feet of soft water that bucket can get the rig 18 inches deeper than a clean, tight layout would. You pay in strike detection, so save it for water where the indicator dip is obvious.
The tension mend at the end of the drift
At the end of a drift, instead of ripping the rig out, make one deliberate downstream mend and let the flies swing and rise. That rising motion imitates an emerging insect leaving the streambed, and I've had more trout eat on that intentional swing than I can count — especially during a Blue-Winged Olive emergence. Our guide to fishing a Blue-Winged Olive pattern gets into that timing.
Let the flows tell you what kind of day it is
Before I leave the house, I check the gauge. At 90 cfs the middle Provo River mends easily and I can reach across three seams. At 400 cfs the same run has enough surface push that I shorten every cast, fish closer, and mend twice as often. The USGS National Water Dashboard publishes real-time discharge for most trout rivers in the country, and five minutes there tells you more about how your day will mend than any shop report.
The gear that makes mending a strike indicator easier
Let me be honest: gear will not fix a bad mend. But a few choices make a good mend much easier, and a few make it nearly impossible.
Indicator choice matters more than people think. A big, water-logged indicator has mass, and mass resists being repositioned. I fish three types. Small hard ball strike indicators are my tailwater default — easy to lift, easy to slide when I change depth. Poly Ring indicators build a clean hinge without kinking the leader, which matters if you reset depth a dozen times a day. Stick-on Palsa strike indicators are what I use with tiny midge rigs on the Green River, where anything bulkier lands with a splat. All three live in the tools collection at the shop.
Line and leader do real work. A fly line with a defined front taper and a slightly stiffer core mends far better than a limp one, because the mend wave travels down it instead of dying halfway. Leader matters too: I like a 9-foot 3X or 4X tapered leader for most indicator work, with tippet below it sized to the flies. If the leader collapses in a heap every cast, no mend will save the drift. Browse the fly lines and leaders collections if yours are past their prime — most anglers fish a line about two seasons too long.
Rod length is the quiet advantage. Going from a 9-foot rod to a 10-foot rod adds 12 inches of reach, which is line you can hold off the water without mending at all. I fish a 9-foot 5-weight for general work and a 10-foot 4-weight when I know I'll nymph all day.


Everything you need for this setup
A 20-minute practice session that fixes this for good
Mending is a motor skill, and motor skills respond to deliberate reps far better than to reading. Here's the drill, and it works on any moving water within driving distance.
Rig an indicator with two pieces of yarn instead of hooks — no flies, no split shot, nothing to snag. Find a run with an obvious fast strip of water between you and a slower seam. Make ten casts where the only thing you grade is whether the indicator moved during the mend. Not distance, not depth. Just: did the orange thing stay put?
Most people start at two out of ten and finish a twenty-minute session at seven or eight. Next time out, their catch rate jumps without one change to the fly box — which tells you where the bottleneck really was. Practicing mending is the least glamorous thing in fly fishing and probably the highest-return.
Frequently asked questions about mending a strike indicator
Should you mend upstream or downstream with a strike indicator?
Mend upstream when the water between you and the indicator is faster than the water your indicator is riding in — that's the common case, and it stops the line from dragging the rig downstream. Mend downstream when you're standing in slower water and casting across to a faster seam, because there the line is lagging behind and holding the flies back. The rule is simple: mend toward the slower water.
How often should you mend an indicator rig during one drift?
On a typical 25-foot drift in moderate current I'll mend two to four times, roughly every two to three seconds, with each mend small. Frequency beats force. A single large mend late in the drift moves the indicator and lifts the nymphs, while three small ones keep the rig undisturbed the whole way through.
Why does my strike indicator move every time I mend?
Your strike indicator moves during a mend for one of three reasons: your rod tip is too low, so you're dragging too much line off the water; your mend is a flat sideways sweep instead of a vertical lift; or you're not feeding any slack, so the mend has nowhere to go but into the indicator. Fix the rod tip first — it solves the problem most of the time.
Does the type of strike indicator change how you mend?
Yes. Light stick-on and yarn indicators lift and reposition easily but ride lower in heavy water. Hard ball indicators float higher and are easier to see at distance, but they carry more mass and more surface grip, so a sloppy mend moves them further. Match the indicator to the weight of your nymphs — one that's constantly pulled under is too small, and one that won't dip on a take is too big.
Can you mend too much when indicator nymphing?
Absolutely. Every mend is a disturbance, and in even, single-speed current a mend costs drift instead of buying it. If you're mending on autopilot and the indicator twitches each time, you're feeding trout a pair of nymphs that keep lurching. Watch one full drift with your hands still before deciding a mend is needed.
How high should I set my strike indicator above the flies?
Start at one and a half to two times the water depth, measured from indicator to bottom fly — in four feet of water, that's six to eight feet. Then let the drift tell you: if you never tick the streambed, go deeper or add weight; if you hang up every cast, come up six inches. A soft tick of the streambed every four to six drifts, rather than on every cast, is the calibration I use.
Do I still need to mend if I'm using a long leader or Euro-style rig?
Much less, and that's the point of those systems. A tight-line or micro-leader nymphing setup keeps most of the line off the water entirely, so there's no belly to mend. The trade-off is range: those methods shine inside 25 feet and struggle beyond it, while an indicator rig with good mending covers water you could never reach on a tight line.
Go move some line
If you take one thing from all of this, make it the test: watch the indicator, not your arm. A mend that moves the strike indicator didn't work, no matter how pretty the loop looked flying upstream. Install that one feedback loop and the rest — reach casts, stack mends, knowing when to leave it alone — builds itself over a season.
Be patient with it. Jay fought that Provo River run for forty minutes before the fix took, and he's a good angler. Feel skills come in slowly and then stay forever, and the layers are what let you catch any fish, any time, and anywhere.
Tag us in your riverbank photos at @flyfishinginsiderpodcast — and if you have a mending question I didn't answer here, send it over and it may end up on the show.
Join the FFIP Insiders
Get gear deals, trip intel, and tactics to help you catch any fish, any time, and anywhere — straight to your inbox. Start with our free eBook on drag-free presentation.
Get the free eBook →Tight lines, everyone!
— Christian Bacasa, Fly Fishing Insider Podcast