
Jay called me from the Weber River last October, frustrated. He'd been drifting the same run for two hours with the same pheasant tail that had crushed fish there in September, and he hadn't touched a trout. "The drift looks perfect," he said. "Indicator's not moving, no drag, dead clean." And he was right — his drift was clean. The problem was that his nymph was riding about eighteen inches above every fish in that run. A dead drift at the wrong depth is just a well-presented miss. That's the thing nobody tells you when they hand you a bobber and tell you to get a drag-free drift: "dead drift" isn't one technique. It's at least three, and they're separated almost entirely by how deep your fly is running.
There are three ways to dead drift a nymph: bottom bounce, where the fly ticks the riverbed through the whole drift; strike zone, where the fly rides a few inches to a foot above bottom in the feeding lane; and tracking, where the fly drifts higher in the column at the speed of the current. All three are drag-free. Which one catches fish on a given day depends on water temperature, clarity, hatch activity, and where the trout have chosen to hold.
Key Takeaways
- Bottom bounce puts the nymph in contact with the substrate — best in cold water, high flows, and when trout are pinned to the bottom.
- Strike zone drifts hold the fly a few inches to a foot off bottom, which covers the widest range of conditions and is where most anglers should start.
- Tracking keeps the nymph higher in the water column, matching emerging insects that are rising through the water.
- Your point fly should tick bottom softly every four to six drifts on a strike-zone presentation — more than that and you're bottom bouncing whether you meant to or not.
- Change depth before you change flies. Depth is the variable that decides whether trout ever see the pattern you're arguing with yourself about.
I'm Christian Bacasa, host of the Fly Fishing Insider Podcast, and I guide here in Utah. I've watched more good anglers lose a day to the wrong depth than to the wrong fly by a margin of about ten to one. Let's fix that, because knowing how to dead drift a nymph at three different depths is the difference between a technique and a toolkit.
The Run Jay Couldn't Crack
When I met Jay on the Weber the next morning, the water was 46 degrees — about eight degrees colder than his September trip. Same run, same seam, same bug. He was fishing an indicator set at about three feet on water that was four and a half feet deep in the bucket, with one size 16 bead head that weighed almost nothing.
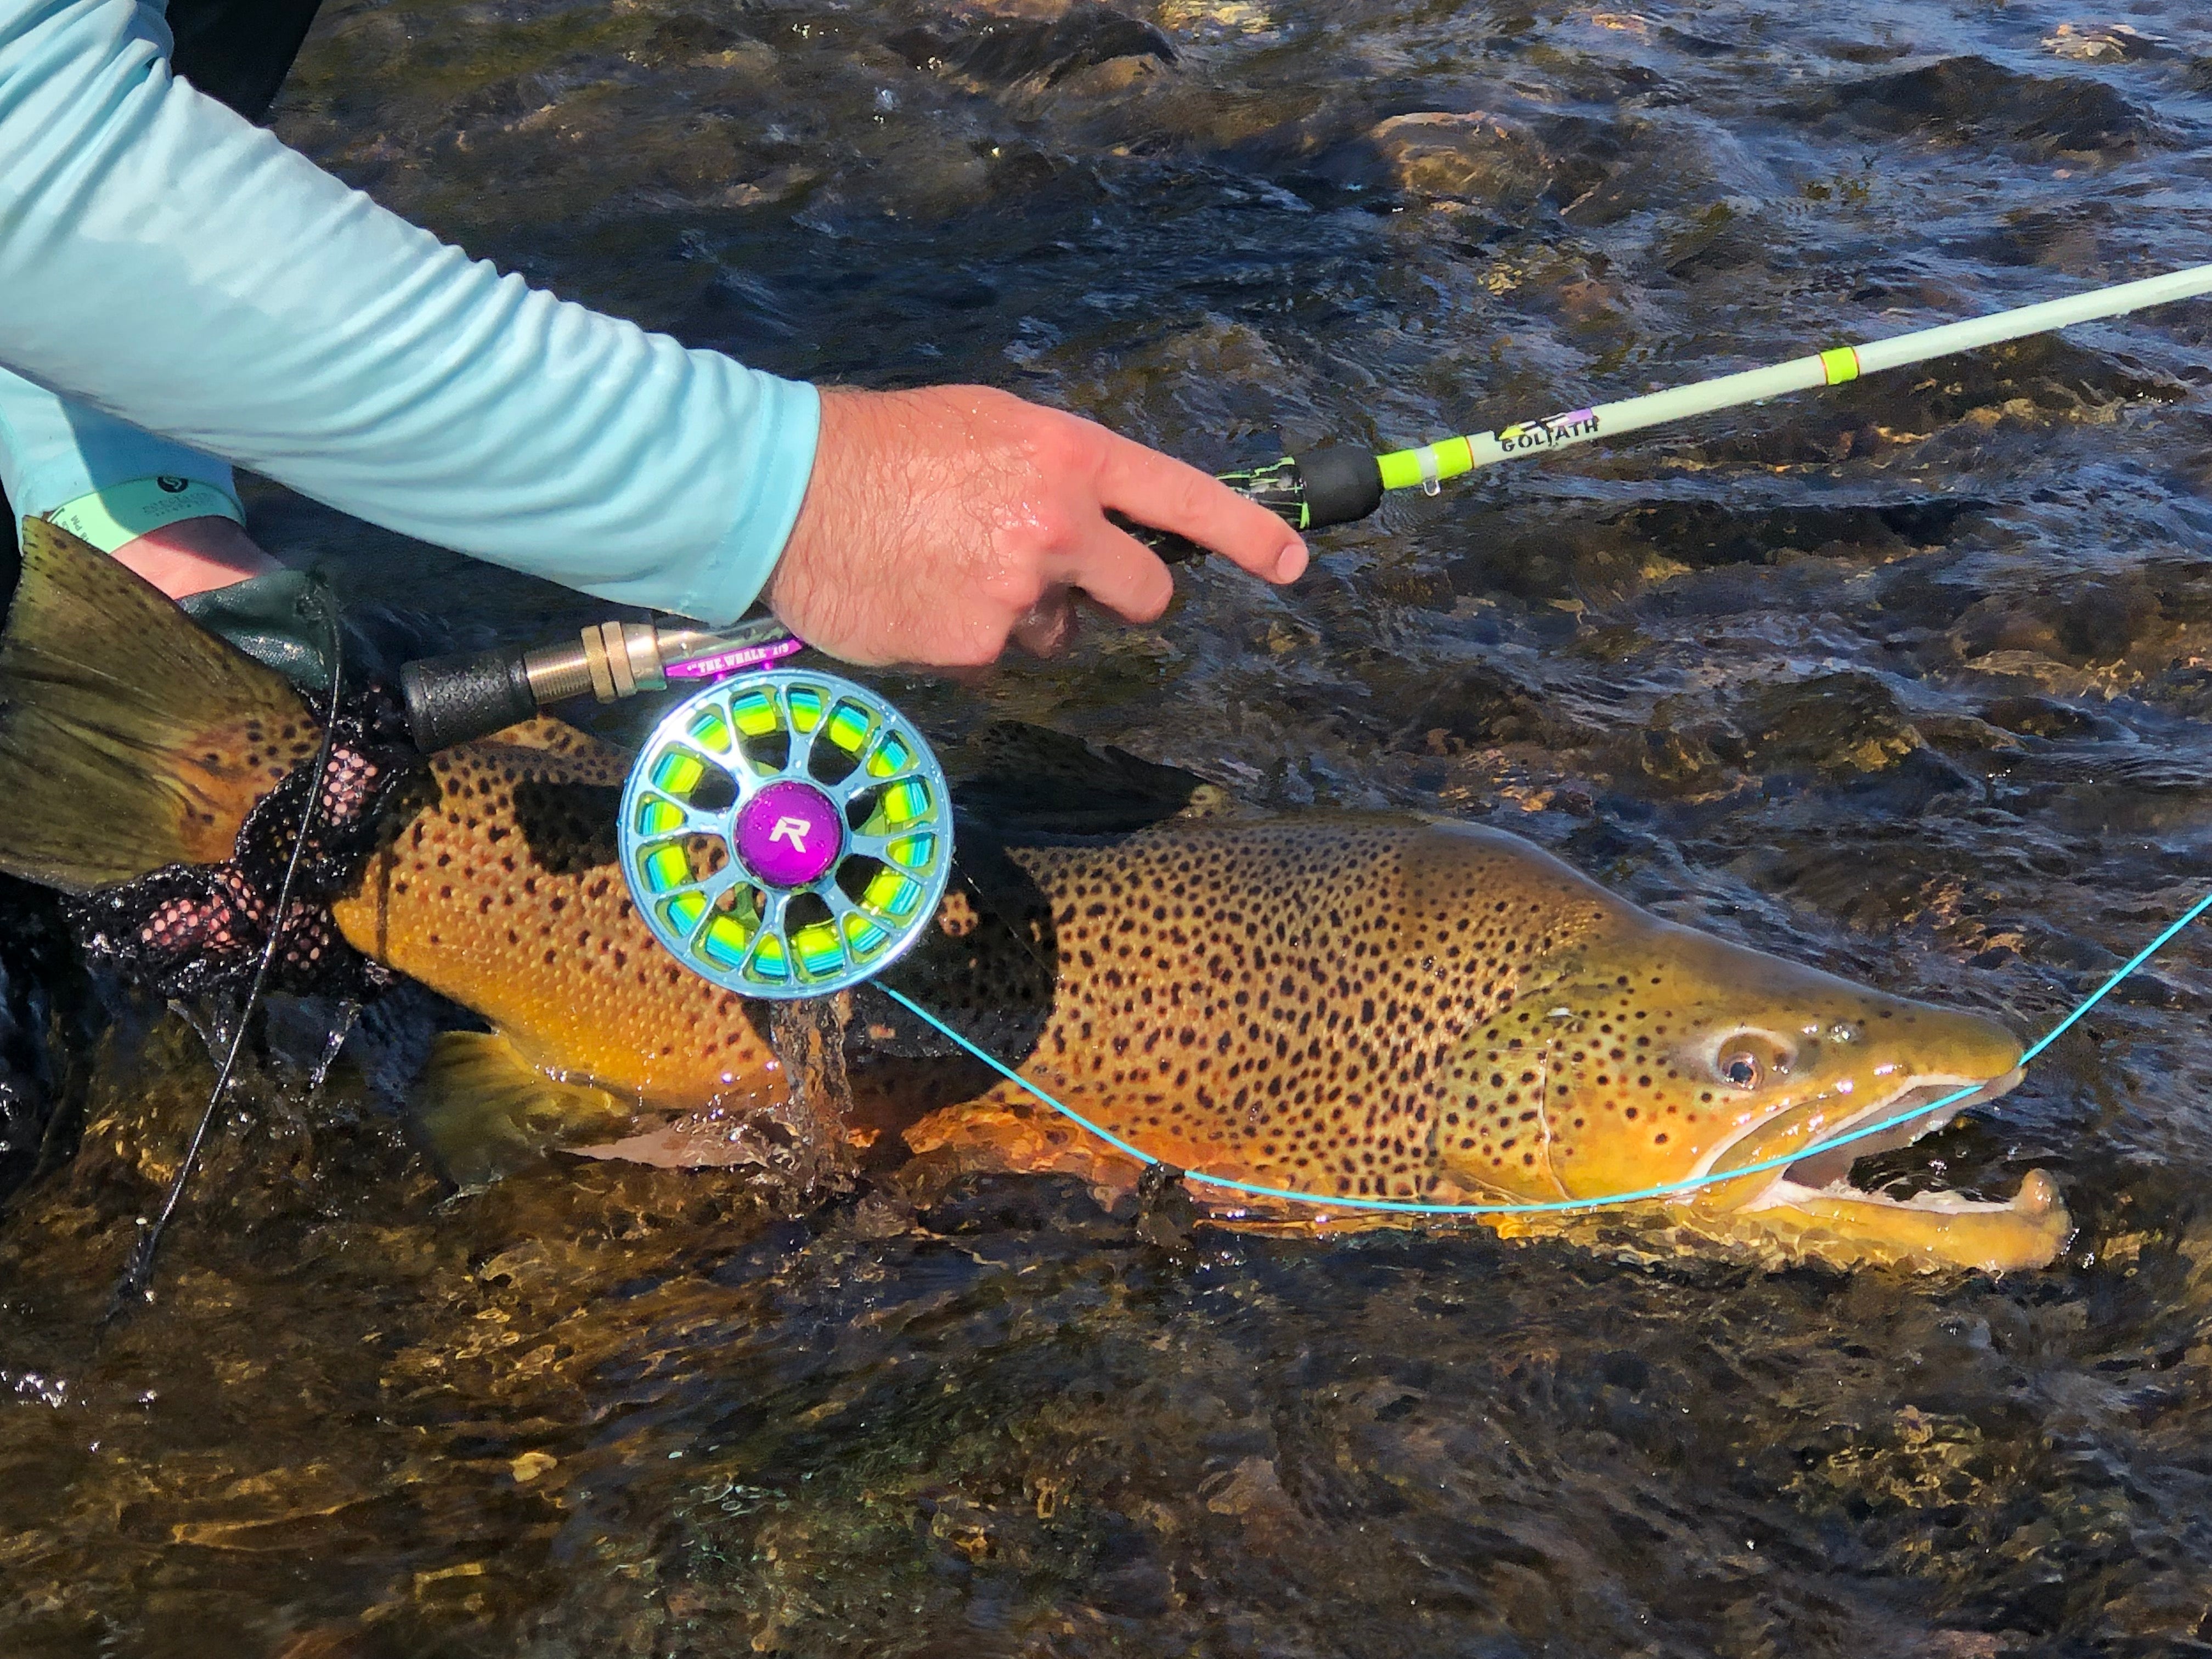
We did two things. We moved the indicator up so the distance from indicator to point fly was roughly seven feet, and we added a single BB shot about ten inches above the fly. That's it. No fly change. The first drift through the bucket, his indicator hesitated, he set, and a heavy brown trout (Salmo trutta) came off the bottom mad about it. He landed four more out of that same run in the next hour.
Jay's presentation was never the problem. His depth was. When water temperature drops into the mid-forties, trout move to the slowest, deepest water they can find and they stop moving far to eat. A fly eighteen inches over their heads may as well be in another river. In September, at 58 degrees, those same fish were sitting higher and willing to rise a foot for a bug — and the exact same rig worked beautifully.
Here's the analogy I use with clients: a dead drift is like a delivery truck. A perfect driver on the wrong street still doesn't get the package to your door. Depth is the street address.
What Does It Mean to Dead Drift a Nymph?
Dead drifting a nymph means the fly travels downstream at the same speed as the current carrying it, with no tension from the leader pulling it faster, slower, or sideways. To a trout, a dead-drifted nymph looks like a real insect that has lost its grip on the bottom and is being carried along helplessly — which is exactly what happens to mayfly and caddis larvae millions of times a day in a trout stream.
That drifting behavior is real, measurable biology, not an angling metaphor. Aquatic insects enter the water column both accidentally and deliberately, and researchers studying invertebrate drift have documented how mayfly nymphs adjust that behavior in response to predators and light — the drift research published out of Colorado State University's Poff Lab is a good window into it. What matters for you standing in the river is that this drifting food is distributed through the water column unevenly, and trout position themselves to intercept it at the depth where the calories are.
So the question "how do I dead drift a nymph" is really two questions stacked together. First, can you keep the fly moving at current speed with no drag? Second, at what depth are you doing it? Most nymphing instruction obsesses over the first question and barely mentions the second. That's backwards.
The Three Dead Drifts, Side by Side
| Presentation | Fly depth | Rig cue | Best conditions | Cost |
|---|---|---|---|---|
| Bottom bounce | Touching or within an inch of the substrate | Indicator set at roughly 2x depth; shot below or at the fly | Water under 48°F, high or off-color flows, deep winter buckets | Snags, missed takes, slower drift speed than the current |
| Strike zone | Two inches to a foot off bottom | Indicator at 1.5x depth; ticks bottom every 4–6 drifts | Most days, most water, 48–62°F, normal flows | Requires constant small adjustments as depth changes |
| Tracking | Mid-column to just under the surface | Light or no added weight, longer tippet, smaller bead | Active hatches, emergers, warm water, fish flashing high | Useless when fish are pinned to the bottom |
Way One: The Bottom Bounce
Bottom bouncing means your point fly is in physical contact with the riverbed for most of the drift, ticking and stalling and bumping along. It is not a subtle presentation and it is not always pretty, but in cold water it is devastatingly effective because the fly spends its entire drift in the two-inch band where a lethargic trout is willing to eat.
When I bottom bounce
Below about 48 degrees Fahrenheit, in runoff or high water, and in deep winter buckets on tailwaters like the Green River below Flaming Gorge. I also bottom bounce when I'm fishing a run I know holds fish and I've gotten nothing on a strike-zone drift — it's my escalation, not my default.
How I rig it
For an indicator setup, I set the indicator at roughly twice the water depth, which sounds like a lot until you account for the angle the leader takes in current. A four-foot bucket gets about eight feet from indicator to point fly. Weight goes eight to twelve inches above the first fly, and I'd rather use one larger shot than three small ones because a string of shot hinges and tangles. A split shot assortment lets you step up a size at a time instead of doubling your weight.
The bounce-rig approach — where the weight hangs below the flies on a tag — is worth knowing too, because it keeps the shot in the rocks and the flies riding just above them. I walk through building one in our guide to tying a bounce rig leader, and it's the single best snag-reduction trick I know for deep, rocky water.
The honest limits
You will lose flies. A bottom-bounced fly also drifts slower than the current, because the riverbed is slowing it — technically that's not a true dead drift at all, it's a slowed drift, and in clear low water a sophisticated brown trout will notice. That's why bottom bouncing shines when water is pushy or colored and falls apart on a gin-clear spring creek in August.
Way Two: The Strike Zone Drift
The strike zone drift holds the nymph in the band from about two inches to twelve inches off the bottom, moving at current speed. If I had to fish one presentation for the rest of my life, this would be it — it covers cold-ish water, average water, and warm water, and it's the presentation trout eat most willingly because the fly is close enough to be an easy meal without being buried in the rocks where they can't track it.
How to find the zone
Start with an indicator set at about one and a half times the water depth, or on a tight-line rig, start with enough weight that you feel an occasional soft tick. Then use the tick frequency as your gauge. Touching bottom every four to six drifts means you're in the zone. Every cast means you've slid into bottom bouncing. Never means you're too high and you should add weight or lengthen your depth setting.
That tick-frequency rule is the single most useful piece of nymphing feedback I know, and it works with an indicator, a tight-line rig, or a dry dropper. It's also the reason I stopped carrying so many fly patterns and started carrying more weight options.
Let the leader tell you the nymph made it down. Devin Olsen — competitive fly fishing champion and the guy behind Tactical Fly Fisher — made a point on his episode of the podcast that changed how I judge a drift. Without a way to measure drift quality, anglers just repeat the same mediocre presentation all day. Use the leader as the instrument: the fly should reach the slow boundary layer near the bottom within the first tenth or so of the drift, and you'll see the leader visibly straighten when it does. A soft tick of bottom every few drifts confirms the weight is right, and that's exactly the feedback loop a strike-zone dead drift depends on.
Weight placement matters more than weight amount
Shot placed twelve inches above the fly lets the fly ride above the shot and swing naturally. Shot placed four inches above the fly drags the fly down with it and kills the fly's independent movement. Same total weight, completely different presentation. When I want a strike-zone drift I go farther from the fly; when I want a bottom bounce I move the shot closer.
Depth is not constant within a run
This is where anglers lose fish without knowing it. A single run might be two feet at the head, five in the bucket, and eighteen inches in the tailout. One depth setting is correct for one third of that run. I'll fish the head, adjust, fish the bucket, adjust again for the tailout. It takes ten extra seconds per adjustment and it roughly doubles the productive water in every run I fish.
Dry Fly Tactics for Selective Trout (free eBook)
The same depth-and-drift thinking applies when trout move to the surface — here's the dry fly side of it in one downloadable guide, free from the FFIP crew.
Get the free eBook →Way Three: Tracking the Nymph Higher in the Column
Tracking means letting the nymph drift at current speed somewhere in the middle or upper water column rather than near the bottom. Anglers who only fish deep miss this entirely, and they miss some of the best fishing of the year doing it.
Trout feed high when insects are moving high. During a mayfly or caddis emergence, nymphs and pupae are actively swimming and being carried toward the surface, and trout will suspend and intercept them a foot under the film. If you're grinding a heavy tungsten jig along the rocks during a Baetis emergence on the Provo River, you're fishing beneath the entire event.
How to rig for a tracking drift
Go light. Strip the split shot off entirely, drop to a smaller bead or a bare-wire nymph, and lengthen your tippet so the fly has time to drift rather than plunge. A size 18 pheasant tail on 5X with no added weight will ride exactly where you want it during an emergence. If you're fishing an indicator, shorten the depth setting dramatically — I'll often go to less than the water depth, which feels wrong until the first fish eats.
Reading when to switch
Watch for flashes. Trout turning sideways to eat in the middle of the column produce a visible flash of flank even in moderately clear water. Watch also for splashy or bulging rises that never produce an actual insect taken off the surface — those are fish eating emergers just under the film, and a tracked nymph is the exact right answer. Our guide to indicator nymphing, strike detection and depth control goes deeper on reading those cues.
How Do You Know Which Dead Drift the Trout Want Today?
You determine which dead drift to use by reading water temperature, flow, and fish behavior, then testing one depth strategy for fifteen to twenty minutes before switching. Cold water and high flows point toward a bottom bounce. Moderate temperatures and normal flows point toward a strike zone drift. Visible surface activity, flashing fish, or an emergence in progress point toward tracking.
Here's the decision sequence I actually run, in order:
1. Take the water temperature
A stream thermometer costs less than three flies and it tells you more than any of them. Under 48°F, go deep and slow. From 48 to 62°F, strike zone. Above 62°F, fish are usually active and higher, and you should also be thinking hard about fish handling and whether you should be fishing that water at all — Utah and most western states publish current conditions and any emergency closures through their wildlife agencies, and the Utah Division of Wildlife Resources fishing page is where I check before a trip.
2. Read the flow
High, pushy water compresses trout into slower pockets near the bottom and along the banks. That's bottom-bounce territory. Low, clear water spreads fish out and makes them wary, which usually argues for a lighter strike-zone presentation on finer tippet.
3. Test in twenty-minute blocks
Give a depth strategy real time before you abandon it. Six half-hearted drifts don't test anything. Twenty focused minutes through good water tells you whether the depth is wrong — and if it is, change depth before you change patterns. Most anglers do the reverse and then blame the fly.
4. Use one run as a control
Pick a run you know holds fish. Fish it with a strike-zone drift, then bottom bounce it, then track it high. Whatever produces there is probably the answer for the rest of the day, because trout in a given river tend to be doing roughly the same thing at the same time.
Advanced Notes: Mixing the Three in One Drift
Once you're comfortable with all three, you can blend them inside a single cast. My favorite version is starting a drift as a bottom bounce through the head of a run and then, as the flies enter the tailout, lifting the rod tip to convert the presentation into a tracked rise. That lift imitates an emerging insect leaving the bottom, and it draws an aggressive percentage of the eats I get in the back third of a run.
The other blend worth learning is a two-fly rig with a heavy point fly and a lighter dropper on a tag twelve to eighteen inches above it. The heavy fly bottom bounces; the lighter fly rides in the strike zone. You cover two of the three presentations on every cast and let the fish vote. Check your local rules first — the number of flies you can legally fish varies by state and sometimes by individual water. Tangle risk goes up, so I fish that rig with a slower casting stroke and an open loop. A tandem rig also works better with a slightly buoyant indicator that can support the weight, and simple ball strike indicators handle it without the hinge you get from a heavy yarn setup.
High-sticking is the third skill that ties all of this together. In pocket water you're changing depth every three feet, and holding line off the water lets you convert between presentations by moving the rod rather than re-rigging — our guide to high-stick nymphing in pocket water covers that in detail.
The Gear That Makes Depth Control Easy
You don't need much for this, and I'd rather you spend money on weight options and a couple of nymph assortments than on another rod. What you actually need is a range of fly weights, a range of shot sizes, and an indicator that doesn't fight you when you move it.
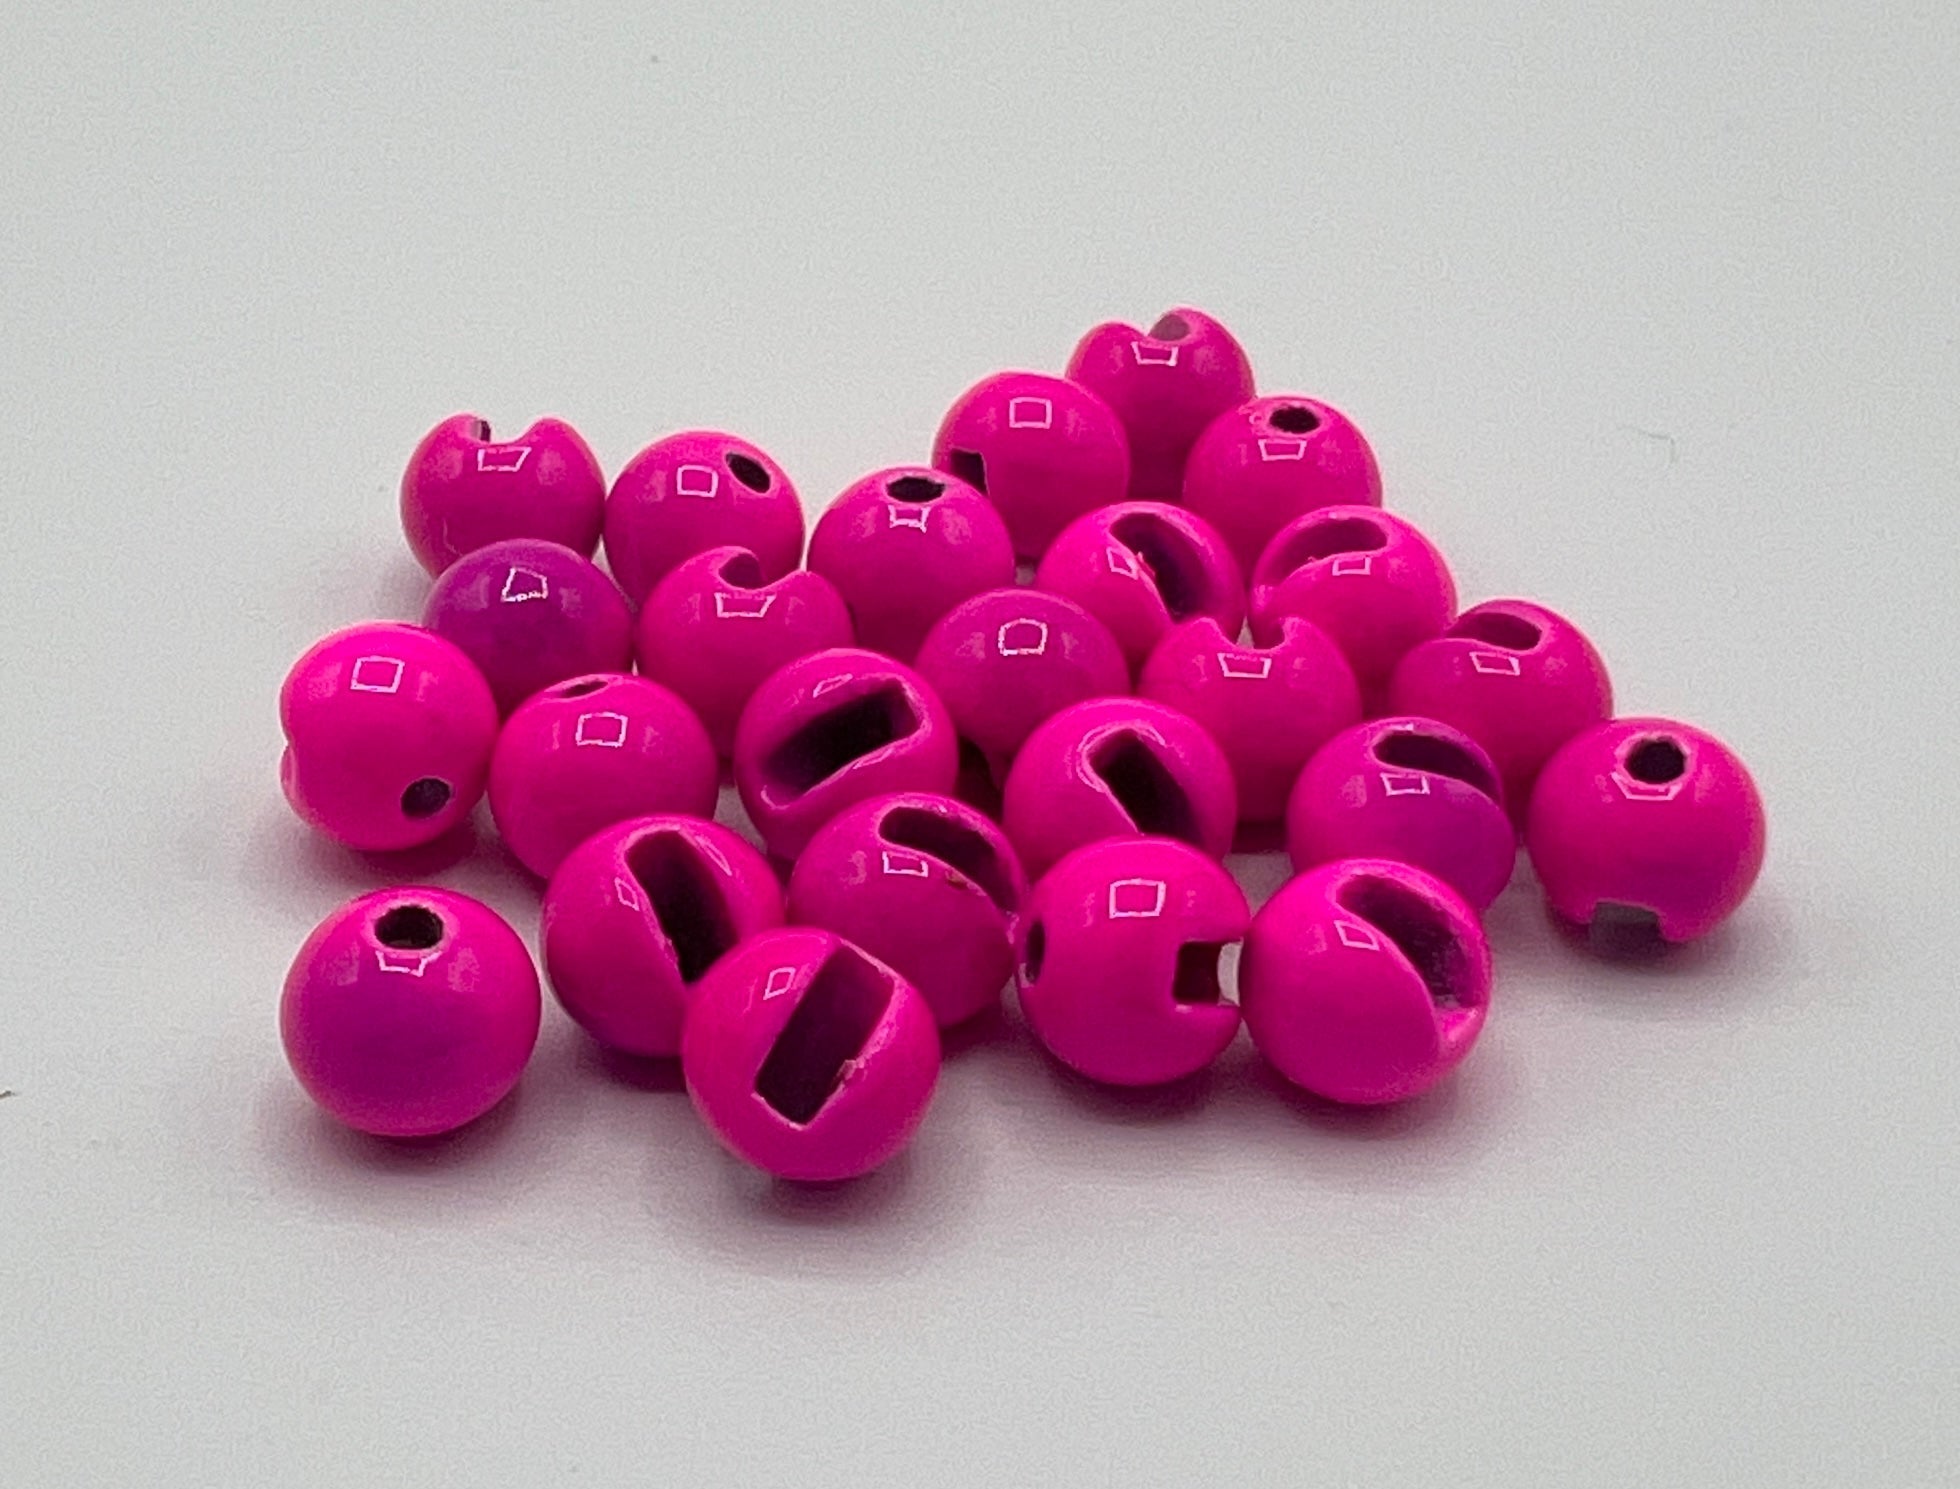
On flies, carry the same pattern in two or three weights. A bare-wire pheasant tail for tracking, a standard bead head for the strike zone, and a double bead or tungsten version for bottom bouncing. That's one pattern covering all three presentations, which is far more useful than three patterns at one weight. The fly pattern assortments collection is the fastest way to build that spread, and the broader fly patterns collection lets you fill in single patterns like Pat's tungsten bead stonefly nymph when you need serious weight in a natural silhouette. For shot, indicators and the small tools that make adjustment quick, the tools collection has what you need.


Frequently Asked Questions
How deep should my nymph be drifting?
For most conditions, a nymph should dead drift two inches to a foot off the bottom — the strike zone. Confirm it by feel: your point fly should tick bottom softly every four to six drifts. In water colder than about 48°F, drop into a bottom bounce with the fly contacting the substrate. During an active emergence, come up into the middle of the column instead.
How much split shot do I need to dead drift a nymph?
Start with one shot sized so you tick bottom every few drifts, then adjust one size at a time. One larger shot generally beats several small ones because a string of shot hinges the leader and tangles. Place the shot eight to twelve inches above the fly for a strike-zone drift, and closer to the fly when you want it pinned to the bottom.
What is the difference between bottom bouncing and a strike zone drift?
Bottom bouncing keeps the nymph in physical contact with the riverbed, which slows the fly below true current speed but puts it directly in front of cold, lethargic trout. A strike zone drift holds the nymph a few inches to a foot above the bottom at true current speed, which looks more natural and catches fish across a far wider range of conditions.
Why is my indicator not moving when fish are eating?
Usually because there's slack between the indicator and the fly, or the indicator is too buoyant to register a soft take. Tighten the connection by keeping excess line off the water, and match indicator size to your weight — a big foam indicator supporting a light nymph will absorb most subtle takes. Setting on any hesitation, not just a hard dive, will also convert more eats.
Should I change my fly or my depth first?
Change depth first, every time. Trout can't eat a pattern they never see, and depth determines whether the fly enters their window at all. Work through a depth adjustment and a weight adjustment before you open the fly box, and you'll spend far less of your day tying knots.
Can you dead drift a nymph without an indicator?
Absolutely. A tight-line or euro nymphing rig dead drifts extremely well and gives better depth control in close water, because you're reading the leader instead of a floating bobber. Indicators earn their keep at distance, in slow deep water, and when you want to suspend a fly at a fixed depth over a known lie.
Pick a Depth and Fish It Like You Mean It
The next time a run you trust refuses to produce, resist the fly box. Ask instead which of the three dead drifts you're actually fishing, and whether it matches the temperature, the flow, and what the fish are showing you. Then change the depth and give it twenty honest minutes. Jay went from a blank morning to five brown trout out of one run without changing a single fly, and that story repeats itself on my boat and in my guide days more often than any other.
That's what we're after at the Fly Fishing Insider Podcast — practical skills that help you catch any fish, any time, and anywhere, whether you're on the Weber, the Provo, or a river you've never seen before. Show me what you find out there; we're at @flyfishinginsiderpodcast, and the crew always has good ideas.
Join the FFIP Insiders
Get gear deals, trip intel, and tactics to help you catch any fish, any time, and anywhere — start with our free dry fly guide.
Get the free eBook →Tight lines, everyone!