
Fly Fishing Insider Podcast
A custom fly rod is assembled in order from the back forward: fighting butt, then reel seat, then handle, then guides wrapped from butt toward tip. Mounting the handle correctly is the step that decides whether the rod performs, and mesh drywall tape under the reel seat gives the epoxy a mechanical grip that painters tape cannot.
Lance Kittel builds custom fly rods and documents fly patterns in a distinctive illustrated style under the name Pesca Vida, and works professionally in watershed conservation.
Also on Apple Podcasts · Spotify · YouTube
What order do you build a fly rod in?
Rod building follows an assembly order much the way fly tying runs from the back of the hook forward. The fighting butt is glued on first, the reel seat sits directly above it, the handle goes on top of that with a counterbore at the butt end so it fits over the top of the reel seat, and the guides are wrapped last, working from the butt section up to the tip top. Rods of five weight and under usually skip the fighting butt unless a customer asks for one; six weight and above generally get one because it eventually gets used.
Why is mounting the handle the hardest step in rod building?
Mounting the handle wrong splits the cork, breaks the handle and reduces how well the fly rod casts, which is why it is the step worth slowing down on. An early build failed because the reel seat was never countersunk into the handle, so nothing was actually seated and the rod broke. A drill press sets the inner diameter of the handle so it fits the blank, and hand files clean up handles that come off the lathe sitting slightly lopsided on the blank.
What tape should you use for arbors under a reel seat?
Blue painters tape is the common starting point, and it is where most first builds begin, but two-ton epoxy does not saturate into it and the tape's slick, waxy surface leaves no texture to bond to. Mesh drywall tape solved that: its open lattice lets epoxy seep through and sets up a mechanical bond alongside the chemical one. The failures that forced the switch showed up under larger saltwater reel seats. One or two layers is usually enough on a handle or fighting butt, with the heaviest use going under the reel seat.
What is color-fast thread and why does it matter on guide wraps?
Color-fast thread holds its color when the finish epoxy goes over it; non-color-fast thread darkens, so a tan guide wrap typically finishes brown. Since most anglers judge a wrap visually before they judge its strength, that difference decides how the rod looks. Non-color-fast thread can still be used with a color preserver and a thread finisher, which is the workaround when a color is only sold that way. Nylon is the most common thread on production fly rods; undyed silk goes fully transparent under finish, which is how a rod gets built with no visible thread wraps at all.
How do you keep guide wraps tight with no gaps?
The first three or four turns of thread go onto the bare blank, not onto the guide foot, and only after those are locked down tight does the wrap move up onto the foot to secure the guide. Holding the thread at a very slight angle back toward the previous turns, rather than perpendicular to the blank, makes each new wrap roll over and settle snug against the last one. Gaps and weak spots should be fixed the moment they appear rather than wrapped past, because a guide that pops loose while fighting a large fish is the failure this step prevents.
How do you get a thread wrap to transition onto a guide foot?
Guides are sold either filed or unfiled. Running an unfiled guide foot against a flat file creates the ramp the thread climbs, and getting that angle right - not too steep, not too shallow - took years of practice to dial in. Anyone building a single rod is better off buying pre-filed guides, which are consistent straight from the factory, and accepting the higher price for that step.
What fly tying materials can you buy outside a fly shop?
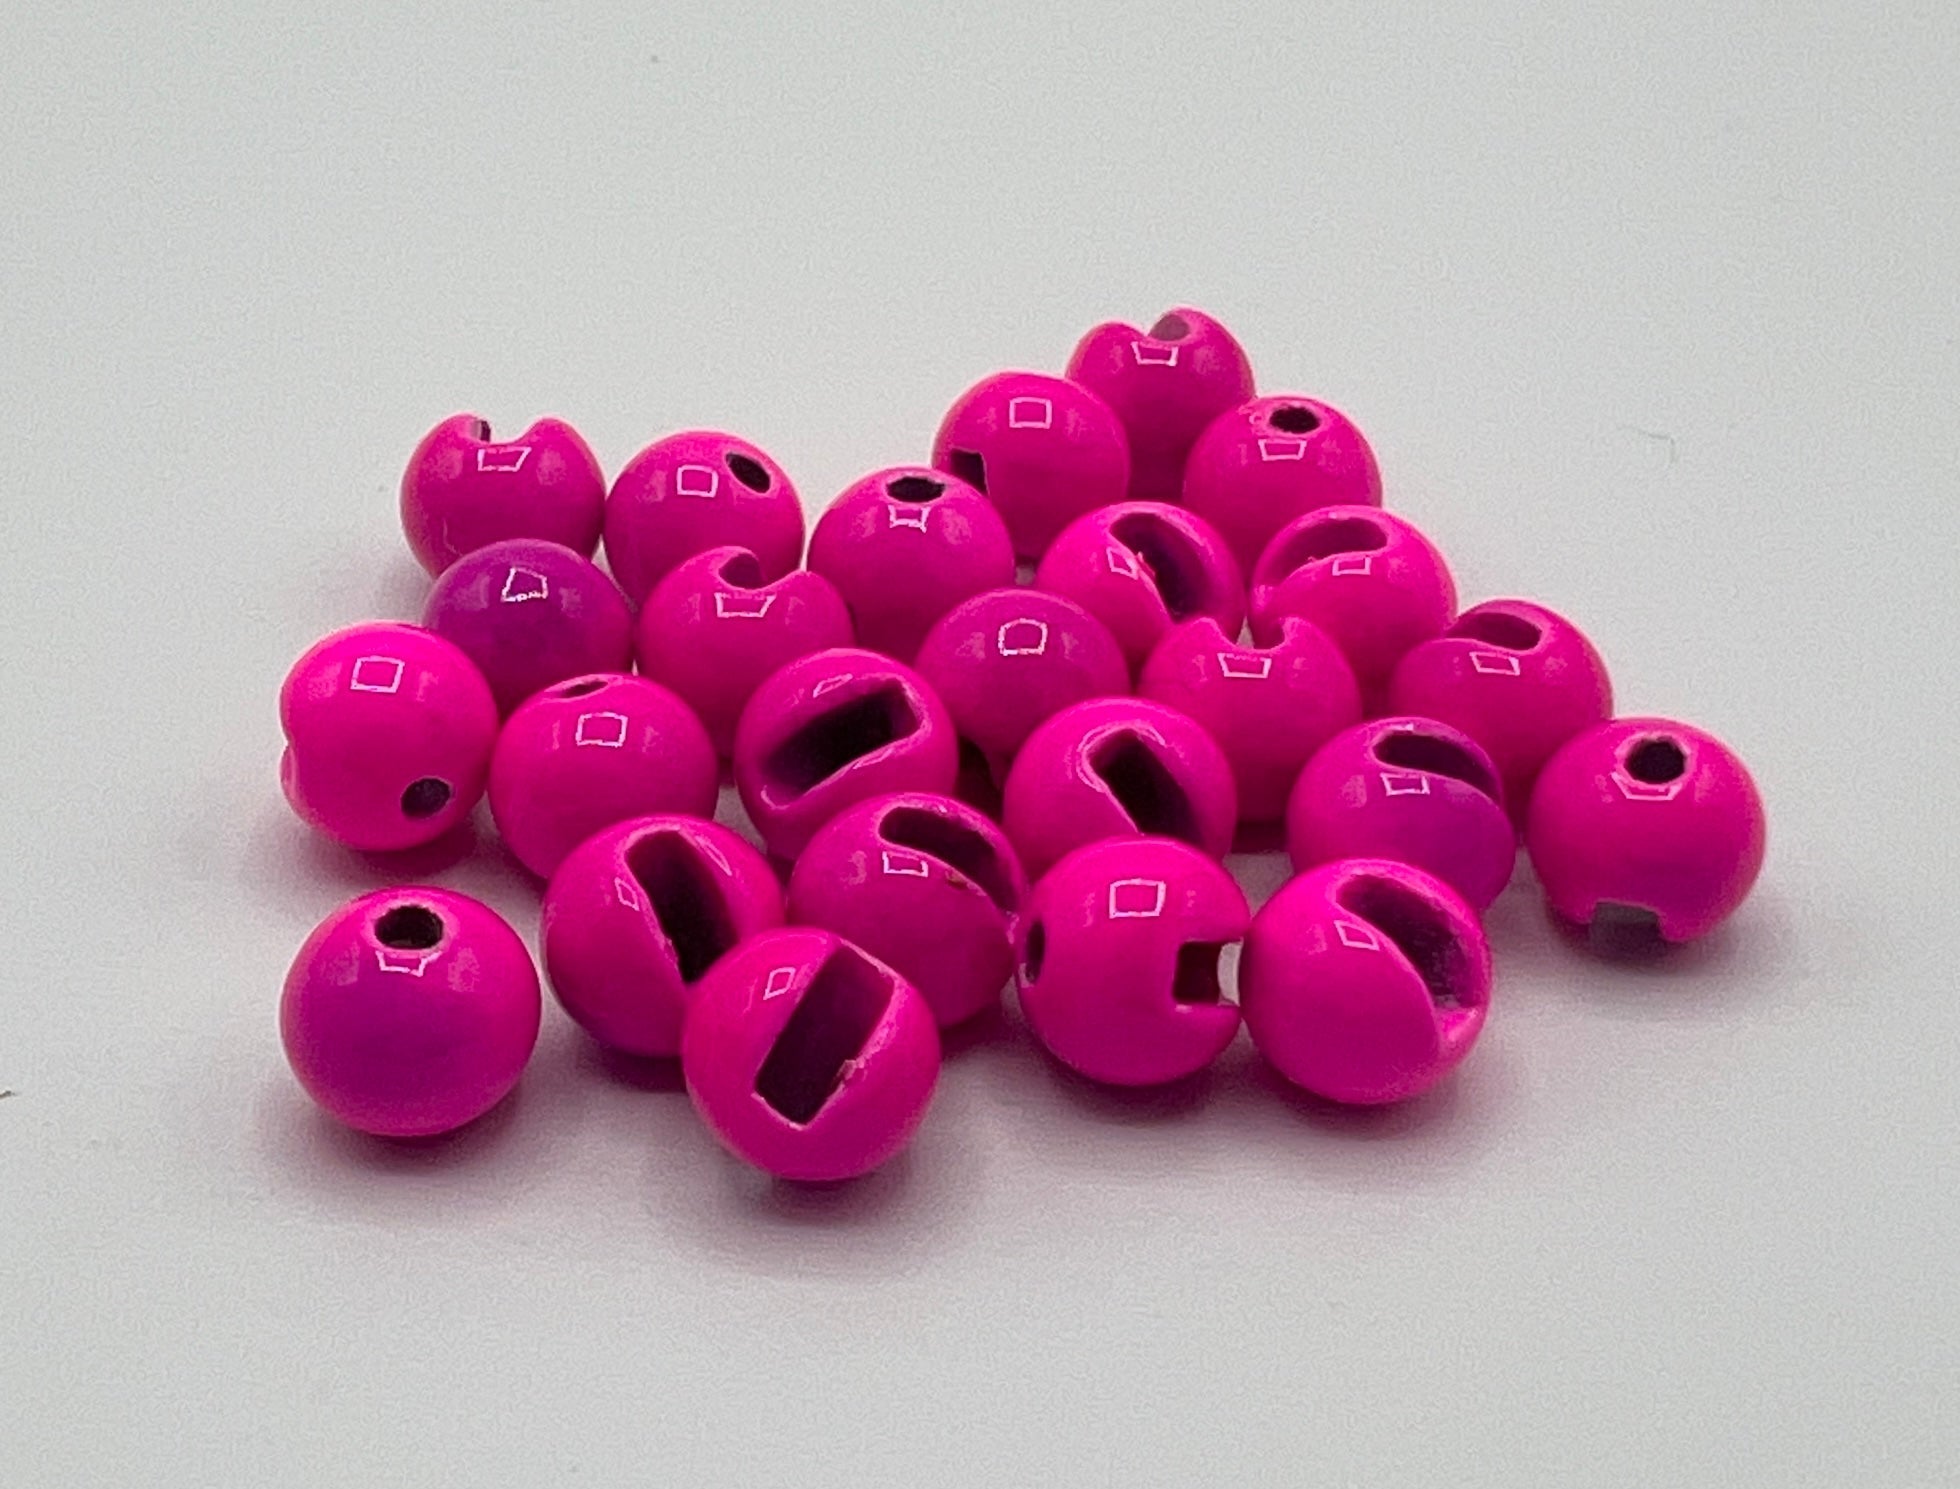
Kitchen chip clips, roughly a dollar fifty for a two-pack, hold CDC feathers or rabbit strips for dubbing loops; running two clips lets you align the tips with one and trim the butts against the other. Adhesive-backed craft foam comes in two millimeter sheets, which is the common hopper thickness, and the adhesive lets two sheets be doubled for bulkier patterns. Craft-aisle seed beads suit midges and glass e-beads connect articulated streamers. Skeins of 100 percent acrylic yarn, cut into inch-and-a-half sections and brushed apart with a pet brush, substitute for laser dub - the acrylic sheds water while still pushing water.
Key takeaways
- Assemble a rod from the back forward: fighting butt, reel seat, handle, then guides from butt section to tip top.
- Use mesh drywall tape rather than blue painters tape for arbors, because two-ton epoxy soaks into the lattice and bonds mechanically.
- Buy color-fast wrapping thread, or add a color preserver and thread finisher, so wraps do not darken under the finish coat.
- Start every guide wrap with three or four turns on the bare blank before moving onto the guide foot.
- Check balance before any epoxy goes on by resting the dry-assembled rod across your index finger at the handle; correct an imbalance by drilling deeper into the handle or fighting butt.
- Practice wraps on a wooden or aluminum dowel from the hardware store before wrapping a real blank.
- Backfill the center hole in fighting butt cork rings with two-ton epoxy, let it cure six to twelve hours, then do the final sanding.