
Rigging, Knots and Leaders: Fixes for the Failures That Cost You Fish
Fly Fishing Insider Podcast guests and host Christian Bacasa share 22 field-tested fixes for the leader, knot and rigging mistakes that lose trout and streamer fish on rivers across the country — from checking knots before every cast to joining leader sections, rigging dry-droppers, weighting streamers and landing the fish once it's hooked.
These 22 tips come from the same place every FFIP tip is sourced from: the closing minutes of Fly Fishing Insider Podcast episodes, where host Christian Bacasa asks each guest for one tip before they sign off. A handful of these also come from the show's solo tips-and-tricks segments and knot-tying tutorials, where Christian works through a single rigging problem on camera without a guest.
This roundup pulls together 22 tips on rigging, knots and leaders specifically, drawn from episodes recorded between August 2021 and October 2024. Some come from named guests — a big-trout specialist, a musky guide, a bull trout streamer angler — and some come from solo segments where the fix stands on its own.
The tips are grouped by what actually goes wrong: knots that fail from neglect, flies that take too long to tie on, leader sections that won't hold, dry-dropper and nymph rigs that need re-tying too often, and the streamer rigging and hooksets that decide whether a good take turns into a landed fish.
Jump to a section
How Do You Make Sure Your Knots Won't Fail on a Good Fish?
TIP 01 · KNOT CHECKS
Check knots constantly and move stealthily as a default habit
— Andrew, founder of FlyLab, big-trout specialist angler · Fly Fishing Insider Podcast
Knots are super important — you're constantly checking them, before and after. You spend 15 minutes rigging up, make one bad cast, put a wind knot in there, and now you have to decide: clip it and start over, or try to get away with it. You're not going to get away with it.
Why it matters. A wind knot left in your leader after one bad cast is where most big trout get lost — you feel it, and you either retie or lose the fish. Stealth works the same way: by the time you see a big trout, it may already know you're there, so quiet movement has to be a habit, not a reaction.
How to do it. Run your fingers down the leader after every fish, and retie the moment you feel a wind knot instead of hoping it holds. Build slow, quiet movement into how you approach every run, not just water where you've spotted a fish. When you do see a feeding trout, watch its rhythm before you cast.
TIP 02 · GEAR CHECK RITUAL
Use rigging time as a pre-trip gear check
— A bamboo fly rod builder and shop owner · Fly Fishing Insider Podcast
Rig it up, put some new tippet on, run your hand down the leader to check for nicks, tie on a new fly, and tie a fresh knot before you start fishing. Rod carriers are great for getting you from point A to point B, but they're not meant to store your rod all season.
Why it matters. Heat and vibration in a roof rack cook your fly line, leader and reel lubricant over a season. The bigger cost is what gets skipped — rigging up is your best chance to catch a nicked leader or tired knot before it loses you a trout.
How to do it. Pull your rod out of the carrier when you arrive instead of leaving it mounted between stops. Use rigging time as an inspection: run your hand down the leader for nicks, tie on fresh tippet, and tie a new knot before you cast. Never store a rod, line or reel in a roof carrier long-term.
TIP 03 · SURGEON'S KNOT
Trim your surgeon's knot tag close and wet it before cinching
— A podcast host, demonstrating an on-camera knot-tying tutorial · Fly Fishing Insider Podcast
Trim it close and tight. Whatever you use it for, wet your knot before you draw it tight, cinch it down fully, and you'll be successful.
Why it matters. A surgeon's knot joins two leader sections fast, but a tag left long or angled snags your running line mid-cast. Skipping the wet-and-cinch step is the quieter mistake — a dry knot pulled tight weakens the leader with friction you'll never see.
How to do it. Run the tag through your turns, wet the whole knot, then draw both strands tight slowly so the coils seat evenly. Cinch it down fully before you trim. Cut the tag close and flush, not at an angle, so it won't catch your guides.
TIP 04 · DAVY KNOT
Check for a 90-degree tag to confirm your Davy knot
— A podcast host, demonstrating an on-camera knot-tying tutorial · Fly Fishing Insider Podcast
When you draw it tight, watch for your tag to come off at a 90-degree angle — that's the telltale sign it's seated correctly, because the tag line is butting right up against the front of the eye of the hook.
Why it matters. The Davy knot uses so little material it's a favorite for fast fly changes, but a knot that isn't seated right slips under a strong trout. A simple visual check confirms it's tied correctly before you fish it.
How to do it. Thread tippet through the eye, form the overhand loop, pass the tag over the main line and under the running line, and lubricate before drawing it tight. Watch the tag: a clean 90-degree angle against the hook eye means it's seated. If it isn't, retie rather than trust it.
Fast Knots for Tying On Flies (and Keeping Them Moving)
TIP 05 · CLINCH KNOT SPEED
Pre-tie a clinch knot off the hook bend to rig flies faster
— A podcast host, solo tips-and-tricks segment · The Fastest Off the Bend Clinch Knot, S5E44
Take your line, loop it, and rotate it three, four, five times depending on how many turns you want in your clinch. Grab the tag and start to draw it down — that's your clinch knot, already pre-tied. Take your fly, feed the hook right through that loop, lick it to moisten, and pull it tight.
Why it matters. Threading tippet through a fly's eye every time you change flies costs fishing time. Pre-tying the clinch on the line and feeding the fly through it gets you back on the water faster.
How to do it. Loop your tippet, twist three to five turns, then pull the tag partway through to pre-form the knot before you touch the fly. Feed the hook bend-first through that loop instead of threading tippet through the eye. Moisten, cinch, trim — and practice it on the bench until it's fast.
TIP 06 · CLINCH KNOT (FORCEPS)
Pre-tie a clinch knot with forceps, then feed the fly through it
— A podcast host, solo tips-and-tricks segment · Fly Fishing Insider Podcast
Using your forceps, put them into the loop and rotate them three, four, five times. Grab the tag with the forceps and pull it through the loop, then take your fly and feed the hook through that loop instead of trying to thread tippet through the hook eye.
Why it matters. Threading fine tippet through a tiny hook eye is a common frustration, especially in low light or with tired eyes. Pre-tying the knot with forceps removes that step entirely.
How to do it. Loop your tippet, then use forceps to grab inside the loop and rotate it the turns you'd normally put in a clinch knot. Pull the tag through with the forceps tip to pre-tie the knot on the line. Feed the fly's eye through that loop, moisten, and cinch — no threading required.
TIP 07 · LOOSE LOOP KNOT
Tie a loose loop knot so small flies jiggle naturally
— The show's host, demonstrating a fly-rigging technique in a solo segment · Fast and Simple Loop Knot for All Size Flies The Double Overhand, S5E45
Run it back through that loop once or twice close to the eye, and cinch it down while leaving the loop itself a little large rather than pulling it fully tight. That open loop lets the fly jiggle and move on the surface like a natural insect.
Why it matters. A fly cinched tight to the tippet can't move on its own, and on small flies that stiffness is exactly what a picky trout notices. A deliberate loop restores movement, and it's one knot beginners can rely on instead of several.
How to do it. Thread tippet through the eye, form a loop, pass the tag through once or twice, and cinch snug without closing the loop onto the eye. Leave more loop for a fly you want twitching, less for one you want rigid. Practice the size on the bench before you fish it.
TIP 08 · STREAMER LOOP KNOT
Use a simple loop knot on small streamers so they swim freely
— A podcast host, demonstrating an on-camera knot-tying tutorial · Fly Fishing Insider Podcast
Take your line, feed it up through the eye, and create a bite. Then come around and feed your fly through that hole, get everything nice and tight, and cinch your loop up — maybe make the loop a little smaller if you want.
Why it matters. A knot cinched against a fly's eye restricts movement, and on a small streamer that subtle action is often what triggers the strike. A loose loop trades a little line for a fly that swims naturally.
How to do it. Feed tippet through the eye and form a loop. Pass the fly through it, draw everything snug, and cinch the loop to the size you want — smaller for a tighter connection, larger for more movement. Save it for small streamers where movement matters more than a rigid tie.
Knots for Joining Leader Sections, Backing and Fly Line
TIP 09 · KNOT ARSENAL
Simplify your knot arsenal to about four reliable knots
— Kip Vieth, musky and smallmouth guide, owner of a Minnesota float-trip outfitting business · Smallmouth and Musky in the Driftless Region and the Musky Mental Game - Kip Vieth, S1E200
People get all whipped up on knots, but you really only need to know about four of them: a clinch, a non-slip mono loop, a uni knot, and maybe an Albright every once in a while.
Why it matters. Anglers burn time chasing the next best knot online when a handful of reliable knots covers nearly every situation. Overcomplicating your arsenal just makes you slower and more error-prone on the water.
How to do it. Learn four knots until they're automatic: a clinch for tying on flies, a non-slip mono loop for streamers, a double uni for joining lines of different diameters, and an Albright for occasional heavier joins. Use the double uni specifically when stepping down to lighter tippet — it ties cleaner than a blood knot for most anglers.
TIP 10 · YUCATAN KNOT
Fully seat your Yucatan knot before trimming it
— A podcast host, demonstrating an on-camera knot-tying tutorial · Fly Fishing Insider Podcast
The key is getting this knot to seat very well — once it's tight, trim the tag close, because if it's not tight and you trim it close anyway, it'll really weaken the loop.
Why it matters. The Yucatan knot joins braided line to monofilament of different diameters, but trimming the tag before it's fully seated leaves it prone to slipping. Confirming a full seat first is what makes the connection hold.
How to do it. Feed enough working line through, take six to eight turns around the standing line, and feed the tag back through the loop. Lubricate and draw the tag and main line together slowly so the wraps lay out clean. Only trim once you can feel the knot is fully seated — trimming early weakens it.
TIP 11 · DOUBLE UNI KNOT
Lubricate both lines before you seat a double uni knot
— A podcast host, demonstrating an on-camera knot-tying tutorial · Fly Fishing Insider Podcast
The key is to lubricate both sides, then start to pull them together so they'll slip into place. You want to make sure it's seated very well before you get it extra tight, so leave a little bit of a tag before you get it flush.
Why it matters. The double uni knot joins backing to fly line or two leader sections, but pulling it tight dry creates friction that nicks the line at the knot. Leaving a small tag until it's confirmed seated prevents it from slipping loose later.
How to do it. Wrap roughly five turns with each line around the other's standing line, then lubricate both strands before drawing them together. Pull slowly and evenly so the two knots slide together and barrel up cleanly. Leave a short tag, and only cut it flush once the knot is visibly seated.
TIP 12 · SLIM BEAUTY KNOT
Draw a Slim Beauty knot tight in two stages
— A podcast host, demonstrating an on-camera knot-tying tutorial · Fly Fishing Insider Podcast
The key with this knot is we want to draw the wraps pretty tight before we really draw it fully tight — so lubricate the whole knot and pull that section snug first.
Why it matters. A bulky knot catches in your guides on the cast and retrieve, and it's a weak point where line rubs against itself. Cinching the Slim Beauty in two stages produces a slim, smooth knot that slides cleanly through the guides.
How to do it. Lubricate the entire knot before drawing it tight. Snug the wrapped section on its own first, then bring the main line in and draw it tight until it closes into a smooth profile. Trim the tag ends close with sharp nippers once it's fully seated.
TIP 13 · NAIL KNOT
Trim your nail knot tags flush for a clean connection
— The podcast host, demonstrating the nail knot in a solo tutorial · Fly Fishing Insider Podcast
Come in with your nippers and clip very close on both the heavy leader side and the fly line side, because you don't want any kind of interruption in your line.
Why it matters. A nail knot with loose bulges or long tags catches in your guides on every cast and can work loose over a season. A clean, close-cropped knot keeps the leader-to-line connection smooth and permanent.
How to do it. After seating the nail knot, pull the tag ends to work out bulges, then pull the standing ends in opposite directions to cinch it fully. Trim both tags — leader side and fly-line side — as close as your nippers allow. Give it one more tug-and-seat check before you fish it.
TIP 14 · PERFECTION LOOP
Keep your perfection loop small for a clean connection
— A podcast host, demonstrating an on-camera knot-tying tutorial · Fly Fishing Insider Podcast
You can pull either end to cinch this loop down to be as big or as small as you want; on fly lines I like to keep them really small, and they work quite well that way.
Why it matters. The perfection loop puts a permanent loop on a fly line or leader butt for quick loop-to-loop connections, but an oversized loop hinges awkwardly and catches on guides. You can adjust the final size by pulling either end.
How to do it. Form a loop with the tag line, wrap the main line around it again, and pass the tag between the two loops. Reach through, grab the original loop, and draw everything tight. Pull either end to size it — keep it small on fly line so it passes cleanly through the guides.
What's the Best Way to Rig a Dry-Dropper or Nymph Rig?
TIP 15 · DRY-DROPPER RIG
Rig a dry-dropper with a slidable stopper knot
— A podcast host, solo tips-and-tricks segment · The Best Dry Dropper Setup When Prospecting for Trout, S5E43
I thread my dry fly on, pull it tight, make sure my tag's out at 90 degrees, make a loop so my fly is on a bite of line. Then I take my dropper line and pull it down until it hits that stopper knot, now my rig's ready to go without having to re-rig the dropper.
Why it matters. A poorly rigged dry-dropper means retying the whole setup to change depth or swap flies. A stopper knot in the tag end lets the dropper slide up or down without retying everything.
How to do it. Tie your dry fly on, leaving the tag out at roughly a 90-degree angle instead of trimming it flush. Attach dropper tippet to that tag with a loop so it can slide, then tie a stopper knot at your target depth. To change depth, retie only the small dropper section, not the whole rig.
TIP 16 · SPLIT SHOT RIGGING
Use several small split shot instead of one heavy one
— The podcast host, demonstrating a bounce rig leader in a solo tutorial · Fly Fishing Insider Podcast
Small and numerous lets you make small adjustments up or down, and when they're touching each other in a row they create an anchor that wants to roll over like baby-head rocks and slink along the bottom, so it doesn't hang up as often.
Why it matters. A single heavy split shot wedges under rocks as it drags the bottom, which means snags. A string of small shot rolls over the same structure like baby-head rocks, without hanging up nearly as often.
How to do it. Build your bounce rig with three to five small split shot pinched in a row on the bottom tag instead of one or two large ones. Make that bottom tag your lightest tippet, so it breaks first if the shot hangs up, protecting the flies above it. Adjust depth by adding or removing shot rather than changing size.
TIP 17 · TIPPET RING SWAP
Replace tippet rings with a stopper-knot leader system
— A Pennsylvania competition fly angler and guide · Fly Fishing Insider Podcast
Instead of a tippet ring, I tie a simple three-turn overhand stopper knot at the end of my leader, then attach my tippet with an improved clinch knot wrapped in line around the leader material, right above that stopper knot.
Why it matters. Tippet rings are small and easy to lose on the water, and tying tippet directly onto a shortening leader wastes material over a season. A stopper-knot system solves both problems.
How to do it. Tie a three-turn overhand stopper knot near the tippet end of your leader, leaving a short tag. Attach fresh tippet with an improved clinch knot wrapped above the stopper so it seats straight. When tippet wears out, retie at the same stopper knot instead of cutting into the leader.
Streamer Rigging, Hooksets and Landing the Fish
TIP 18 · CONE HEAD WEIGHT
Swap lead wire for interchangeable cone heads on streamers
— Kelly Reaume, co-founder of Backcountry Skinz and bull trout streamer angler · Backcountry Skinz - Get to Know - The Angler
Instead of using lead, you can put a big cone on there, and they can go crazy deep. You just throw one on and you're done.
Why it matters. Rigging lead wire onto a tag end is fiddly — it slides, binds up your leader, and is a hassle to remove. A cone head you tie on and snip off in seconds keeps you fishing instead of re-rigging.
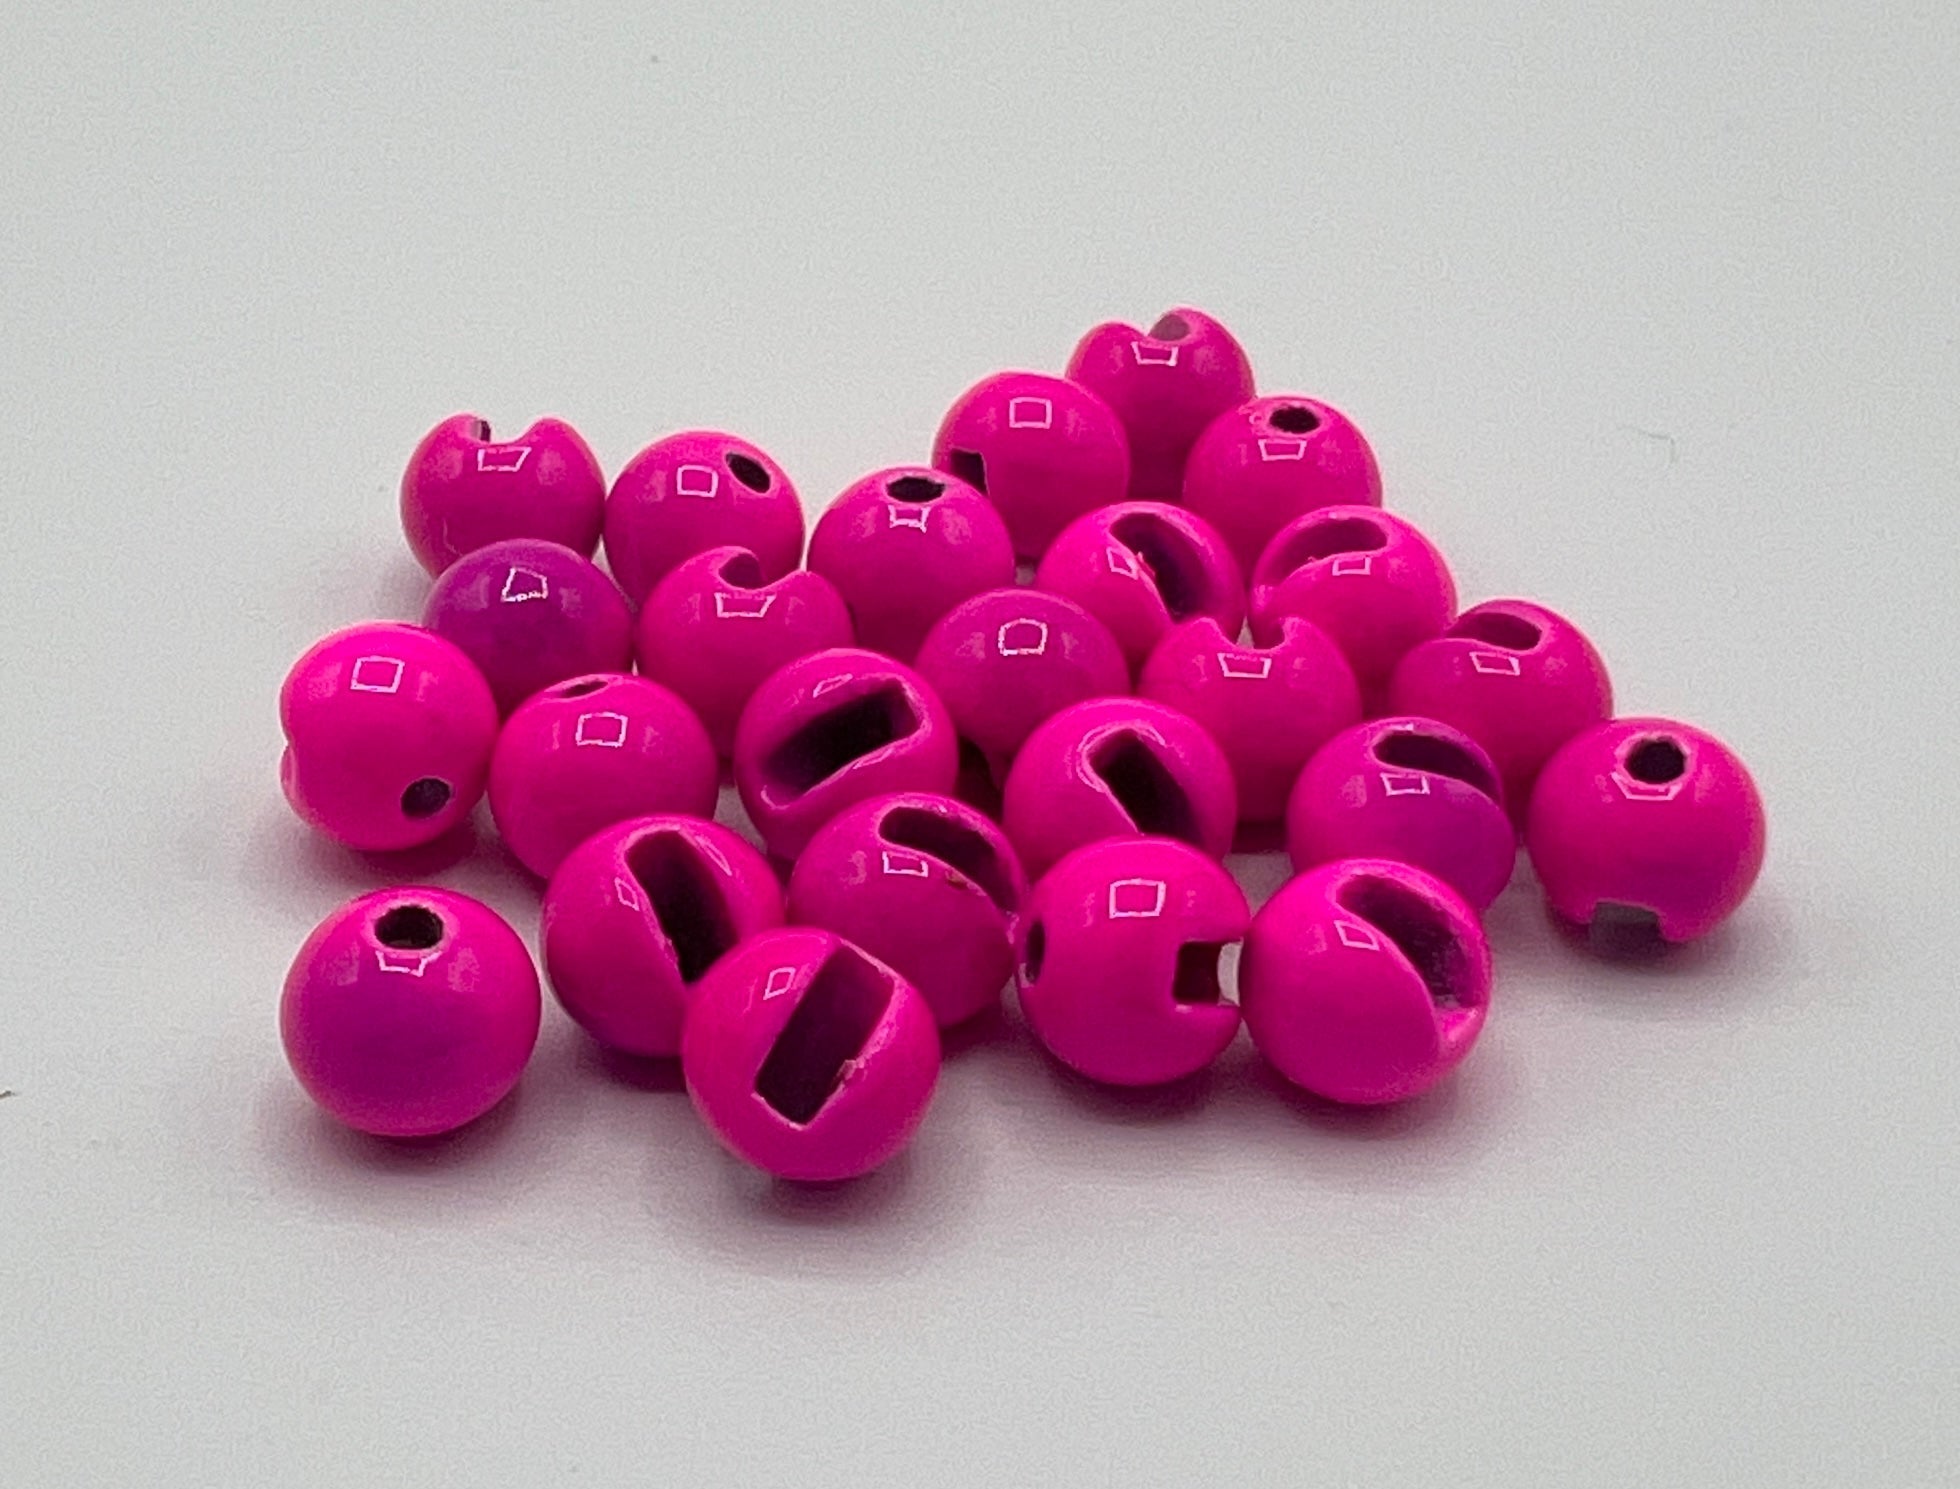
How to do it. Carry a small selection of cone heads in a few sizes instead of a spool of lead wire. Tie the cone directly onto your tippet above the fly with your normal knot. To change depth, clip the tippet above the cone and retie rather than repositioning lead.
TIP 19 · STRIP-SET HOOKSET
Keep your line hand close and strip-set your streamer
— Tim Camissa, professional fly tyer, author and YouTube content creator · Fly Fishing Insider Podcast
Whenever I'm stripping, I keep my stripping hand really close to the line and never let that hand drop, because when a fish strikes I want to do a strip set — try my best not to raise the rod, and instead start pulling the line aggressively.
Why it matters. Lifting the rod on a streamer strike often pulls the fly away from a trout that's committing hard and fast. Keeping your line hand close enough to pull immediately instead of lifting converts more strikes into solid hookups.
How to do it. Keep your line hand close to the rod and line at all times while stripping, so you're ready to react. On the strike, resist lifting the rod and pull the line aggressively to drive the hook home. Let a heavily weighted fly sink briefly rather than counting it all the way down, and work the run systematically.
TIP 20 · SWING HOOKSET
Lift into the fish instead of trout-setting on the swing
— A Montana guide and angler affiliated with Winston Rod Co. and Bauer Reels, based in Twin Bridges · Fly Fishing Insider Podcast
My methodology is once you feel that, you lift the rod into them. A lot of times, especially when you're jigging the rod tip up and down, you'll set into the fish naturally on the jig.
Why it matters. Strip-setting hard on a two-handed swing can pull a streamer away from a trout that's just committing, especially with a heavy sink tip. A simple lift into the weight works with the jig instead of fighting it.
How to do it. When you feel weight while jigging a streamer on the swing, lift the rod into the fish rather than strip-setting hard — the jig itself often sets the hook. On the hangdown, pause and let the fish fully load the rod before you lift. Lifting too early here pulls the fly away.
TIP 21 · NETTING TECHNIQUE
Net a fish by the head, not the tail
— Curtis Fleming, traveling angler featured on Fly Rod Chronicles · Fly Fishing in West Virginia Remains the Hidden Gem, S5E238
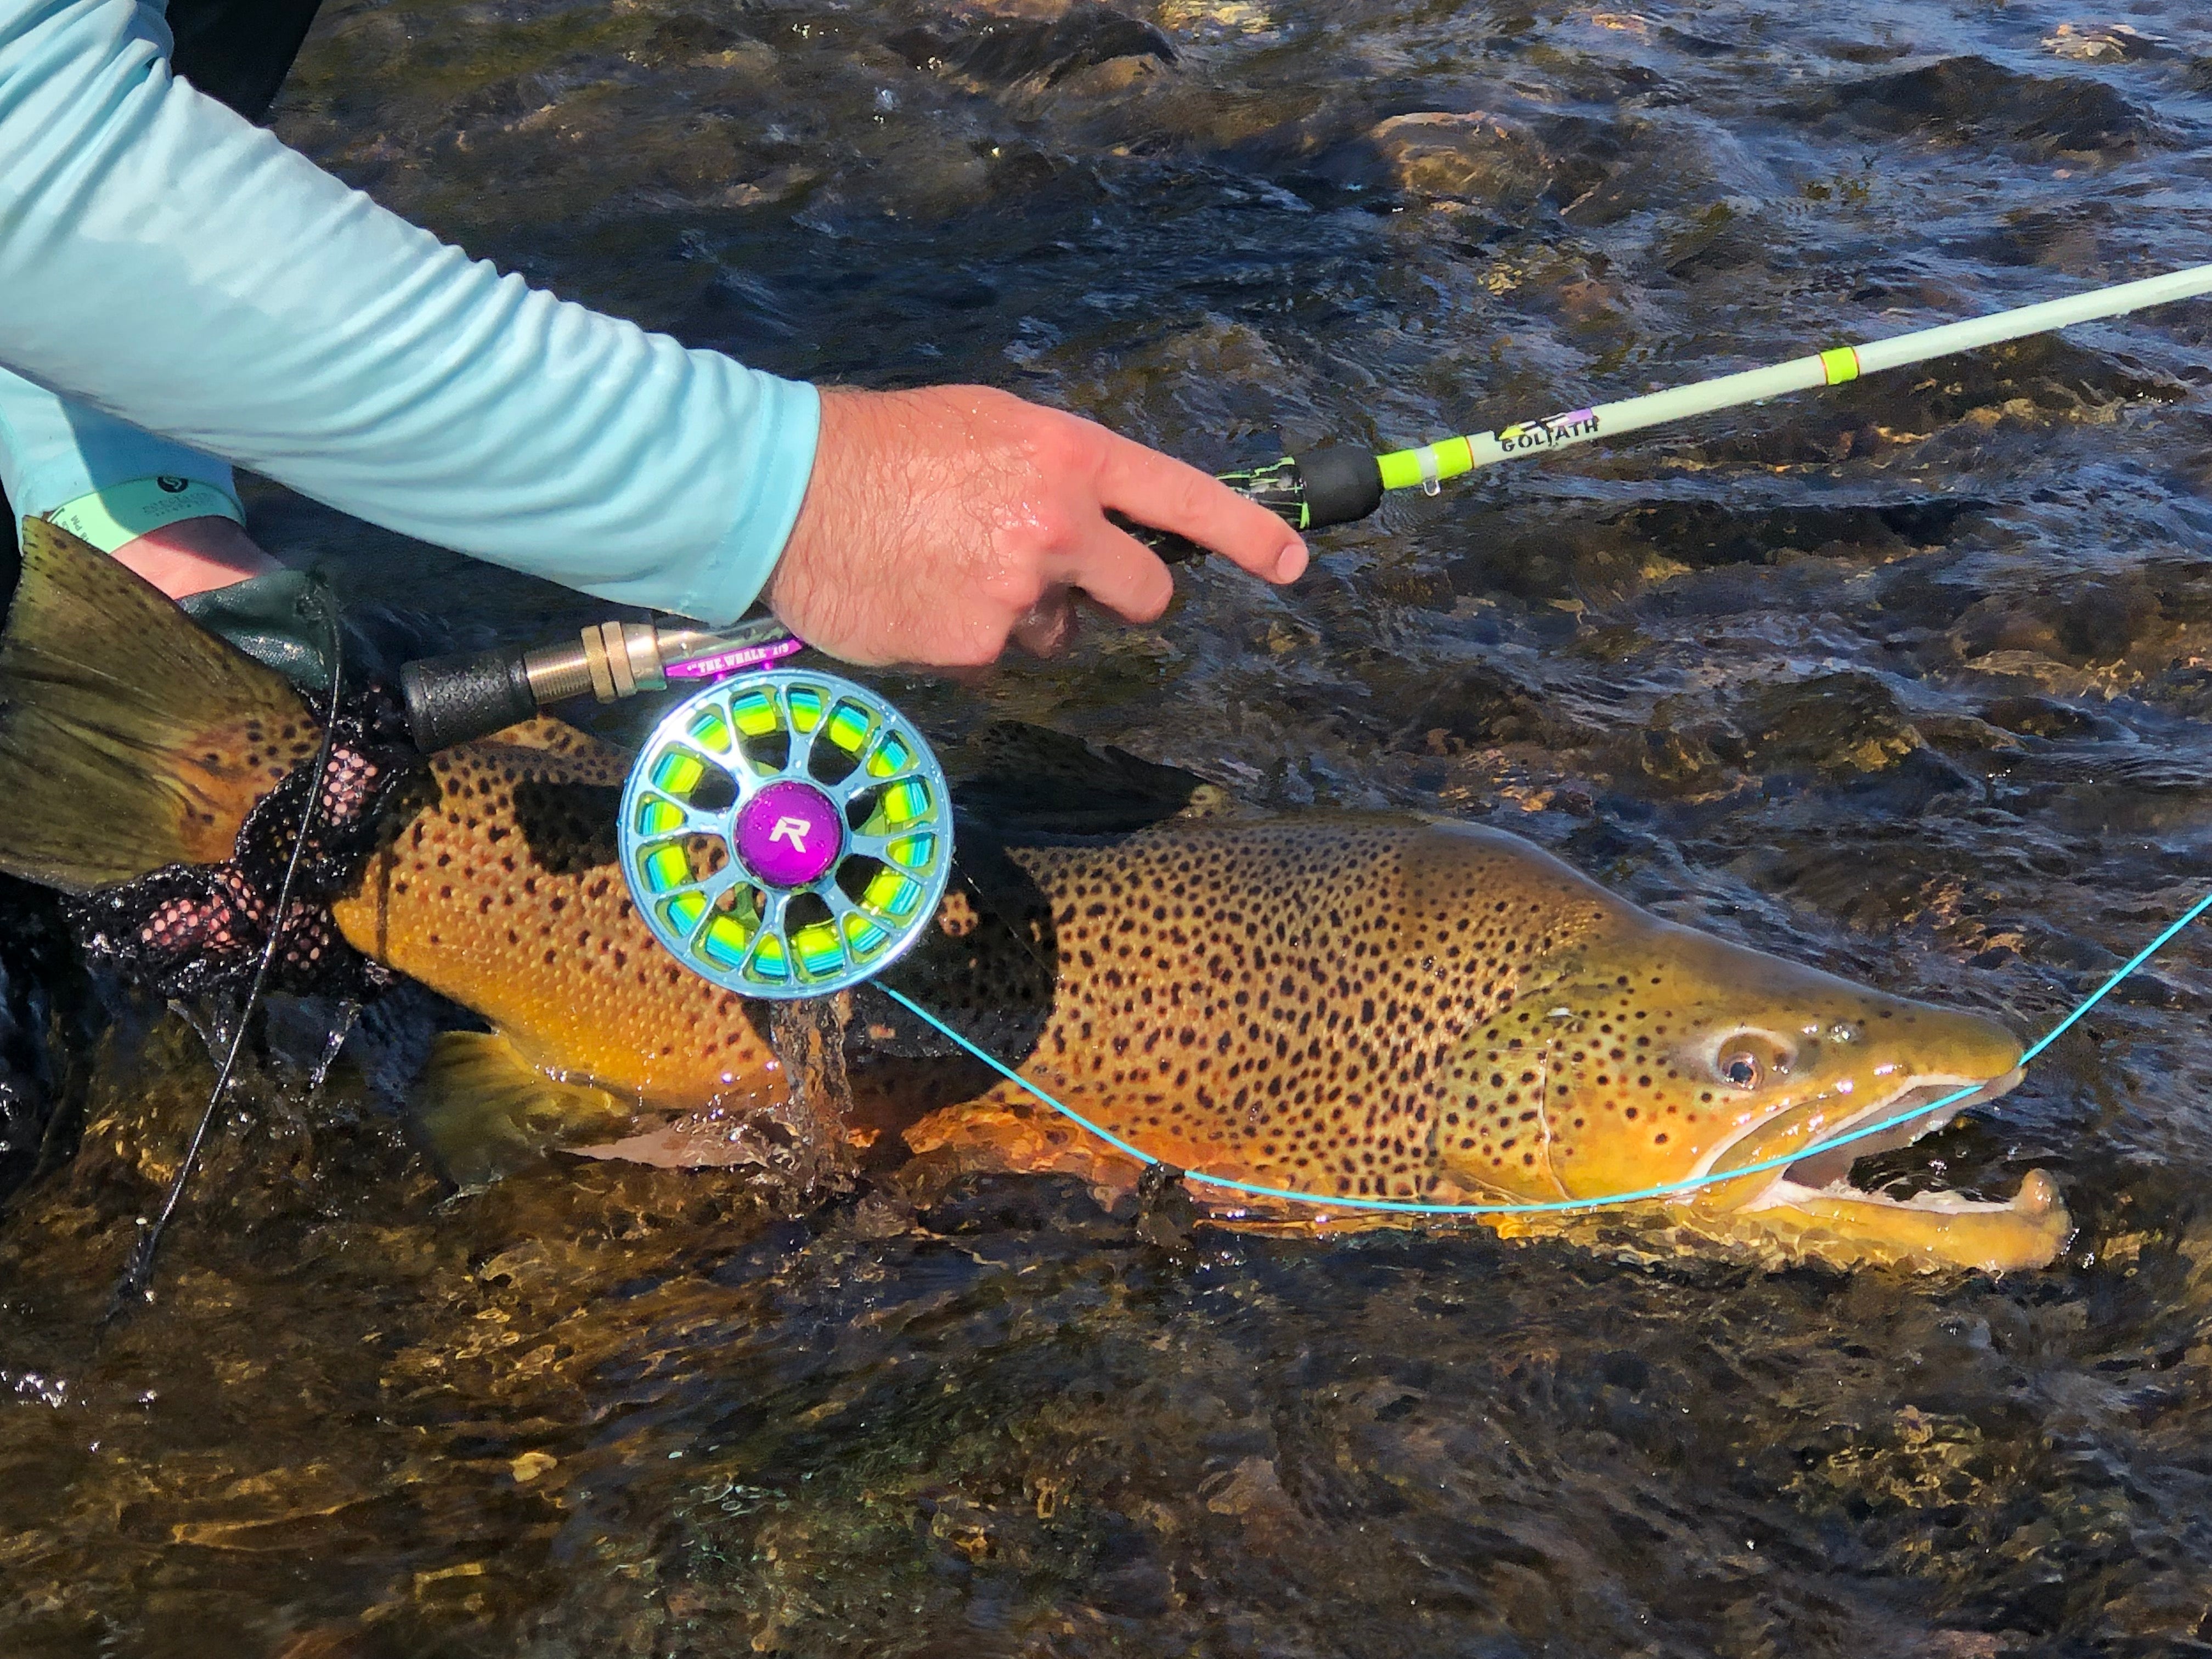
You can't net the tail, you have to net the head. Fish swim forward, they don't swim backward, so watch for when the fish's head comes out of the water — not a jump, but when you see gills. That's when it's time to bring the fish in to be netted.
Why it matters. Reaching for the tail or netting too early spooks a trout into another run or lets it slip the net. Timing the net to the head clearing the surface uses the trout's own forward-swimming instinct to land it cleanly.
How to do it. As you fight a trout toward you, hold off on netting until you see gills or the head break the surface. Lead the net toward the head, not the tail. Once the head is over the net, lift smoothly so the trout's forward motion carries the rest of its body in.
TIP 22 · FIGHTING A FISH
Move your rod tip in an upside-down U to turn a fish
— Curtis Fleming, traveling angler featured on Fly Rod Chronicles · Fly Fishing in West Virginia Remains the Hidden Gem, S5E238
Envision the tip of your rod going in an upside-down U. When you do that it maintains and increases the pressure on the fish during the flip, which keeps the hook from dislodging.
Why it matters. A flat side-to-side flip of the rod introduces slack at the exact moment a hook is likely to fall out, and heading straight for the boat ignores boulders and fast water. An arcing rod-tip turn keeps constant pressure while you steer toward slow water.
How to do it. When you need to turn a trout, trace the rod tip through an upside-down U instead of a flat side sweep, keeping tension through the turn. Scan downstream for boulders and fast water, and call out what you see if you're in a boat. Aim the trout toward visible slow water, and let it run if it makes a hard move.
Frequently Asked Questions About Fly Fishing Knots and Leaders
How many knots does a fly angler actually need to know?
According to musky and smallmouth guide Kip Vieth on the Fly Fishing Insider Podcast, about four: a clinch knot for tying on flies, a non-slip mono loop for streamers, a double uni knot for joining lines of different diameters, and an Albright knot for occasional heavier joins. Learning those four well beats chasing new knots online — fewer options tied correctly outperforms more options tied poorly.
Why do I keep losing good trout to broken knots?
Most break-offs trace back to a wind knot left in the leader after a bad cast, or a knot that was never fully seated and trimmed before it went back in the water. Run your fingers down the leader after every fish, retie the moment you feel a wind knot, and confirm any knot is cinched fully tight — not just snug — before you trim the tag close.
What's the fastest way to tie on a fly streamside?
Pre-tie the clinch knot on the tippet itself — loop it, twist three to five turns, and pull the tag partway through — before you ever touch the fly. Then feed the fly's hook bend-first through that pre-tied loop instead of threading tippet through the eye. It is faster in low light, easier with forceps if your eyesight is off, and gets your fly back in the water sooner.
How do I get a streamer deep without rigging lead wire?
Tie on an interchangeable cone head above the fly instead of pinching lead onto the tag end. Carry a few sizes, tie the cone in with your normal knot, and when you want a different depth, clip the tippet above it and retie. It is faster than removing lead, and it does not leave your leader chewed up from fussing with pliers.
Get set up for it
Fresh tippet, tapered leaders and the terminal tackle behind tips like these are exactly what's worth restocking before your next trip, so your rigging is the last thing that fails. Use code INSIDER10 for 10% off orders over $50.
Shop NowGo on a fly fishing trip you'll never forget
We partnered with Frontiers Travel to put you on water that's worth the flight. Tell them where you want to go. Don't wait.
Book a TripFly Fishing Insider Podcast has a referral partnership with Frontiers International Travel. If you book after being introduced through us, we may receive compensation at no additional cost to you.