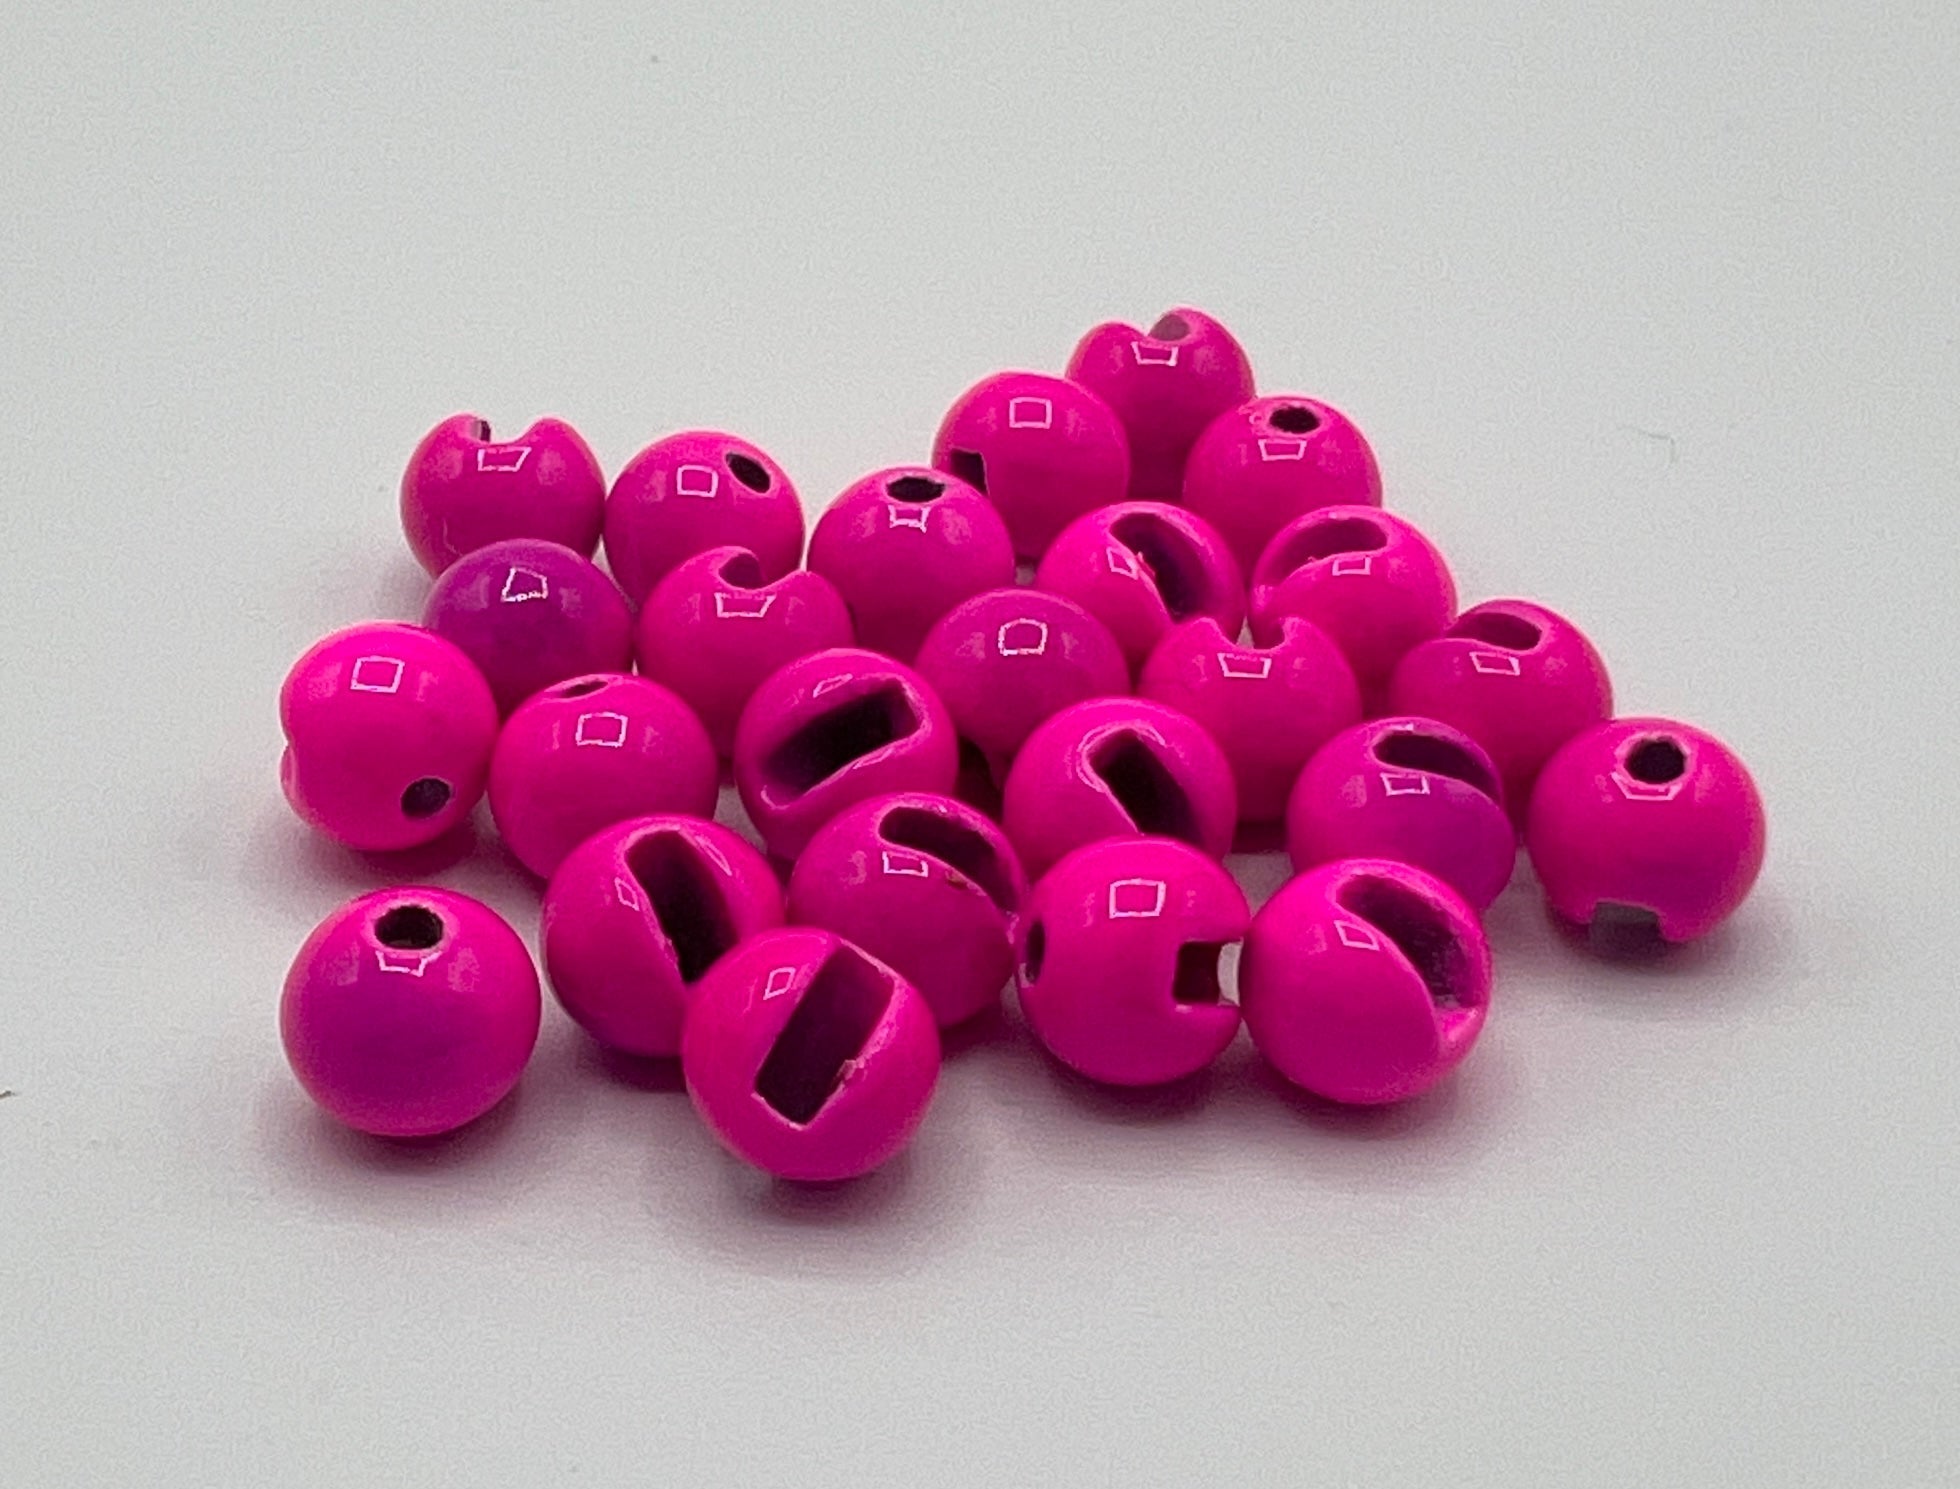

If you only carry one nymph, make it this one. The Flashback Pheasant Tail is an all-arounder — it imitates just about any mayfly nymph swimming, especially the smaller ones, and it scales up and down without losing its character. Tie it small for picky tailwater fish, tie it big with a brighter bead for winter steelhead, and it still reads as food. The real argument for it, though, is that it takes seconds to tie once you know the sequence, and the finished flies last forever. Here is how it goes together.
The materials, and two substitutions worth making
Bead, pheasant tail, a light coq de leon feather for tails, dubbing, and ribbing. Two choices here depart from the standard recipe and both are improvements.
First, skip the wire rib. Instead of metal, use Sulky thread — available in gold, purple, and plenty of other colors. It holds up surprisingly well, it is durable, and it gives you a color range that copper wire simply cannot.
Second, the flashback itself is opal tinsel rather than a standard pearl flashback material. Opal picks up and throws color when light hits it, and on a finished fly it genuinely shines. That is where the pattern gets its edge over a plain pheasant tail.
One more habit worth copying: tie the thread base in orange as a hot spot. Use a 6/0 waxed thread rather than something finer, because you need bulk tolerance at the head — several materials fold over each other up there and thin thread makes a tight, clean head harder, not easier. And skip the lead underbody entirely. The bead alone is the weight, which means you can grab a fly out of the box and know exactly how heavy it is by looking at it.

Step by step at the vise
- Base layer. Start the thread behind the bead and wrap back to the bend in touching turns. If you want those turns tight without fussing, hold the thread at a steep angle — roughly 80 to 85 degrees — and roll each wrap down onto the one before it. The steeper the angle, the more forgiving the placement.
- Tails. Pull a small clump of barbs from a light coq de leon feather, holding them perpendicular to the stem as you pull so they come off aligned with the barbules intact. Light color is deliberate — you want the tails visible. For length, measure the bend of the hook; that distance past the bend is your target. Hold the clump slightly toward you as you wrap so the thread torque rolls them onto the top of the shank rather than around the side.
- Build the body taper. Wrap thread back and forth to create a body that is a little heavier toward the head. This fly should look slightly chunky, not skinny.
- Pheasant tail. Pull a healthy clump — around nine fibers — from the middle of the feather where the barbs are strongest. Reverse them so the tips point forward, then trim the tips off, because the tips are fragile and will break in the wraps. Pinch wrap them in just behind the bead and secure back along the shank.
- Tie in the rib. Secure the Sulky thread behind the bead, run it back to where the pheasant tail begins, then bring your tying thread forward. A cheap hair clip from any drugstore, clipped to the vise, keeps the loose rib out of your way.
- Wrap the body. Palmer the pheasant tail forward in touching turns to the eye and tie it off with a couple of trapping wraps. Then — and this is the part that makes the fly last — wrap the Sulky rib forward in the opposite direction. Counter-wrapping locks every pheasant tail fiber down, so a trout's teeth cannot unravel the body.
The two mistakes almost everyone makes
Tying the flashback in on top. When you secure the opal tinsel, tie it in on the near side of the hook and use a pinch wrap. The pinch is what rolls it up onto the top of the shank and keeps it centered. Tie it straight down on top and it will migrate off to one side when you pull it forward.
Not going far enough back with the thorax. This is the big one. Tie the flashback and start your thorax further back along the shank than feels right. Pull the tinsel forward before you dub and look at how short the distance to the bead actually is — it always looks too short. Once you build the thorax with dubbing, that space fills in and the proportions come out sharp. Start too far forward and you end up with a cramped, stubby bug.
For the thorax, brown snowshoe rabbit dubbing is the pick. A glue-based dubbing tool makes the application almost automatic: rub it on the thread, touch the dubbing to the tacky section, and it grabs on without any twisting. Wrap it over itself a few times to get a buggy thorax, pull the opal tinsel over the top, secure it with a couple of wraps in front, and whip finish.

Finishing: UV resin and a brush-out
Put a dab of clear UV resin on the thread and the front of the thorax, then turn the fly upside down for a moment before curing. Gravity pulls the resin into the thread wraps and off the top of the thorax, so you get a hard, sealed head without a thick glob sitting on the wing case.
Last step, and do not skip it: take a Velcro dubbing brush and work the thorax down and away from the opal, brushing the sides and then underneath. That frees the guard hairs into legs. Then trim at an angle so the scissors come up to roughly where the tail begins, leaving a clean V underneath.
What you end up with is a bug with active legs, a shining wing case, and a counter-wrapped body that will survive a dozen fish. It looks like a ton of different insects, which is exactly the point.
Gear
The materials list here is short and cheap, and your local fly shop is the right place for it — pheasant tail, coq de leon, opal tinsel, and a spool of Sulky will run you very little and tie hundreds of flies. The one tool genuinely worth buying is a UV light and resin if you do not already have them; they change what a finished fly can survive.
If you want more of the small habits that make tying and rigging faster, our Tips and Tricks for Fly Fishing eBook collects the kind of shortcuts above — the steep-angle thread trick, the hair clip on the vise — in one place. And since most tying happens at a bench in the dark half of the year, our FFIP Logo Angler's Coffee Mug has earned a permanent spot next to ours.
Tie a dozen in a range of sizes, get them in the box, and go slam some big ones.