
Fly Selection and Tying Tips: What to Throw and Why
These 22 fly selection and tying tips from Fly Fishing Insider Podcast guests and host segments cover how to pick a fly when nothing's working, how to match a fly to what's actually happening on the water, and the tying-bench fundamentals — thread, beads, resin, cheap materials — that make a fly hold up once a trout eats it.
In the closing minutes of a Fly Fishing Insider Podcast episode, Christian Bacasa asks the guest one question: what's the tip you'd leave listeners with. A good share of the answers come back to the fly itself — what to tie on, what to tie at the bench, and how to stop wasting a good drift on the wrong pattern.
This roundup pulls together 22 of those tips, from episodes recorded between November 2020 and November 2024, plus a few solo tying tutorials Christian filmed at his own bench. The guests range from a musky streamer designer to a Kenai River, Alaska guide to a middle-school teacher who ties commission flies on the side.
Fly-selection strategy comes first, then matching a fly to the water, tying fundamentals, cheap bench hacks, and the mindset behind getting better at all of it.
Jump to a section
What Should You Fix Before You Change Flies?
TIP 01 · FLY SELECTION
Fix your depth and drift before you change flies
— Ryan Jarvis, Monic Fly Lines representative and streamer/casting specialist · Monic Fly Lines - Get to Know - The Angler
People get overcaught up in fly selection. Get your depth and presentation right first, and then you can build on changing your fly. A fish isn't going to expend the calories to chase your nymph two feet up into the water column.
Why it matters. Trout don't move far to eat. If your nymph drifts two feet above the fish, the pattern doesn't matter — nothing down there saw it. Most "the fish won't eat" problems are actually "the fish never saw it" problems.
How to do it. Check that you're ticking bottom every eight to ten casts before you change flies. If not, add weight or slide your indicator up. Ask how deep you're fishing and how much weight you're running, not what fly you're using. Only start swapping patterns once you know the rig is genuinely in the strike zone.
TIP 02 · FLY SELECTION
Spend your money on flies before you spend it on gear
— Blane Chocklett, musky guide and streamer/fly designer (creator of the Game Changer) · Guided EP # 9 Blane Chocklett, A fly fishing Game Changer.
The fish doesn't care that you have a thousand-dollar rod and reel, or what your car looks like. All it cares about is whether this looks like a food source it wants to eat. The fly is the most important thing; the rod and line are just the vehicle to get that offering to the fish.
Why it matters. A fish never sees your rod. It sees the fly, and decides in half a second whether that looks like food. Anglers who upgrade gear before fixing fly selection are spending on the part of the system the fish never evaluates.
How to do it. Before your next rod or reel purchase, go through your box for the water you fish most and ask honestly whether those patterns look convincing in profile, size and movement. Put tying or shopping time into getting proportions right first. The rod and line's job is delivering that fly accurately — they don't need to be top-of-the-line to do it.
TIP 03 · FLY SELECTION
Fish a short list of confidence flies, not the theoretical "best" fly
— Andrew Weiner, author of "Down by the River," dry fly specialist and sobriety/recovery advocate · Episode 05 - Andrew Weiner, Author "Down by the River", EP 5
You read a lot of articles about the best fly for a different watershed, but I often go with fishing what I'm confident with — a Parachute Adams, a Purple Haze, a Royal Wulff. They're visible, they're generally buggy-looking, and I trust them.
Why it matters. Chasing the theoretically perfect fly for unfamiliar water burns time you could spend fishing, and it plants doubt when a trusted pattern doesn't produce right away. A short list of visible, buggy flies you believe in keeps you focused on drift instead of constant changes.
How to do it. Build a rotation of two to four go-to dry flies that are easy to track and generally buggy-looking — a Parachute Adams, Purple Haze and Royal Wulff cover a lot of ground. Default to that rotation on unfamiliar water instead of researching a hatch-specific pattern first. Save exact match-the-hatch flies for a sustained rise to one bug.
TIP 04 · FLY SELECTION
Carry an Olive Woolly Bugger for the days nothing else is working
— David Moore and Brian Gunrngerich, co-founders of a fly rod rental company (Rent This Rod) · Episode 03 - Rent This Rod, EP 3
An Olive Woolly Bugger — no matter where I've gone, Colorado, lakes, the East Coast, anywhere, if fishing's not good I put that on and it seems to work for some reason.
Why it matters. When conditions turn tough and nothing's producing, one searching pattern you trust keeps you fishing with purpose instead of guessing through boxes. A simple, buggy, mobile fly reads as food across a wide range of trout water.
How to do it. Keep a few sizes of Olive Woolly Bugger, roughly a 6 to a 10, as your default when the hatch isn't obvious. Fish it on a sinking or intermediate line with a strip-pause retrieve to trigger a reaction strike. If that fails, switch to a similarly buggy marabou or rabbit-strip streamer with a contrasting head for low light or off-color water.
TIP 05 · FLY SELECTION
Fish one fly, not two, for a big selective trout
— Andrew, founder of FlyLab, big-trout specialist angler · Fly Fishing Insider Podcast
If you give a really big fish two things to look at — say two hoppers or two stoneflies drifting near each other — it's confusing to them, and you're giving them a reason to think something's off and not eat.
Why it matters. A large, wary trout given two flies to choose between gets an extra half-second to hesitate, and that hesitation usually ends in a refusal. One confident presentation removes the decision entirely.
How to do it. When you're targeting a specific big fish, or water known to hold trophy trout, drop your dry-dropper or double-nymph rig for a single fly. Present it with a clean, confident drift instead of hedging with a second pattern. Save double-fly rigs for prospecting water and smaller, less selective fish.
How Do You Match a Fly to What's Actually Happening on the Water?
TIP 06 · DRY FLY TYING
Tie a trailing shuck onto your caddis dry for the emerger stage
— Tim Camissa, professional fly tyer, author, and YouTube content creator · Fly Fishing Insider Podcast
My favorite is an X-Caddis. Take away the hackle, add some antron or zelon fibers for a trailing shuck, because when caddisflies emerge, that shuck can still be attached as they eat or shimmy their way out of it.
Why it matters. A trout that keeps refusing a standard adult dry is often keyed on the emerger stage, still half-tethered to its shuck and looking vulnerable. Changing size or color of a fully-hackled dry doesn't fix that; changing the pattern does.
How to do it. Tie an elk-hair caddis without the palmered hackle, and add a short tail of brown antron or zelon for a trailing shuck. Add a couple wraps of CDC under the wing, and let it get wet so it settles into the film and moves with the current. Reach for this pattern first when a rising trout refuses your standard adult dry.
TIP 07 · STREAMER SELECTION
Drift a flesh fly below a salmon cleaning station
— A Kenai River, Alaska fly fishing guide · Fly Fishing Insider Podcast
When those salmon die, their flesh floats through the system and other fish key in on it. If you find a hot spot where people have been cleaning fish, drift a line below that with a flesh fly on it, and the trout are going to key off on that too.
Why it matters. Trout gather wherever anglers have been filleting salmon, because scraps and carcasses create a reliable, repeatable feeding zone. It's easy to spot, but a lot of anglers walk past it looking for "natural" water instead.
How to do it. Ask locally, or look for the activity itself, to find known cleaning stations where local rules allow carcasses back in the river. Position yourself downstream and dead-drift a flesh fly — white, pink or tan, tied to look like a chunk of fillet — through the current below the spot. A brighter pink or red pattern can keep the trick working as the run progresses.
TIP 08 · PRESENTATION
Fish emerger swings on your walk back down the creek
— The show's host, in a solo leader-and-swing tutorial · Fly Fishing Insider Podcast
Once you put your mend in place and get the drift into the mend, let it settle, then do two or three lifts and lowers. Those lifts and lowers imitate a bug emerging, and often on maybe the third lift — boom, there's your take.
Why it matters. Anglers who fish upstream and just walk back to the truck leave fish behind. Water already covered on the way up can still produce more fish with a different presentation on the way down.
How to do it. Rig a wet fly or emerger leader with two flies. After each cast, mend for a clean drift, let the flies settle, then do two or three slow lifts and lowers of the rod tip to imitate an emerging insect — most takes come on the second or third lift. Save this for your walk back down a stream you can't retrace by the bank.
TIP 09 · RIG VISIBILITY
Carry a black marker to darken your indicator on glare days
— Mr. Werbs, stillwater lake angler and photographer · Fly Fishing Insider Podcast
On days where the glare makes it hard to see, sometimes white shows up better, and sometimes black. Color your indicator black with the sharpie to make it a lot more noticeable.
Why it matters. Sun glare from the wrong angle can wash out a white or orange indicator until it's nearly invisible, and a missed take because you couldn't see it move costs you the fish just as surely as the wrong fly.
How to do it. Keep a black permanent marker in your pack, and on high-glare days color your indicator black on the spot to boost contrast. For a longer fix, soak a few white air-lock indicators overnight in black clothing dye so you always have a dark one staged. The same marker works streamside for dark parr-mark dashes on a streamer to match local baitfish.
Fly-Tying Fundamentals That Hold Up on the Water
TIP 10 · FLY TYING
Match your tying thread to the job, and lock in progress every stage
— Rick Passek, fly tying instructor and YouTube/social media creator known as "The Fly Fish Fanatic" · Is Mexico Worth It? Rivers to Saltwater Fly Fishing, S5E266
You need to know what you're trying to accomplish and use the right thread for it: a GSP or Nano Silk for a thin, strong body, but a regular thread for spinning deer hair, because GSP is sharp and will cut through hair when you crank on it.
Why it matters. The wrong thread gives you a fly that unravels the first time it hits a rock or a fish's teeth, and losing a whole fly's construction to one failed wrap wastes materials and bench time you don't get back.
How to do it. Use a flat, strong GSP or Nano Silk thread for thin, durable bodies; switch to a round 3/0 thread when spinning or stacking deer hair, since GSP's sharp edge cuts through hair under tension. After each stage — tail, body, a wrapped hackle — lock in a secure half-inch wrap so a later failure only unravels back to that point.
TIP 11 · FLY TYING
Keep consistent thread tension so materials lock instead of sliding
— A Pennsylvania muskie fly designer · Fly Fishing Insider Podcast
If you don't have proper thread control, everything gets loose — your dubbing, your wings, especially bucktail — it just starts sliding around the hook. You want that Goldilocks tension: not free-spooling on you, but not so tight you can't wrap around the hook.
Why it matters. Inconsistent thread tension is one of the most common reasons materials shift or spin on the hook, producing sloppy flies that don't hold up. Tiers who don't feel for a locked wrap end up chasing slack instead of tying efficiently.
How to do it. Keep the thread short between bobbin and hook shank so you can feel what it's doing. Aim for tension that's neither loose enough to let materials slide nor tight enough to snap the thread. When securing bulky material like deer hair or bucktail, feel for the wrap to actually lock before adding another. An auto or clutch bobbin helps if you keep losing that feel.
TIP 12 · FLY TYING
Check hook-eye access and gap before you upsize a bead
— Tim Camissa, professional fly tyer, author, and YouTube content creator · Fly Fishing Insider Podcast
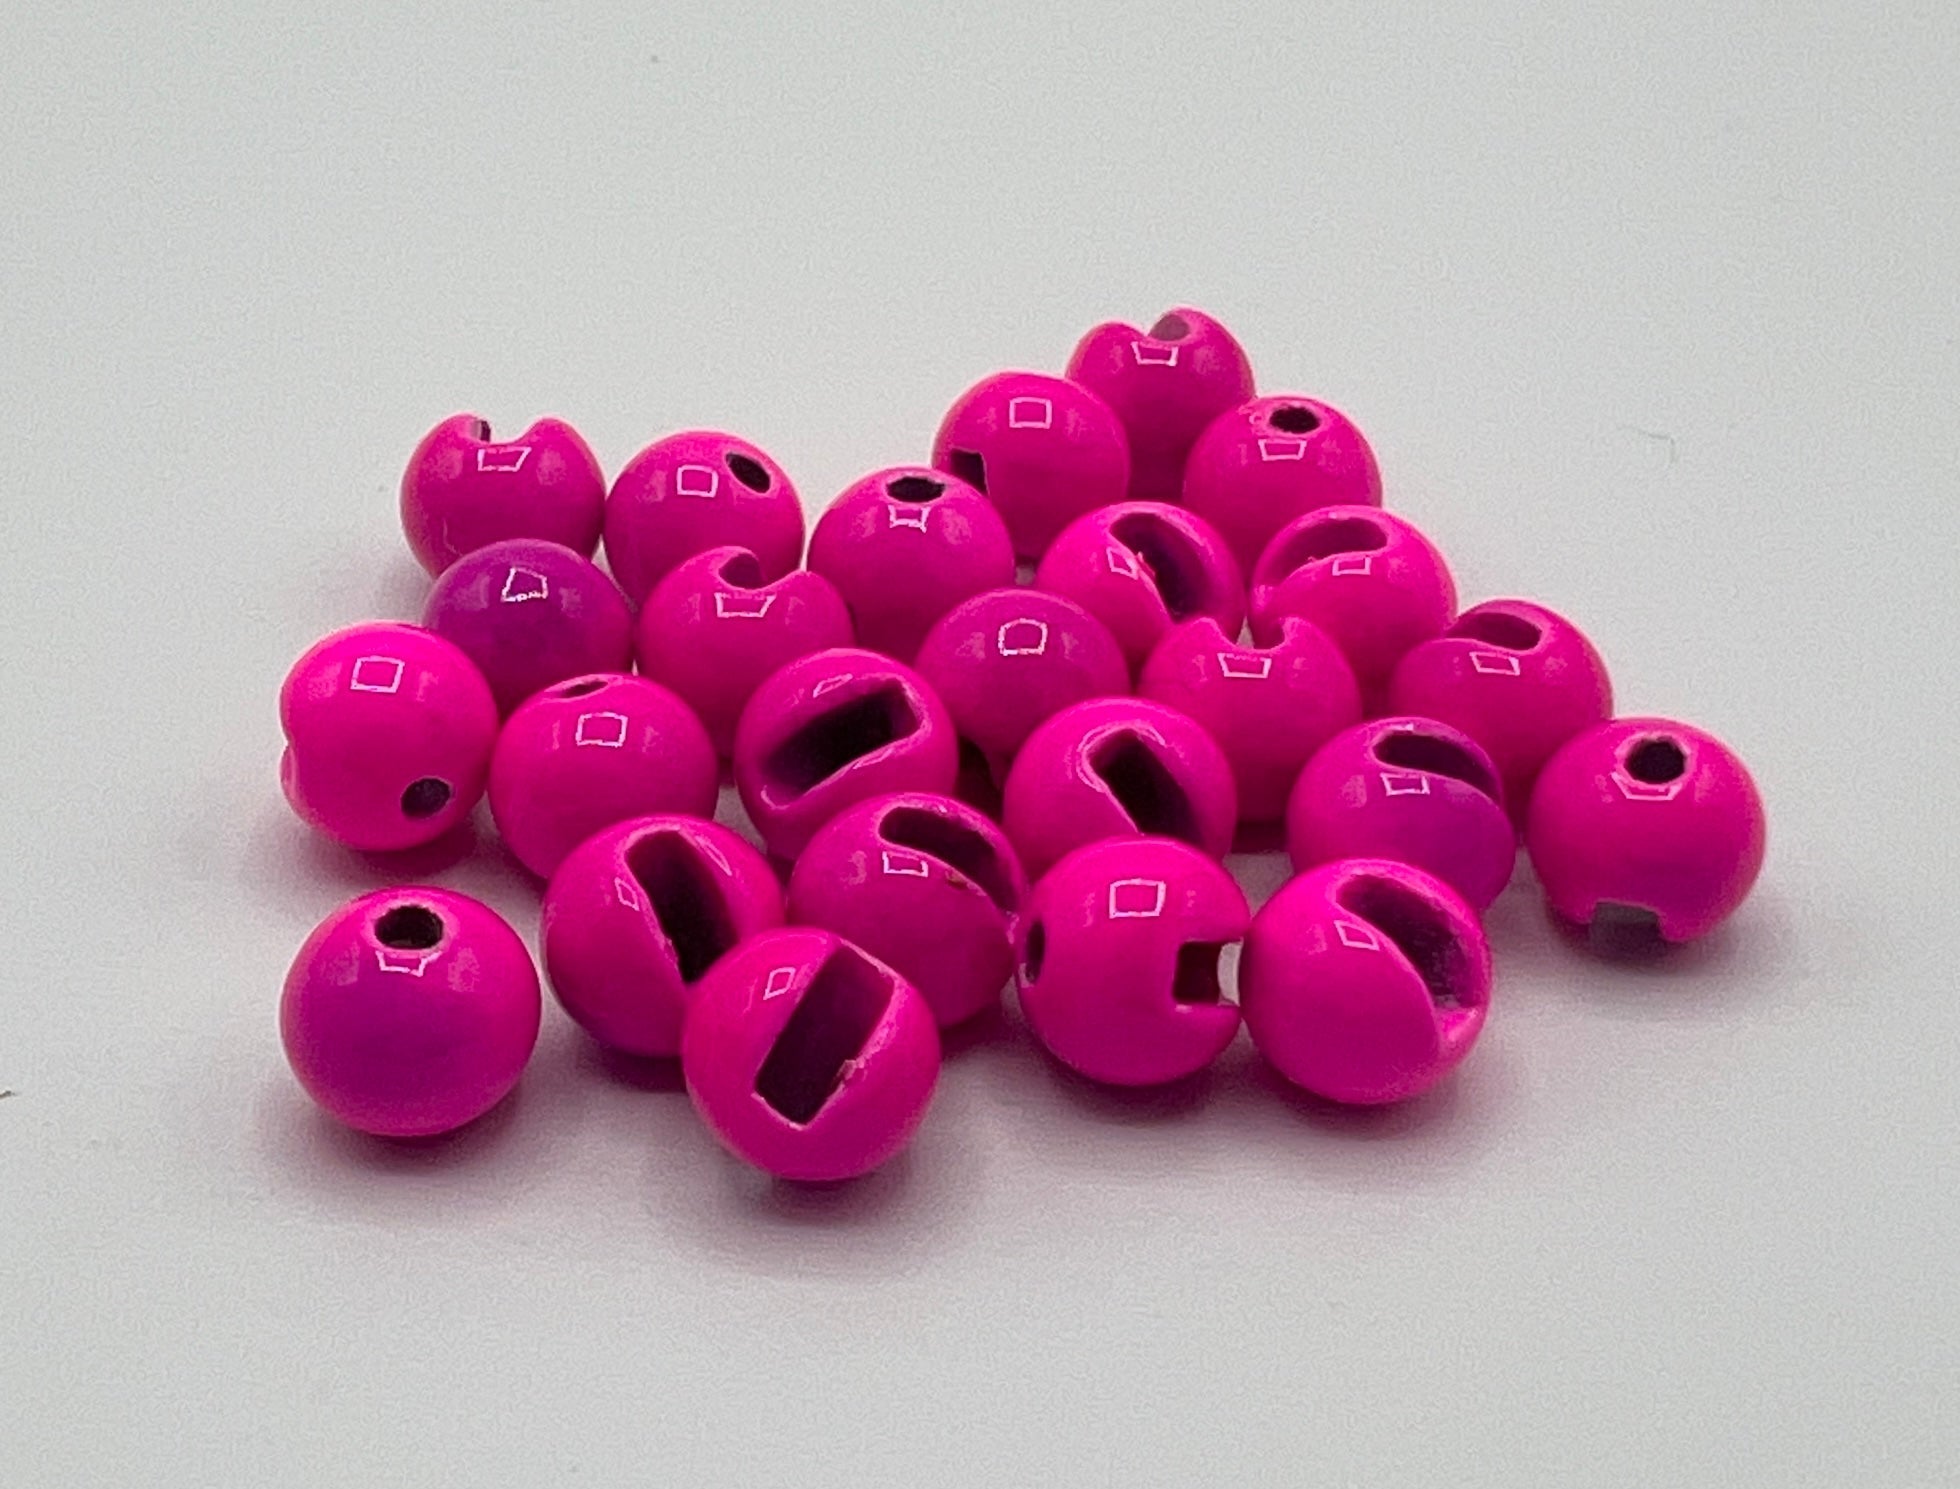
When you go so big the bead covers the eye, it's a nightmare to get your tippet on. The next thing is you have to worry about it covering the gap of the hook, and you'll miss hook sets.
Why it matters. An oversized bead can wreck a nymph or streamer in two ways you won't notice at the vise: it can bury the hook eye so tippet won't thread through, or cover enough of the gap to cost you hook sets on good takes.
How to do it. Before settling on a bead size, check it doesn't extend far enough forward to cover the hook eye, and doesn't sit so far back or large that it blocks the gap. If you want a noticeably larger bead for weight or profile, move up to a hook with a proportionally bigger gap so hook-set odds don't suffer.
TIP 13 · FLY TYING
Tie your flashback tinsel further back than feels right
— The podcast host, in an on-camera tying tutorial · Fly Fishing Insider Podcast
Come back a little off the bend of the hook, tie it in on your side, and use a pinch wrap to hold that material up on top. I roll the tag back and tie in further back on the thorax than you'd expect.
Why it matters. Tying flashback material too close to the bead looks short and cramped once finished, and leaves no room to build a properly proportioned dubbed thorax. Starting further back looks wrong in the moment, but it's what makes the finished fly right.
How to do it. Tie in your opal tinsel just behind the bend on one side, using a pinch wrap to hold it flat. Place your tie-in point further back on the thorax than seems natural — that space gets filled by dubbing. Apply dubbing wax to your thread before touch-dubbing, then brush the dubbing down and back away from the tinsel so the fly reads buggy without hiding the flash.
TIP 14 · FLY TYING
Hold your bobbin at 90 degrees when you apply thin UV resin
— Tim Camissa, professional fly tyer, author, and YouTube content creator · Fly Fishing Insider Podcast
When you're using very thin resins and glue, hold your bobbin at a 90-degree angle, because it'll run right down your thread into your bobbin and your spool, and you'll lose the whole spool. Ask me how I know.
Why it matters. Thin UV resin wicks down thread by capillary action, and if the thread hangs straight toward the bobbin when you apply it, the resin runs into the spool and ruins it — a mistake you don't catch until the spool is soaked.
How to do it. Whenever you apply a thin, low-viscosity UV resin or head cement, angle the bobbin roughly 90 degrees to the thread run instead of letting it hang straight down. That keeps gravity from pulling resin into the spool before it cures.
TIP 15 · FLY TYING
Shield your eyes and tie in a ventilated space when curing UV resin
— Tim Camissa, professional fly tyer, author, and YouTube content creator · Fly Fishing Insider Podcast
Anytime I go to cure the resin, I put my hand between the hook and me — I don't want any of those UV rays bouncing back into my eyes. I also like to tie in a ventilated area because I don't want to be breathing that stuff in.
Why it matters. UV curing lights and resin fumes get handled casually by tiers who never add up the cumulative exposure of curing dozens of flies a season. It's an easy habit to fix and costs nothing at the vise.
How to do it. Position your free hand between the fly and your face before switching on a UV torch, so reflected light doesn't bounce back into your eyes. Tie in a well-ventilated room so you're not breathing resin fumes all evening. Cure in short bursts of about ten seconds, turning the light off between checks.
Cheap Tools and Tricks for the Tying Bench
TIP 16 · TYING KIT
Carry a sewing needle to clear glue-clogged fly eyes
— Zach Lassek, early-career fly fishing guide in Park City, Utah · How it Feels to Be a New Guide on High Pressured Water - Zach Lassek, S5E201
It's for when epoxy or glue obstructs the eye hole so you can't get your tippet through. A fine sewing needle can clear out the eyelet on any fly, so instead of spending five minutes trying to get one fly on and giving up, you just grab the needle and you're back in action.
Why it matters. A glued-shut hook eye can burn several minutes trying to thread tippet through it, especially on small flies, and usually ends with you giving up and tying on something else. A cheap needle fixes it in seconds.
How to do it. Clip a fine sewing needle somewhere accessible on your pack, like the fleece patch where you keep flies. When a hook eye is clogged with glue, cement or epoxy, work the needle straight through the eyelet before threading tippet. This matters most on small flies, size 20 to 22, where a nipper's built-in eye-cleaner is too thick to do the job.
TIP 17 · TYING MATERIALS
Stock your tying bench from Walmart and Michaels, not just the fly shop
— Lance Kittel, custom rod builder and fly tyer (owner of a custom rod-building business) · Rod Building and Creative Arts Side of Fly Fishing, S6E226
I use chip clips to hold CDC feathers or rabbit strips while building a dubbing loop. I also grab adhesive-backed craft foam for foam hoppers, and for laser dub I buy a skein of acrylic yarn and run it through a pet hairbrush to fluff up the fibers.
Why it matters. Specialty fly-shop materials add up fast, and a lot of tiers assume they need shop-branded products to tie a fly that catches fish. Presentation and profile matter more than the label, and craft and department stores stock functional substitutes for a fraction of the price.
How to do it. Buy plastic chip clips from the kitchen aisle to hold slippery material like CDC or rabbit strip while building a dubbing loop. Pick up 2mm adhesive-backed craft foam for hoppers, and browse the beads aisle for seed and glass beads in whatever size you need. Grab a cheap skein of acrylic yarn and comb it out with a pet-grooming brush to make your own laser dub.
TIP 18 · TYING KIT
Make a permanent dubbing-wax substitute out of a glue trap
— The show's host, in a solo fly-tying tips segment · Way Better than Dubbing Wax for Fly Tying, S5E48
Scrape a bit of sticky glue from a store-bought mouse or spider glue trap onto a scrap of plastic. That tacky edge works exactly like dubbing wax, but it never dries out, so one tool can last for years.
Why it matters. Dubbing wax dries out and gets used up, and it's an ongoing cost if you dub a lot of flies. A single scrap of plastic charged with glue-trap adhesive replaces it indefinitely and stays tacky far longer.
How to do it. Cut a small flat tool from scrap plastic, one edge a bit longer than the other for grip. Scrape a small amount of adhesive from a cheap glue trap onto the tool's edge — handle it carefully, it's extremely sticky. Rub the loaded edge against your thread where you want dubbing to grab, then touch-dub and spin your loop as usual. Recharge with more glue whenever it stops holding.
TIP 19 · FLY SELECTION
Pin a sample of your working flies to your pack strap
— The show's host, in a solo tips-and-tricks segment · Cheap and Effective Fly Dryer, S5E47
Pin a safety pin to your pack and thread a sample of each fly you're actually using onto it as you fish. At the end of the day, glancing at the pin instantly reminds you what you fished and what worked.
Why it matters. It's easy to lose track of exactly which pattern produced fish over a long day, and digging through boxes wastes time and light, especially after dark. A pinned sample gives an instant visual and tactile reference without opening a box.
How to do it. File down the point of a safety pin so it doesn't jab you, then clip it to a strap you'll see often. As you switch flies through the day, thread a duplicate — or the actual fly — onto the pin. After dark, rely on feel instead of sight to grab it quickly.
The Mindset Behind Better Flies
TIP 20 · FLY TYING BUSINESS
Price custom-tied flies for your time, not just materials
— Svend Diesel, fly tier and fly fishing content creator · Episode 75 - Svend Diesel: Tying Life and More., EP 75
A dozen balanced leeches for myself might take an hour to an hour and a half, but if it's for someone else I'll spend two hours because I want them to be perfect. That's two hours away from my family. People don't realize the material cost is maybe five or ten bucks, but it isn't a five-minute job.
Why it matters. Customers who only see a few dollars of hooks and thread assume a custom fly should be cheap, but the real cost is your time, which runs into hours once curing and quality control are counted. Undercharging based on materials alone makes tying for other people unsustainable.
How to do it. Time yourself tying a realistic batch, including curing steps, and work out an hourly rate you'd want to earn before you quote a price. Tell customers the price reflects time and craftsmanship, not just materials. Don't be afraid to quote a premium, or say no, to a request that doesn't make sense for the hours involved.
TIP 21 · FLY TYING PRACTICE
Study the masters and put in deliberate practice hours
— Kevin Onsrud, middle school teacher, fly tier, and wildlife artist (Casting Feathers and Fur) · Practice Your Fly Fishing for Better Performance, S3E139
I had to learn to be patient, because I wanted the perfect fly right off the bat. I went straight to the best — I studied them again and again, read the books, watched the videos, and I learn from anybody I can.
Why it matters. Beginners who chase a perfect finished fly on the first try tend to quit when early attempts fall short. Mastery at the vise comes from repetition and process, not from getting lucky on your first dozen flies.
How to do it. Pick a handful of the most respected tiers in the style you want, not just the most popular social accounts, and study their books, videos and finished flies repeatedly. Practice the same technique over and over and expect early results to fall short. Note what disappoints you about each attempt so your next session targets that weak point. Give it months, not days.
TIP 22 · OFF-SEASON PREP
Use downtime off the water to tie flies and prep gear
— Fred Contaoi, rod designer for Douglas Outdoors · Episode 66 - Fred Contaoi, Top Rod Designer for Douglas Outdoors
There'll always be time for fishing, but now is a good time to do some other things if you can't get out on the water — tie flies, get your gear ready, maybe try a new rod or reel, and practice your casting.
Why it matters. Anglers who treat time off the water as dead time miss an easy chance to fix the small gear and skill gaps that cost them fish once the season opens. Using downtime for tying and maintenance means showing up sharp instead of rusty.
How to do it. Set aside a block of time each week during your downtime for one gear task — restock a fly box, clean and dress your lines, check leader material for age — plus a few minutes of casting practice. Try a rod or reel you don't normally fish so you're comfortable with it before a trip depends on it.
Fly Selection and Tying Questions Anglers Actually Ask
Should I change flies or check my depth first?
Check depth and drift first. If you're nymphing and not occasionally ticking bottom, add weight or slide your indicator before you touch your fly box — a trout won't chase food far out of its feeding lane. Once your rig is genuinely in the strike zone and fish still refuse it, that's the point to start swapping patterns.
What's a good confidence fly to always carry?
An Olive Woolly Bugger in a few sizes covers a wide range of water and trout behavior when nothing specific is hatching. For dry-fly water, a small rotation of visible, buggy patterns like a Parachute Adams, Purple Haze or Royal Wulff works the same way — fish what you trust instead of researching the theoretically perfect fly.
How do I fix a hook eye that's clogged with glue?
Carry a fine sewing needle clipped to your pack. Work it straight through the eyelet to clear epoxy or cement before threading tippet — it takes seconds and works on any size fly, including small size 20 to 22 patterns where a standard nipper's built-in eye-cleaner is too thick to do the job.
What thread should I use for spinning deer hair?
Use a regular round thread, like a 3/0, instead of a flat GSP or Nano Silk thread, when spinning or stacking deer hair — GSP's sharp edge can cut through hair fibers under tension. Save GSP or Nano Silk for thin, strong bodies where you want a durable, low-bulk wrap instead.
Get set up for it
The tips above are only as good as the flies in your box — stock up on proven, guide-tested patterns instead of guessing at the shop. Use code INSIDER10 for 10% off orders over $50.
Shop NowThe trip you keep talking about — go take it
Every angler has one destination they've described a dozen times and never booked. Tell us which one it is and we'll build the trip around it.
Book a TripFly Fishing Insider Podcast has a referral partnership with Frontiers International Travel. If you book after being introduced through us, we may receive compensation at no additional cost to you.